An Early Thanksgiving Harvest

“Look at the birds of the air; they do not sow or reap or store away in barns, and yet your Heavenly Father feeds them. Are you not much more valuable than they?”

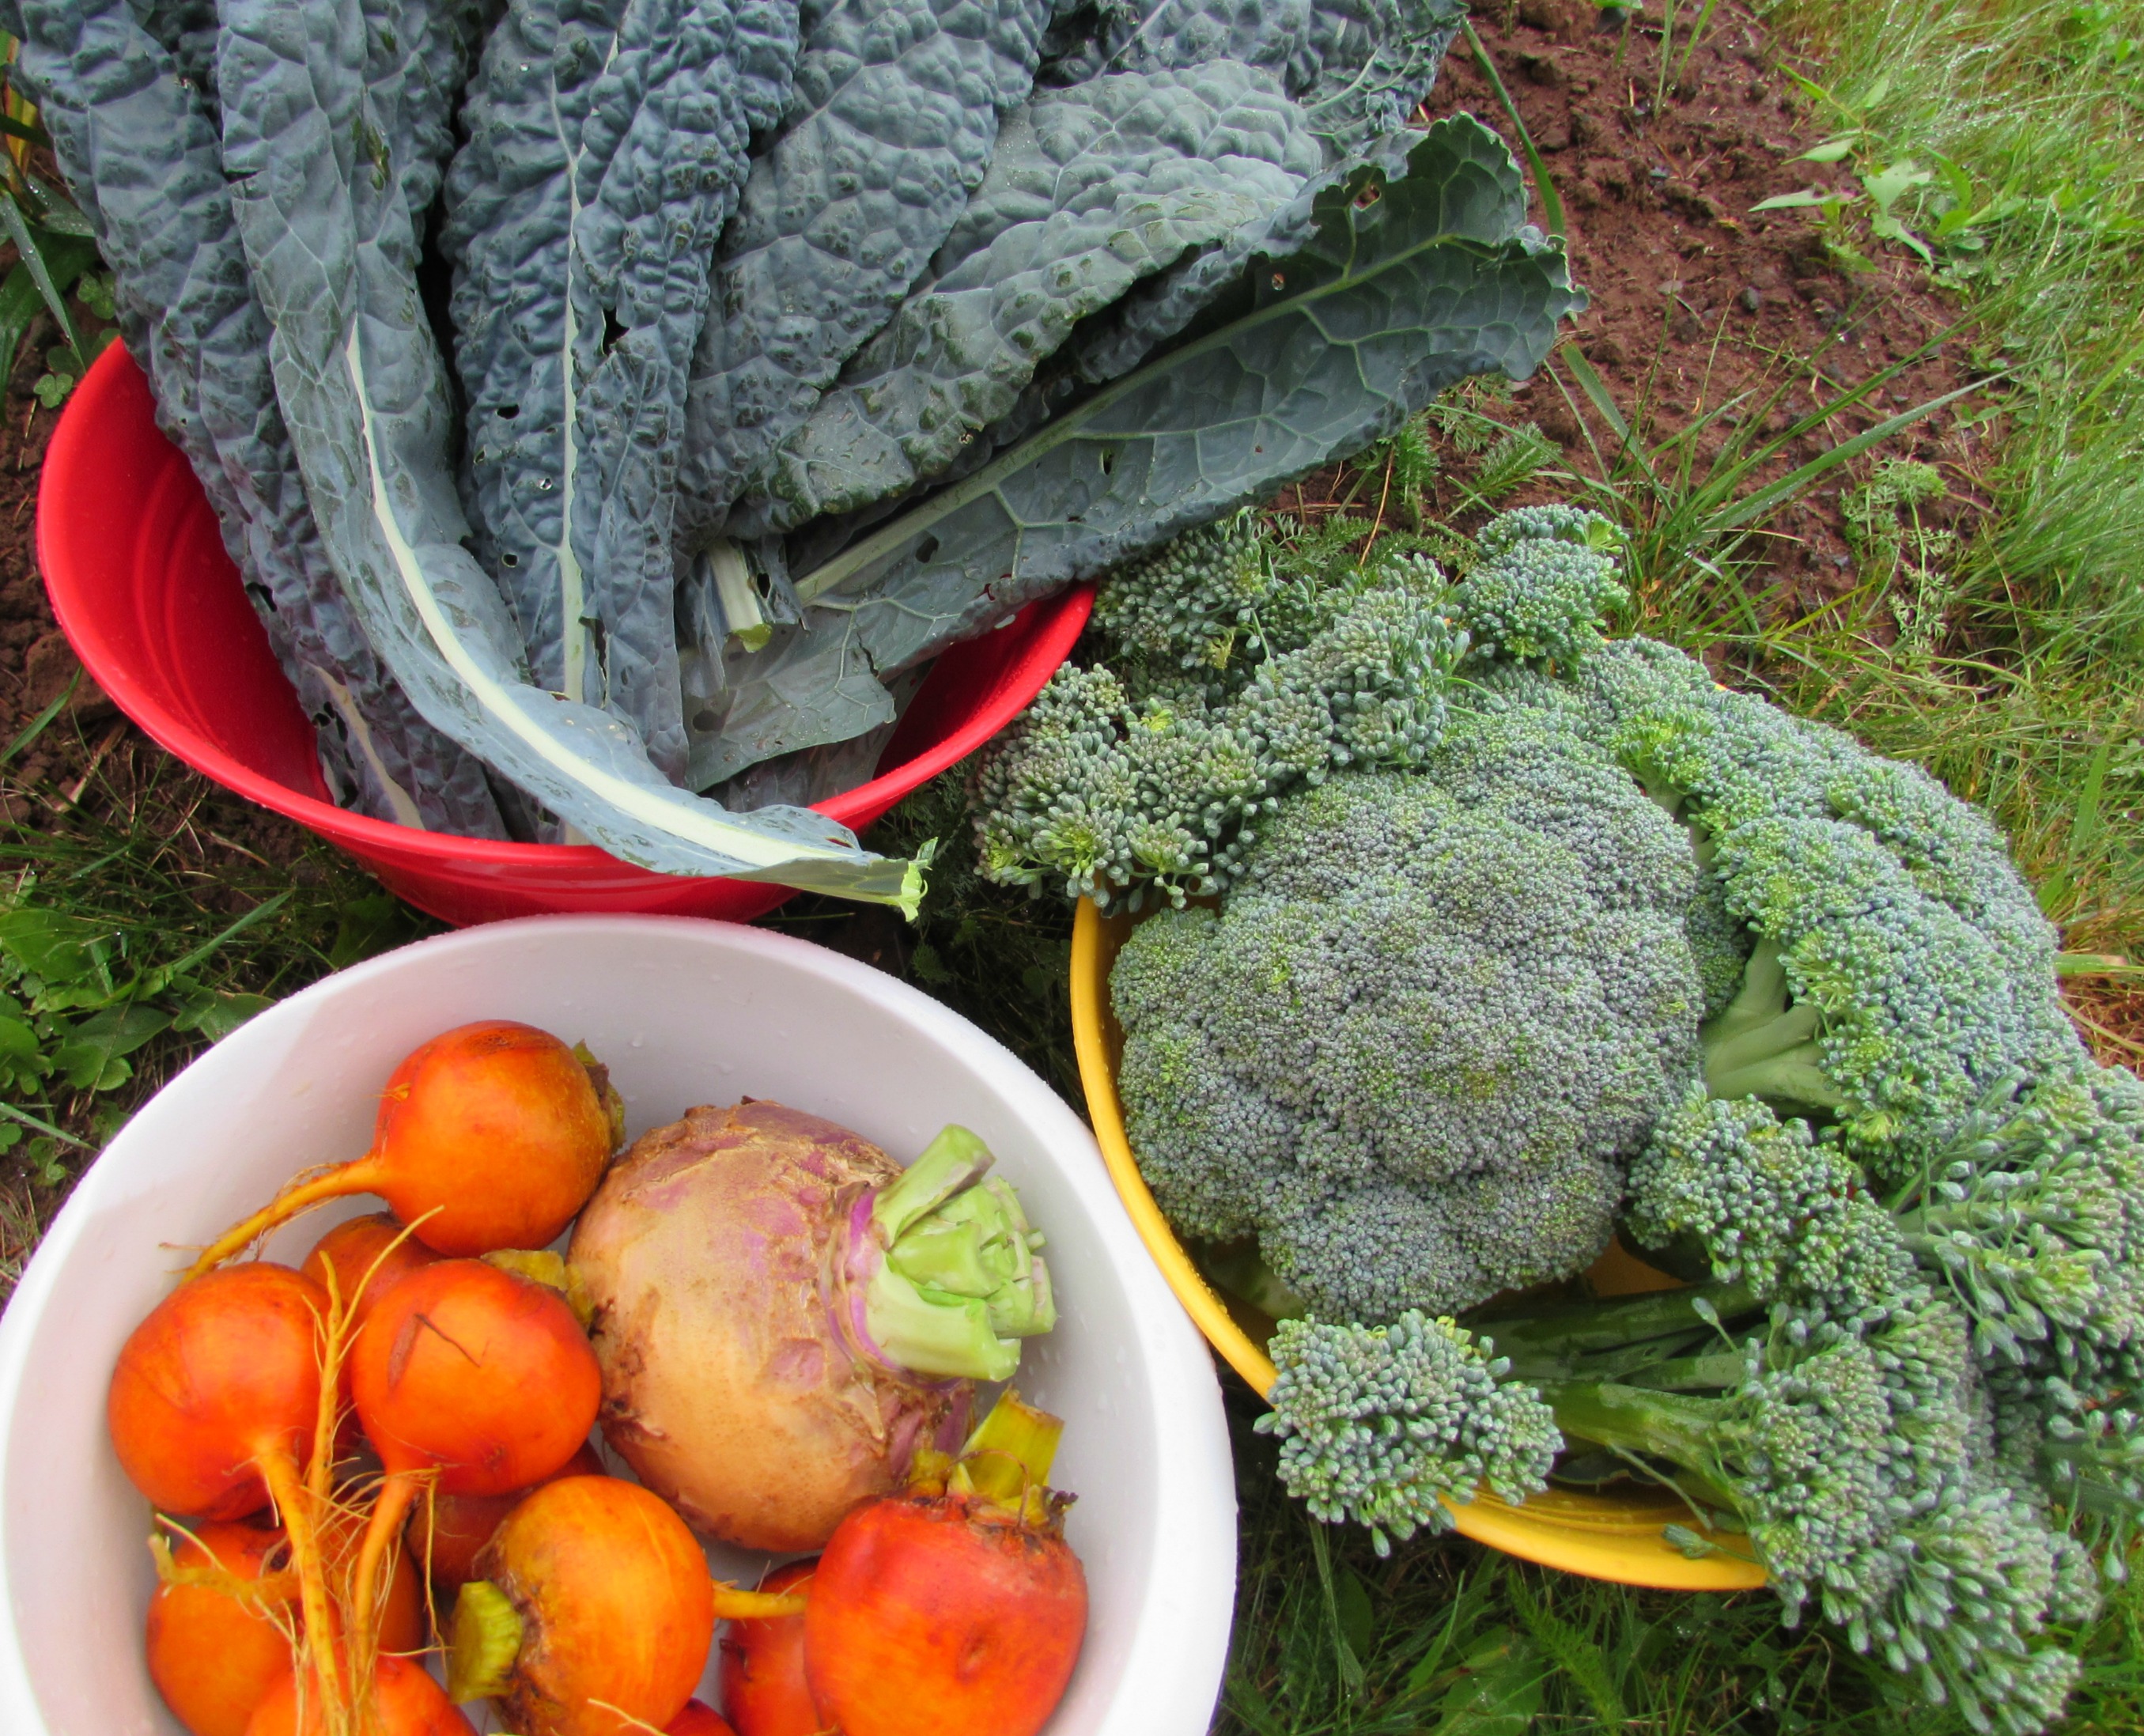
Well, it’s clear that we won’t starve this fall.  in fact, we’ve been blown away at the bounty of our harvest from our gardens this year.  And it’s not over yet!

IMG_4223

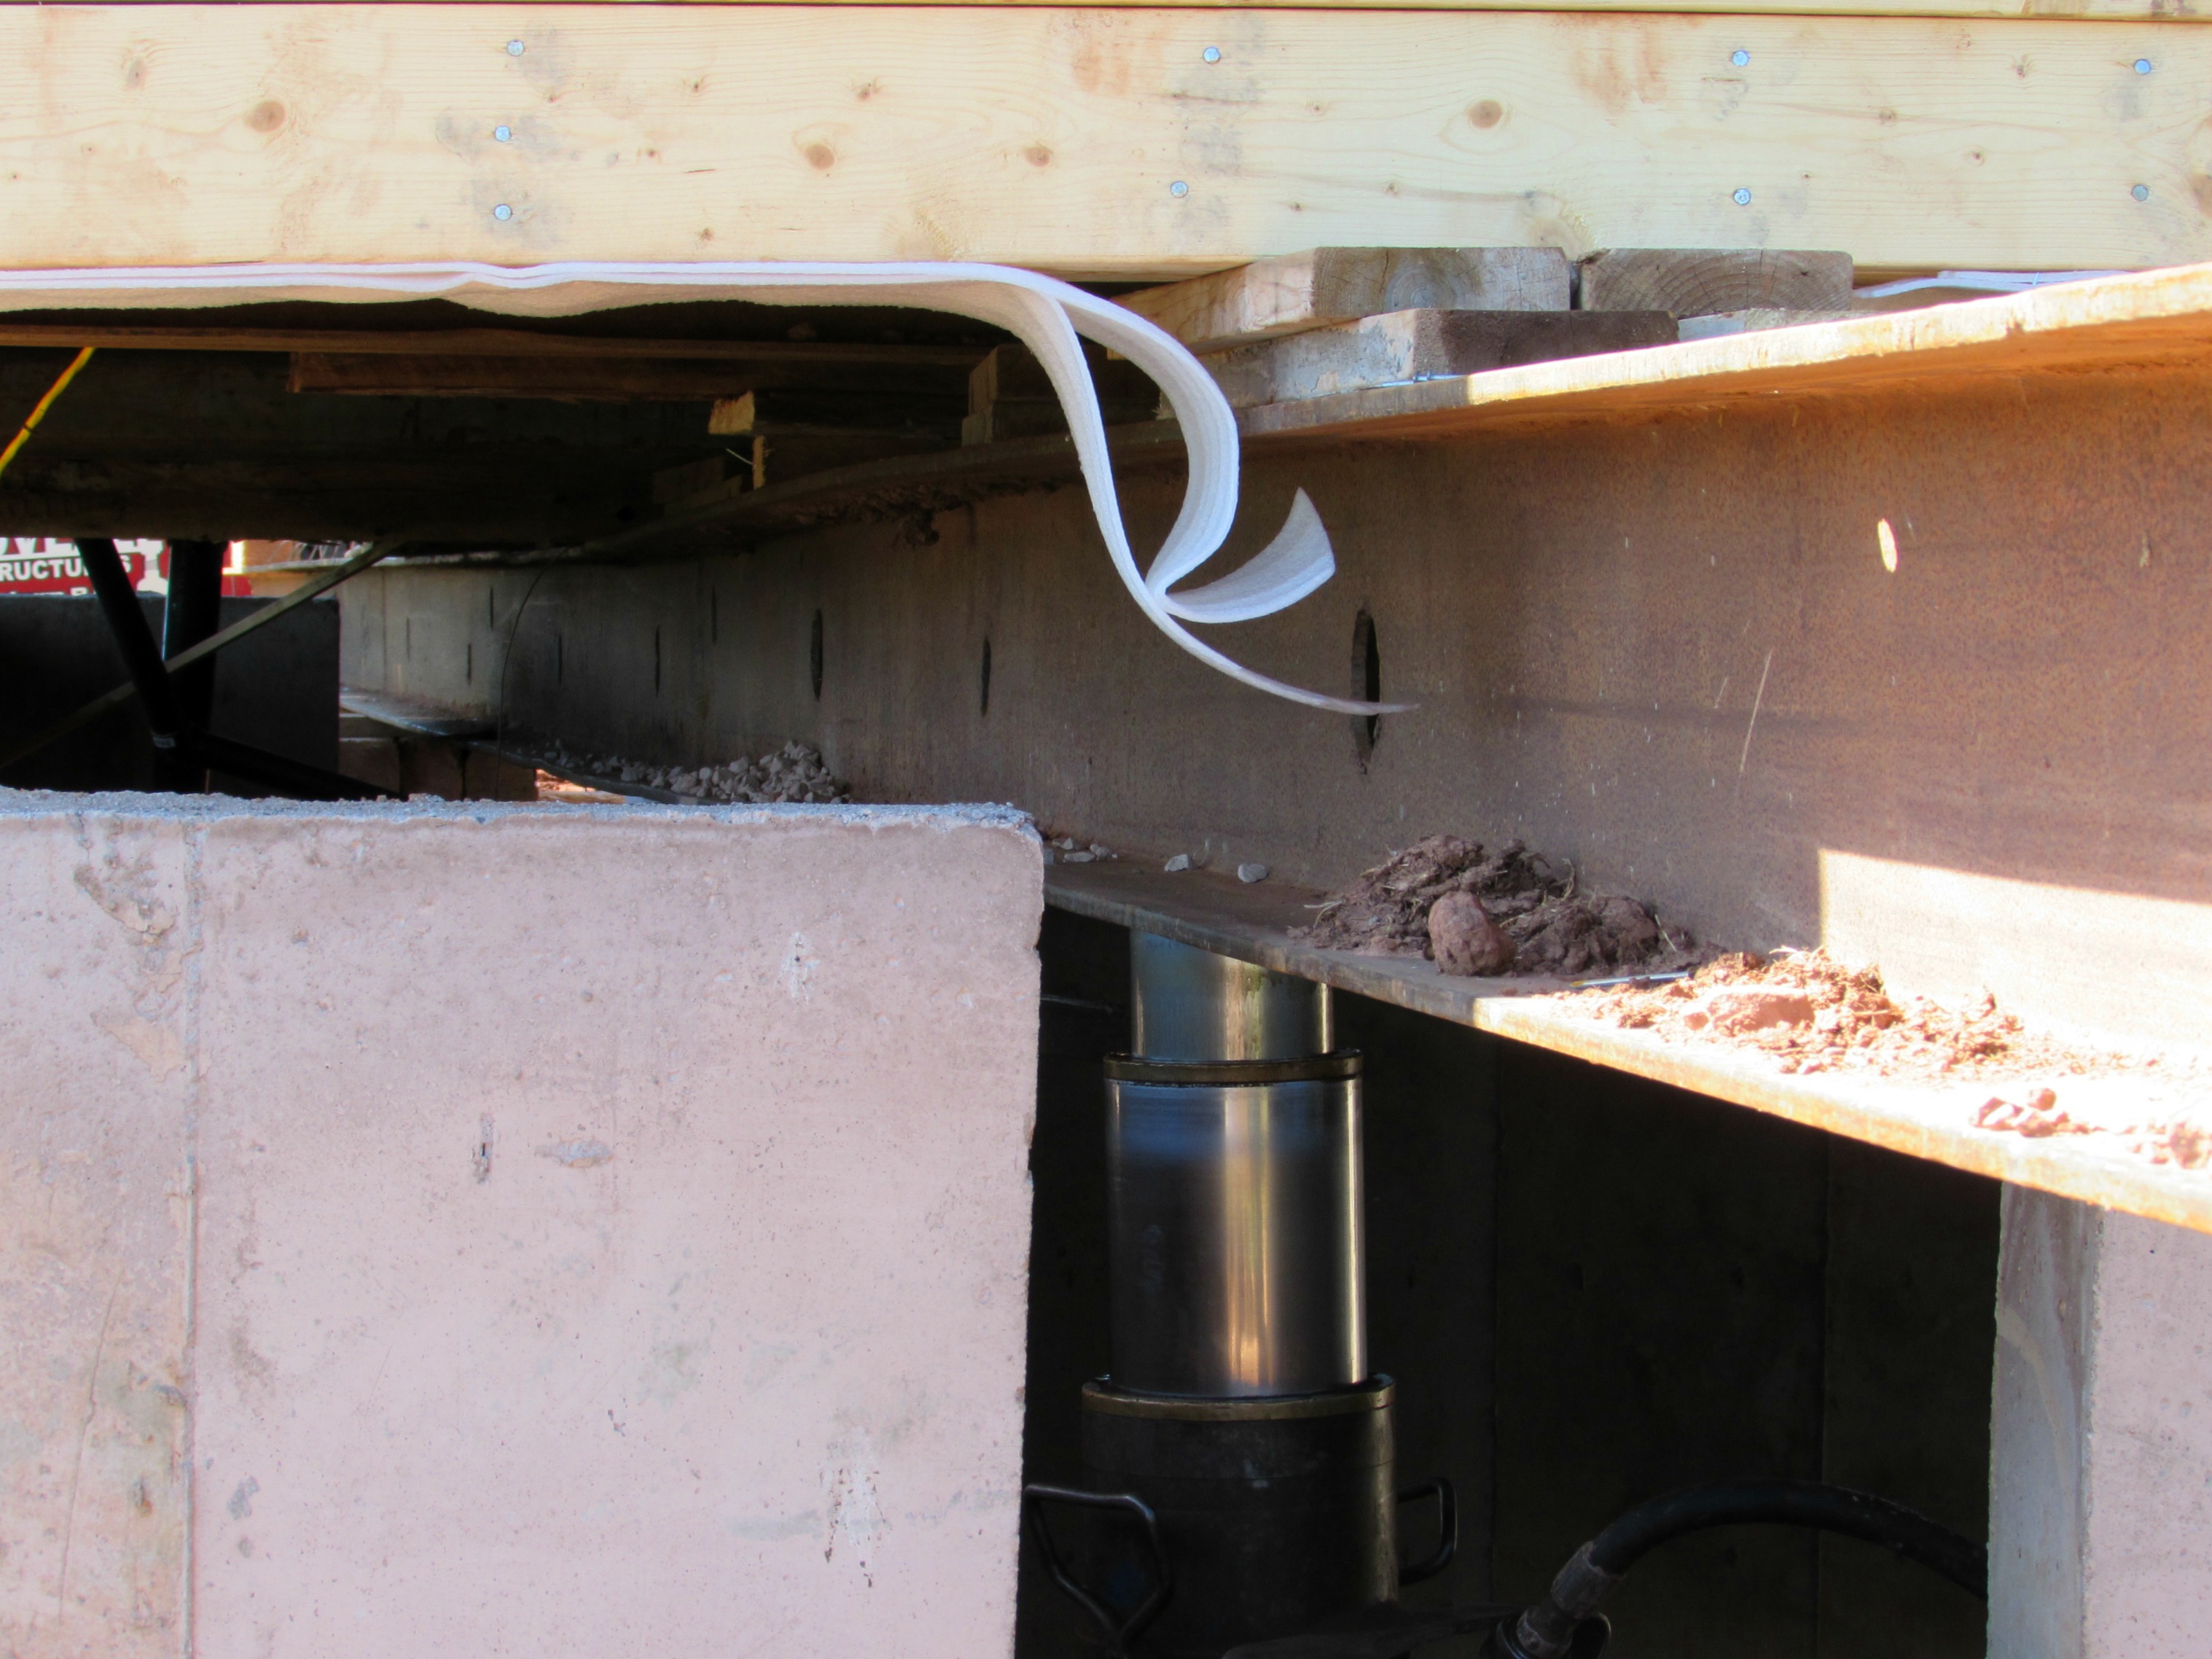
Over the past couple of weeks, between working on a few projects around the house, we’ve been slowly harvesting our crops as they become ready.

IMG_3993

We picked our first variety of sweet corn last week and blanched and froze the majority of it.  Yes, we ate a lot of it fresh as well – and we shared a couple dozen among friends and neighbors, too.

IMG_4278 IMG_4089 IMG_4286

The later-maturing variety is almost ready now – perhaps by this time next week.  That will be another 90-100 ears to process as well.

IMG_4273

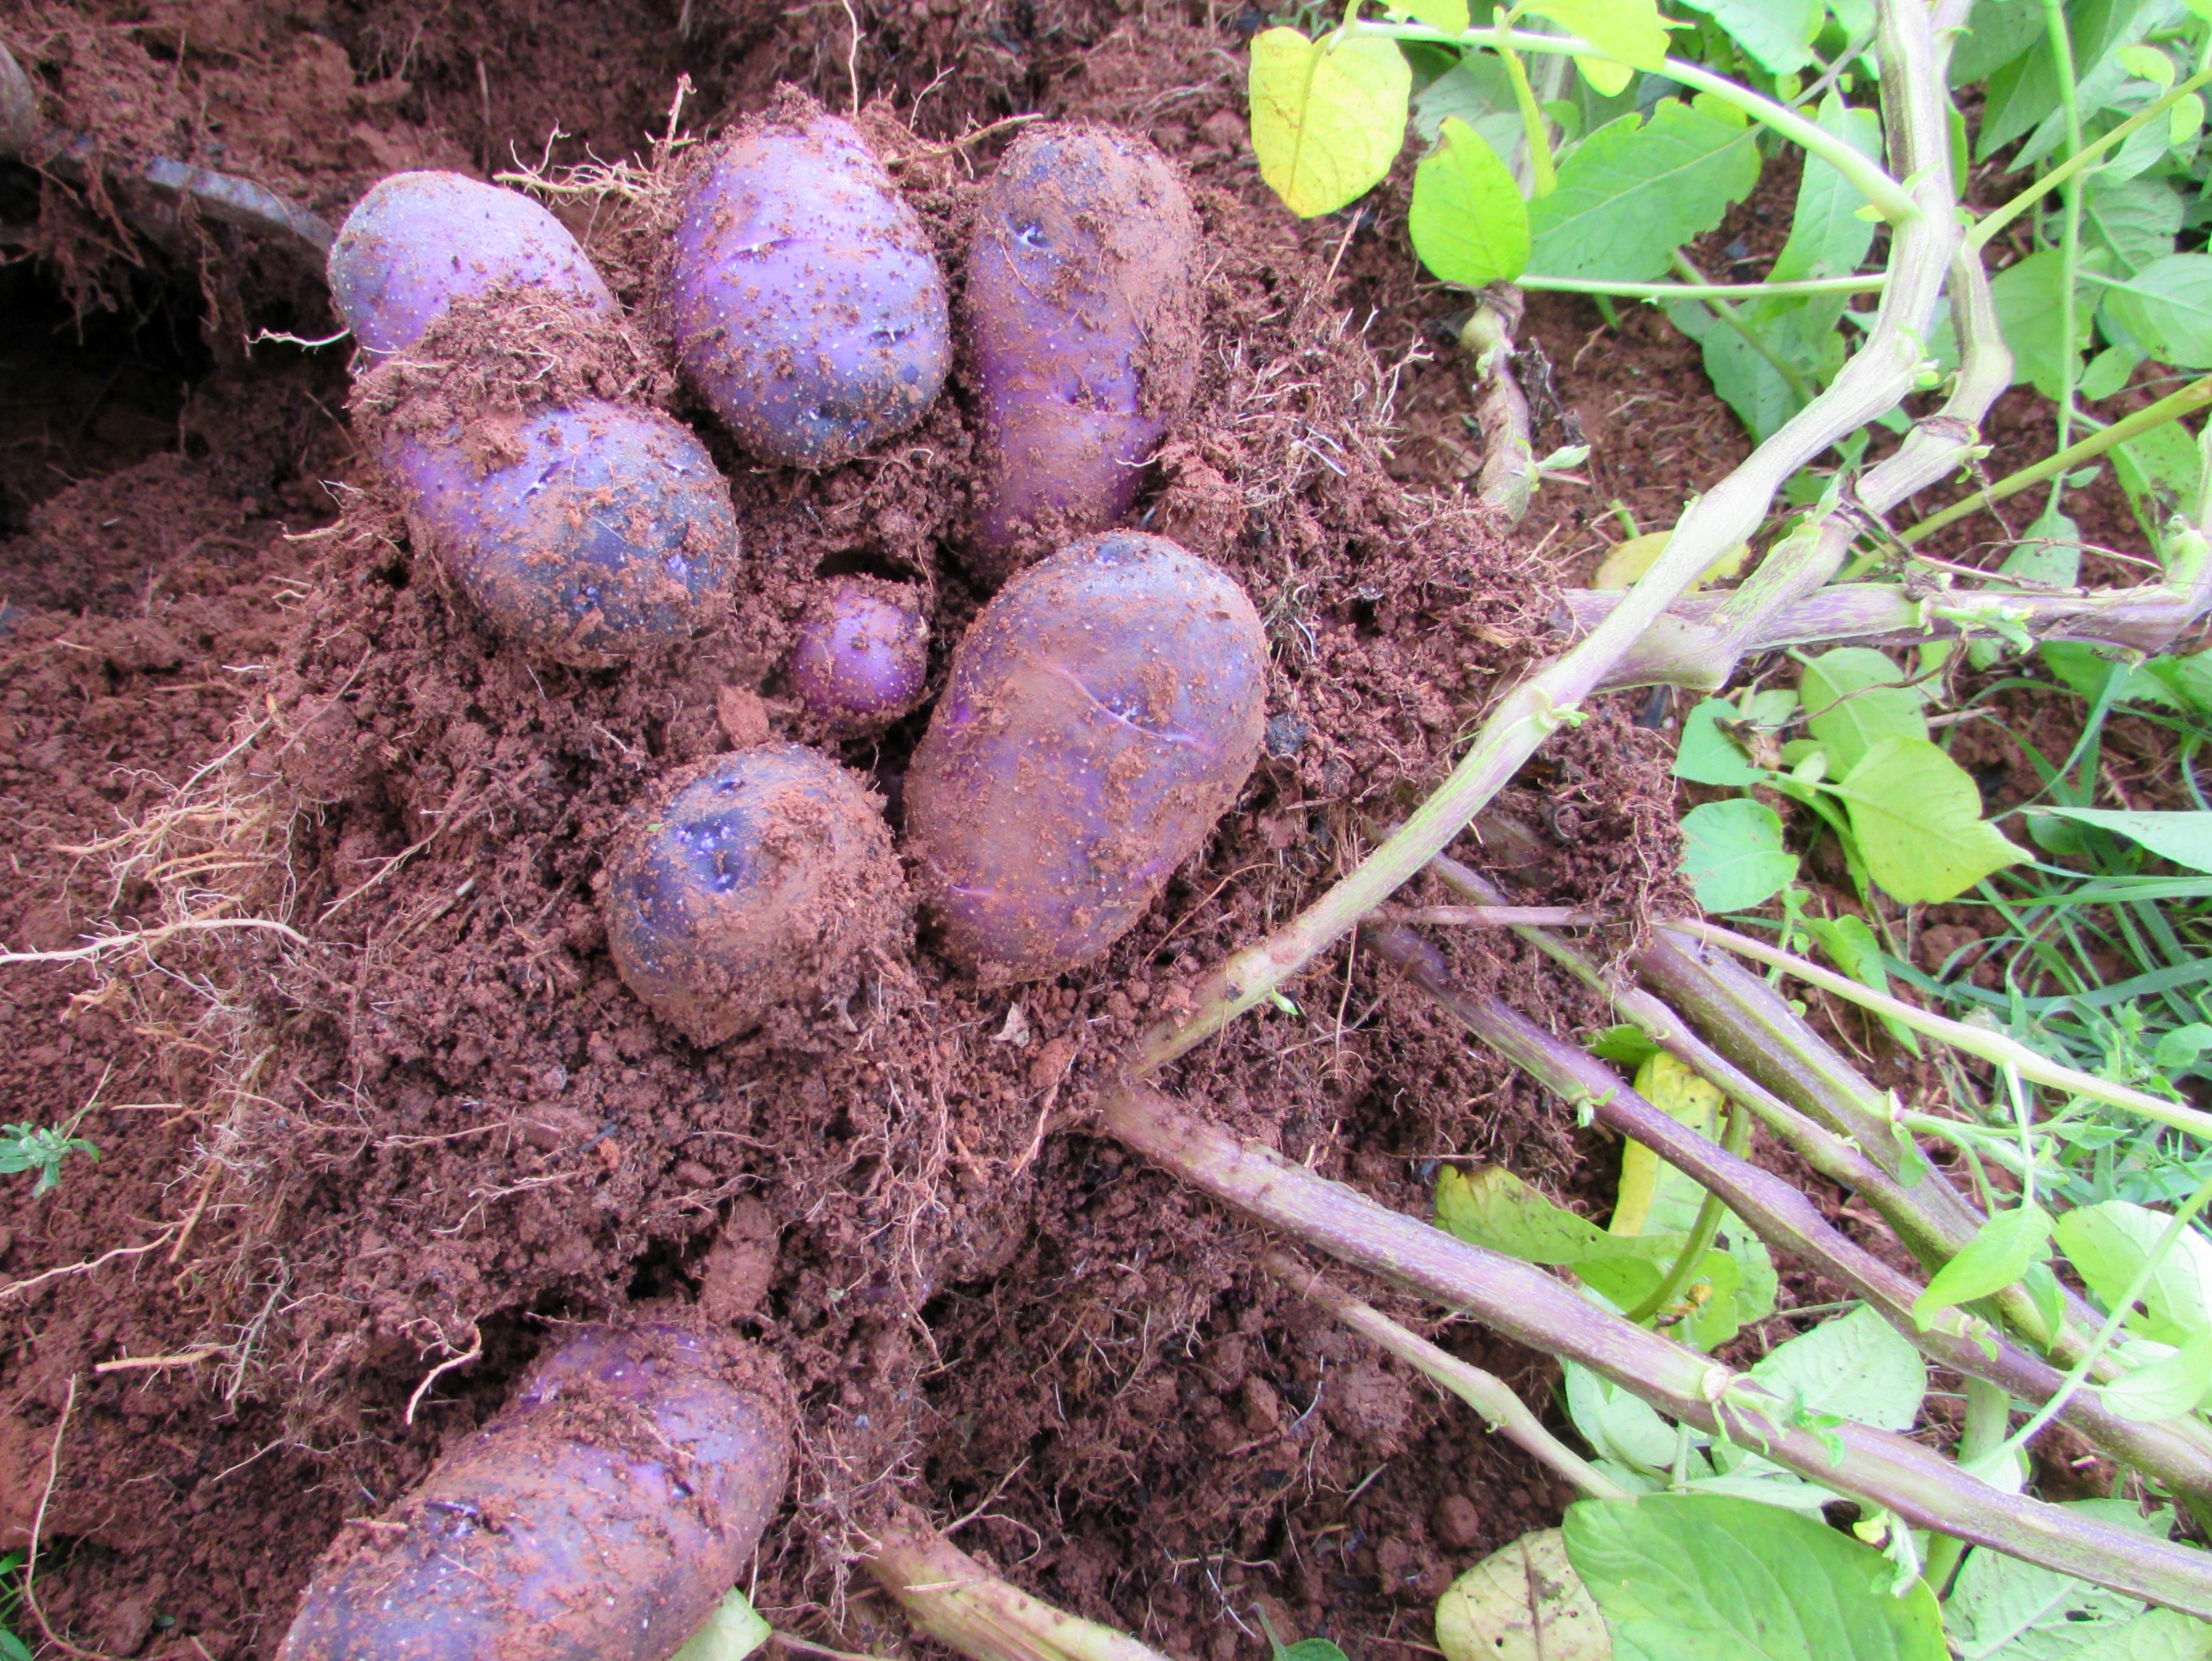
I think we can call our potatoes a success, too.  We grew four varieties: red, yellow, russet and purple.  The Purple Chieftain was the most plentiful – in sheer number of potatoes harvested – although they were probably the smallest ones on average.

IMG_4070

After that was the Russet.  These turned out a bit smaller than I expected but will be great baked and french fried.  The yellow and red were the largest of all.

IMG_4215

Each individual potato is a handful.  We’ll certainly be growing more of the red ones especially.

All in all, we dug up over 150 pounds of spuds from the ground last week,  That doesn’t include the who-knows-how-many pounds of new potatoes we took as we needed previously.

IMG_4233

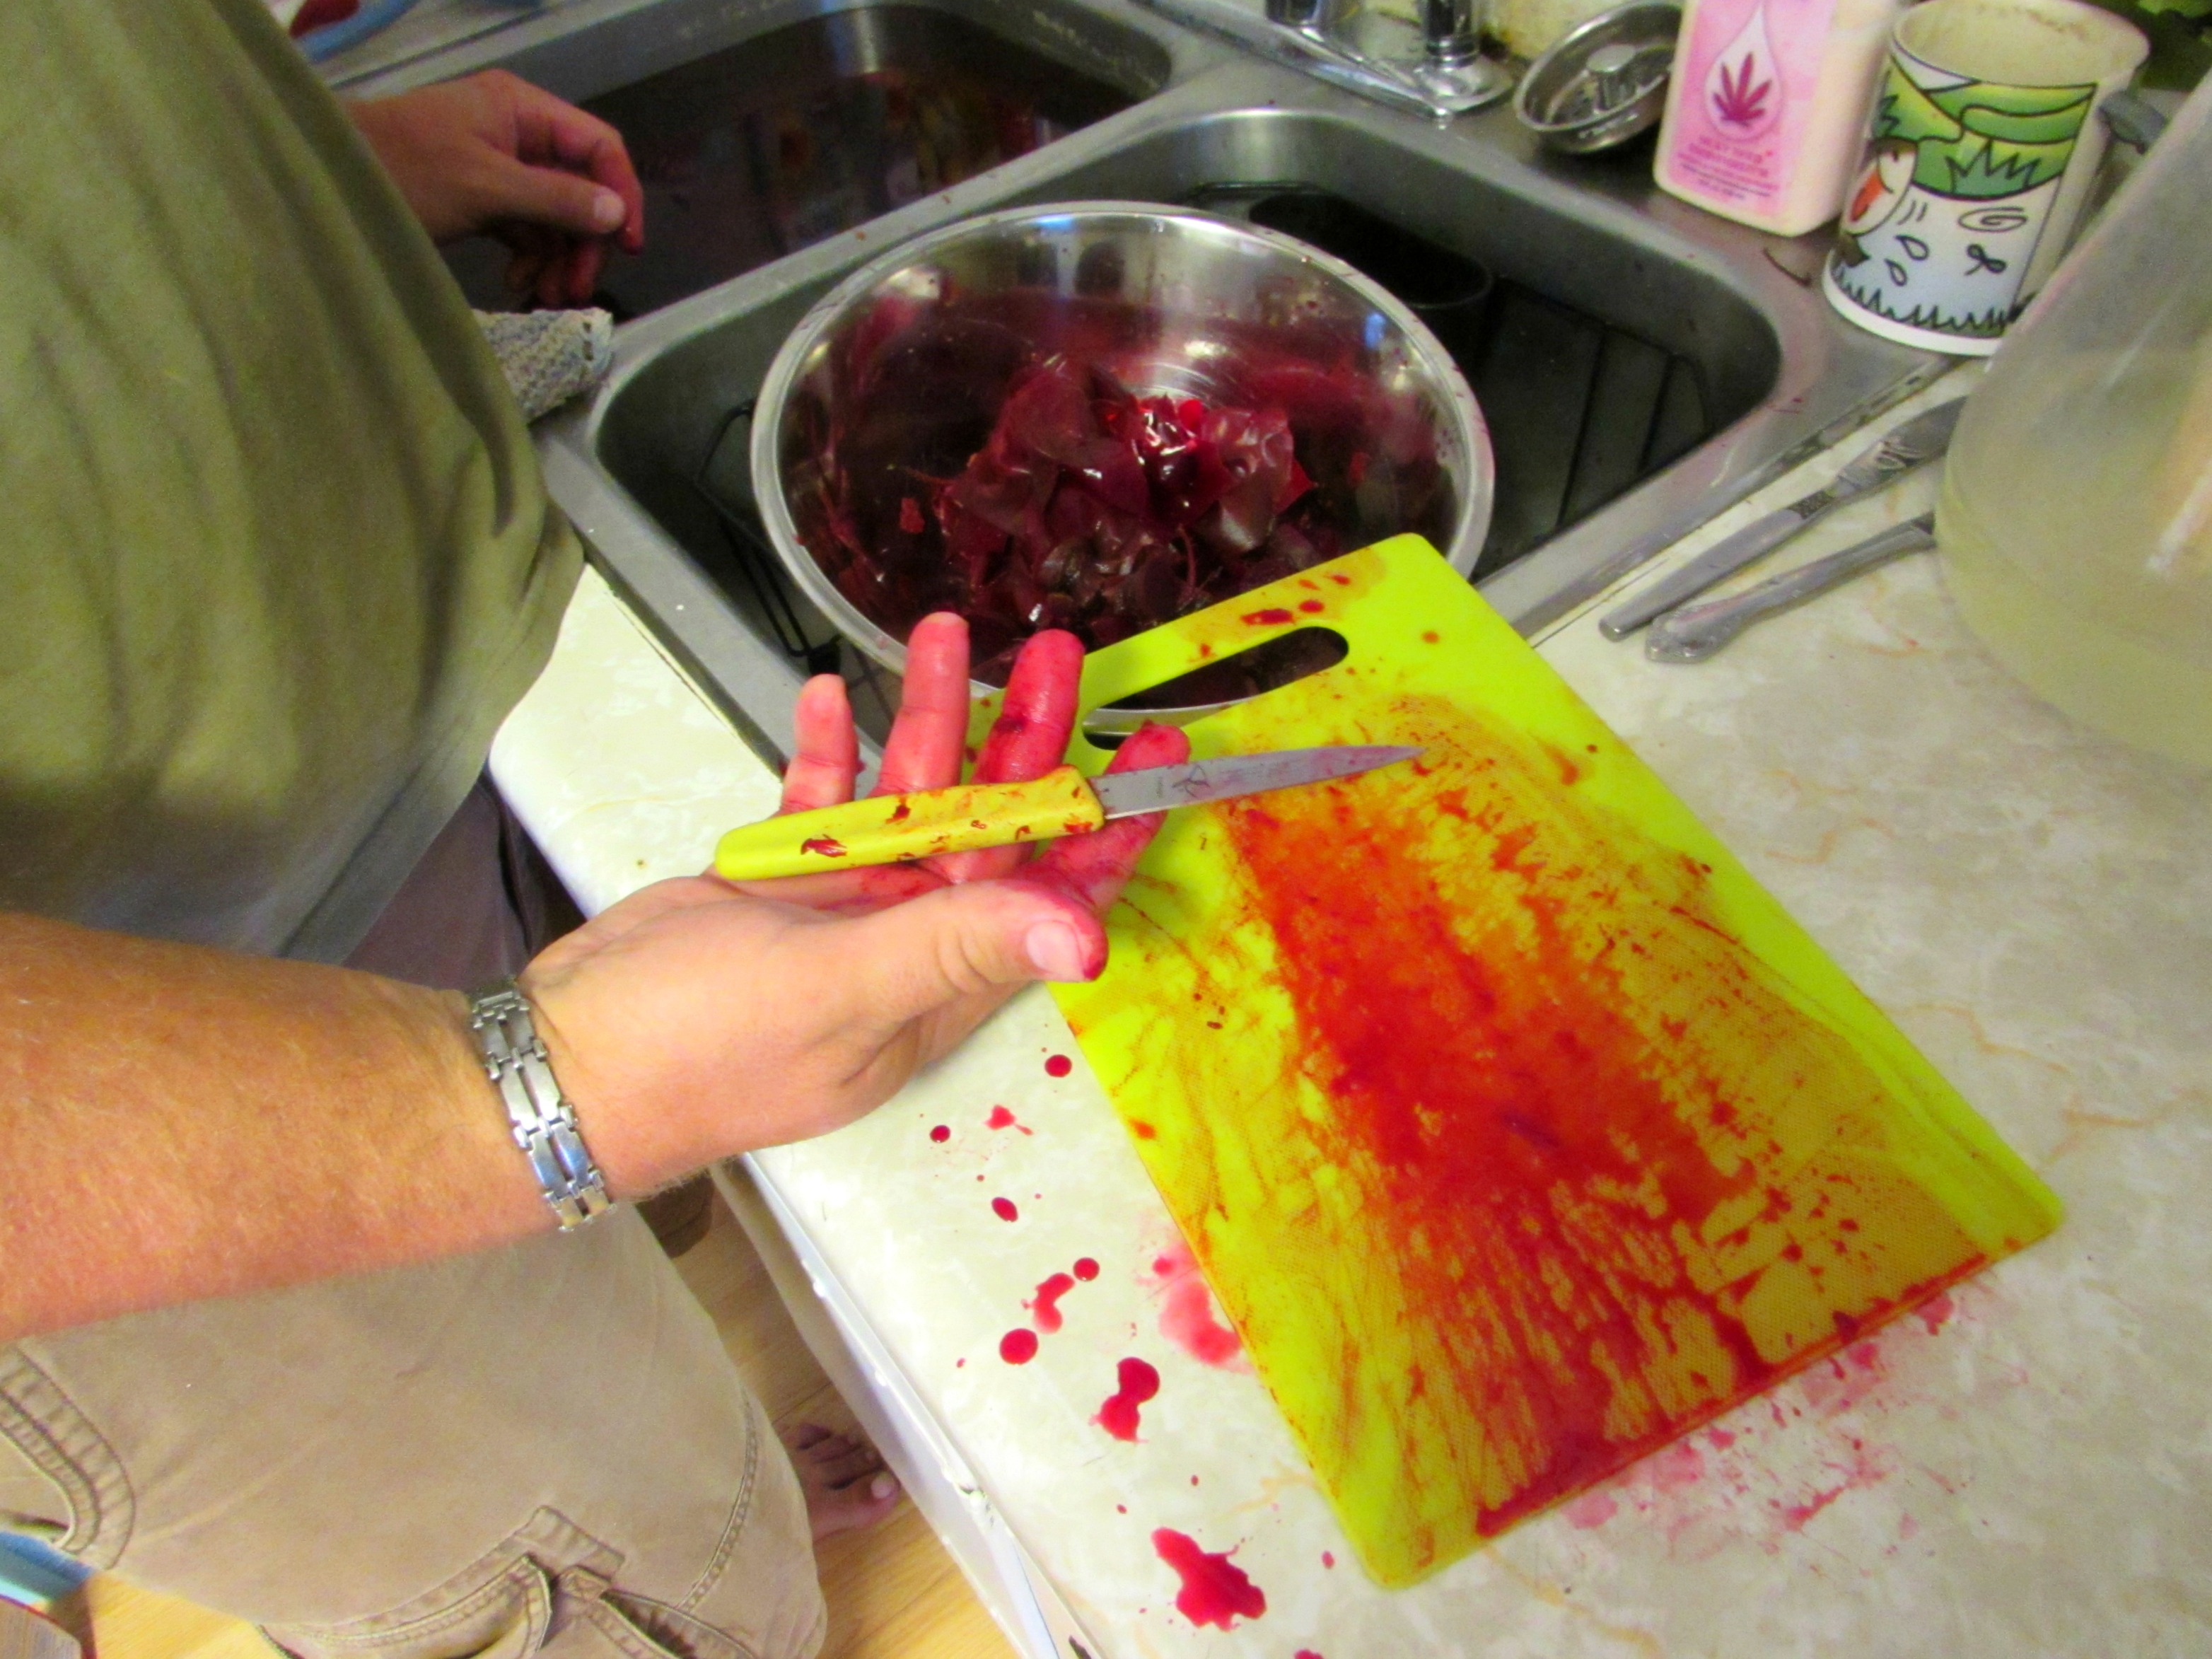
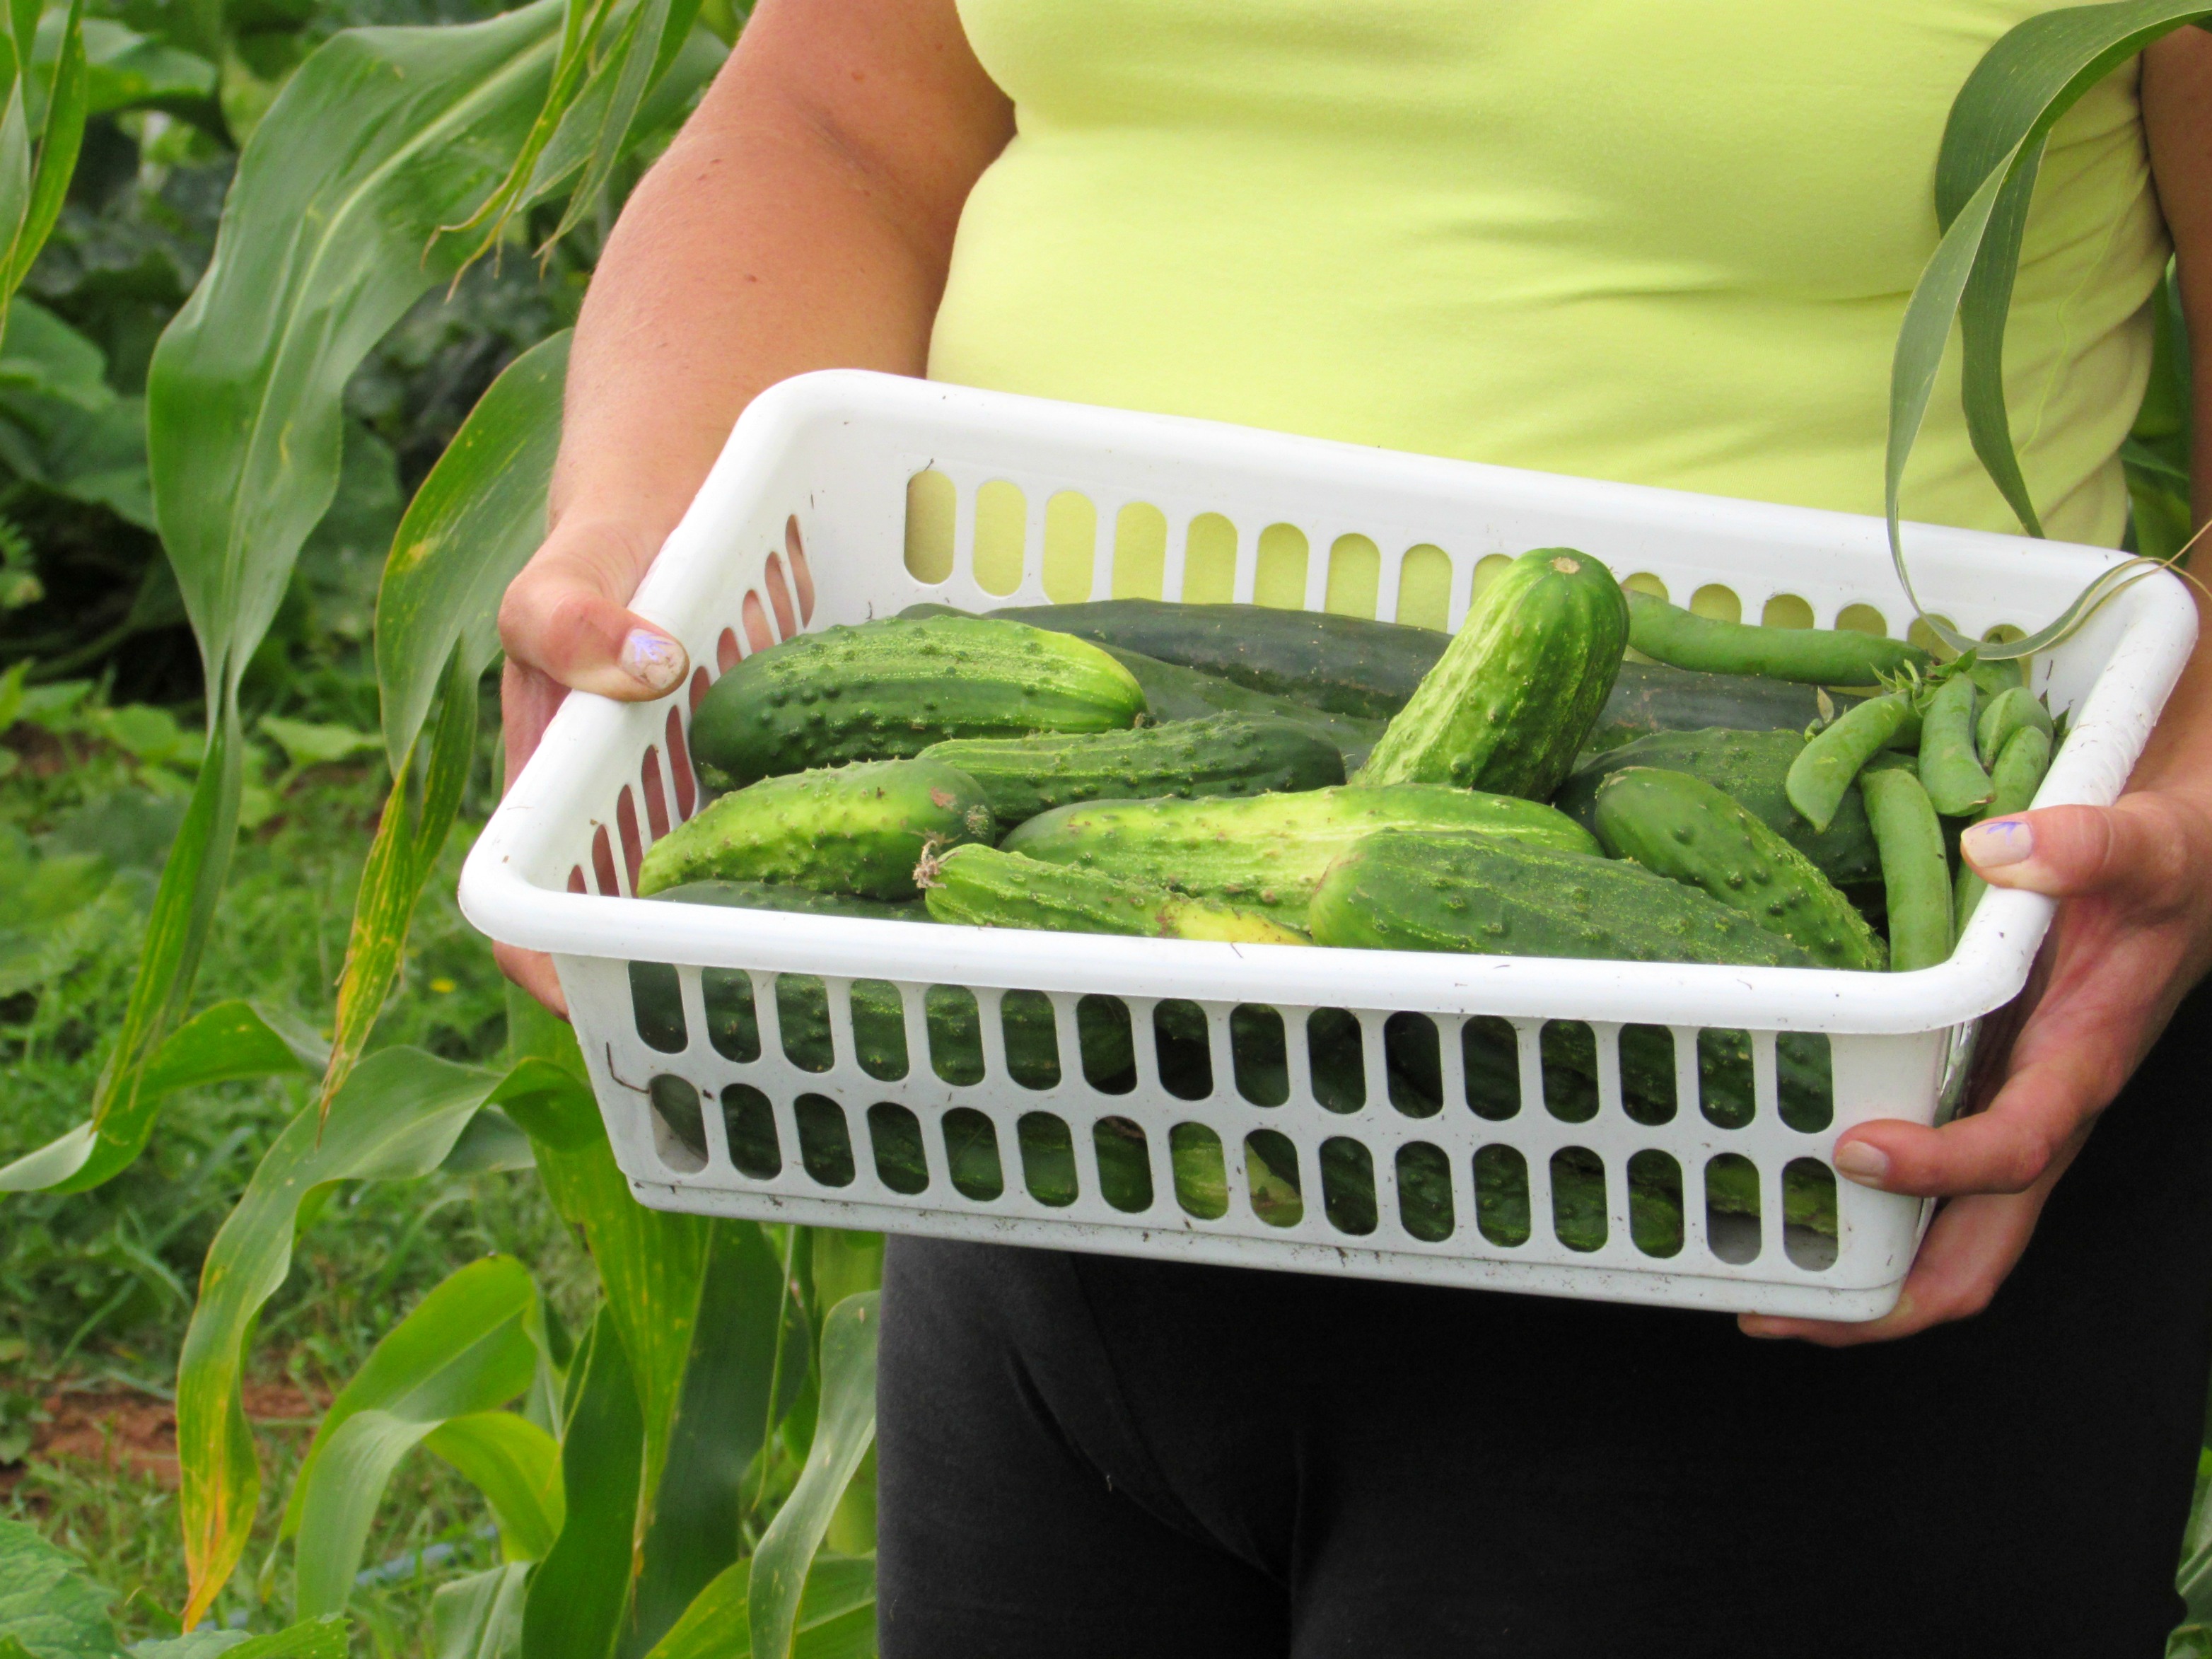
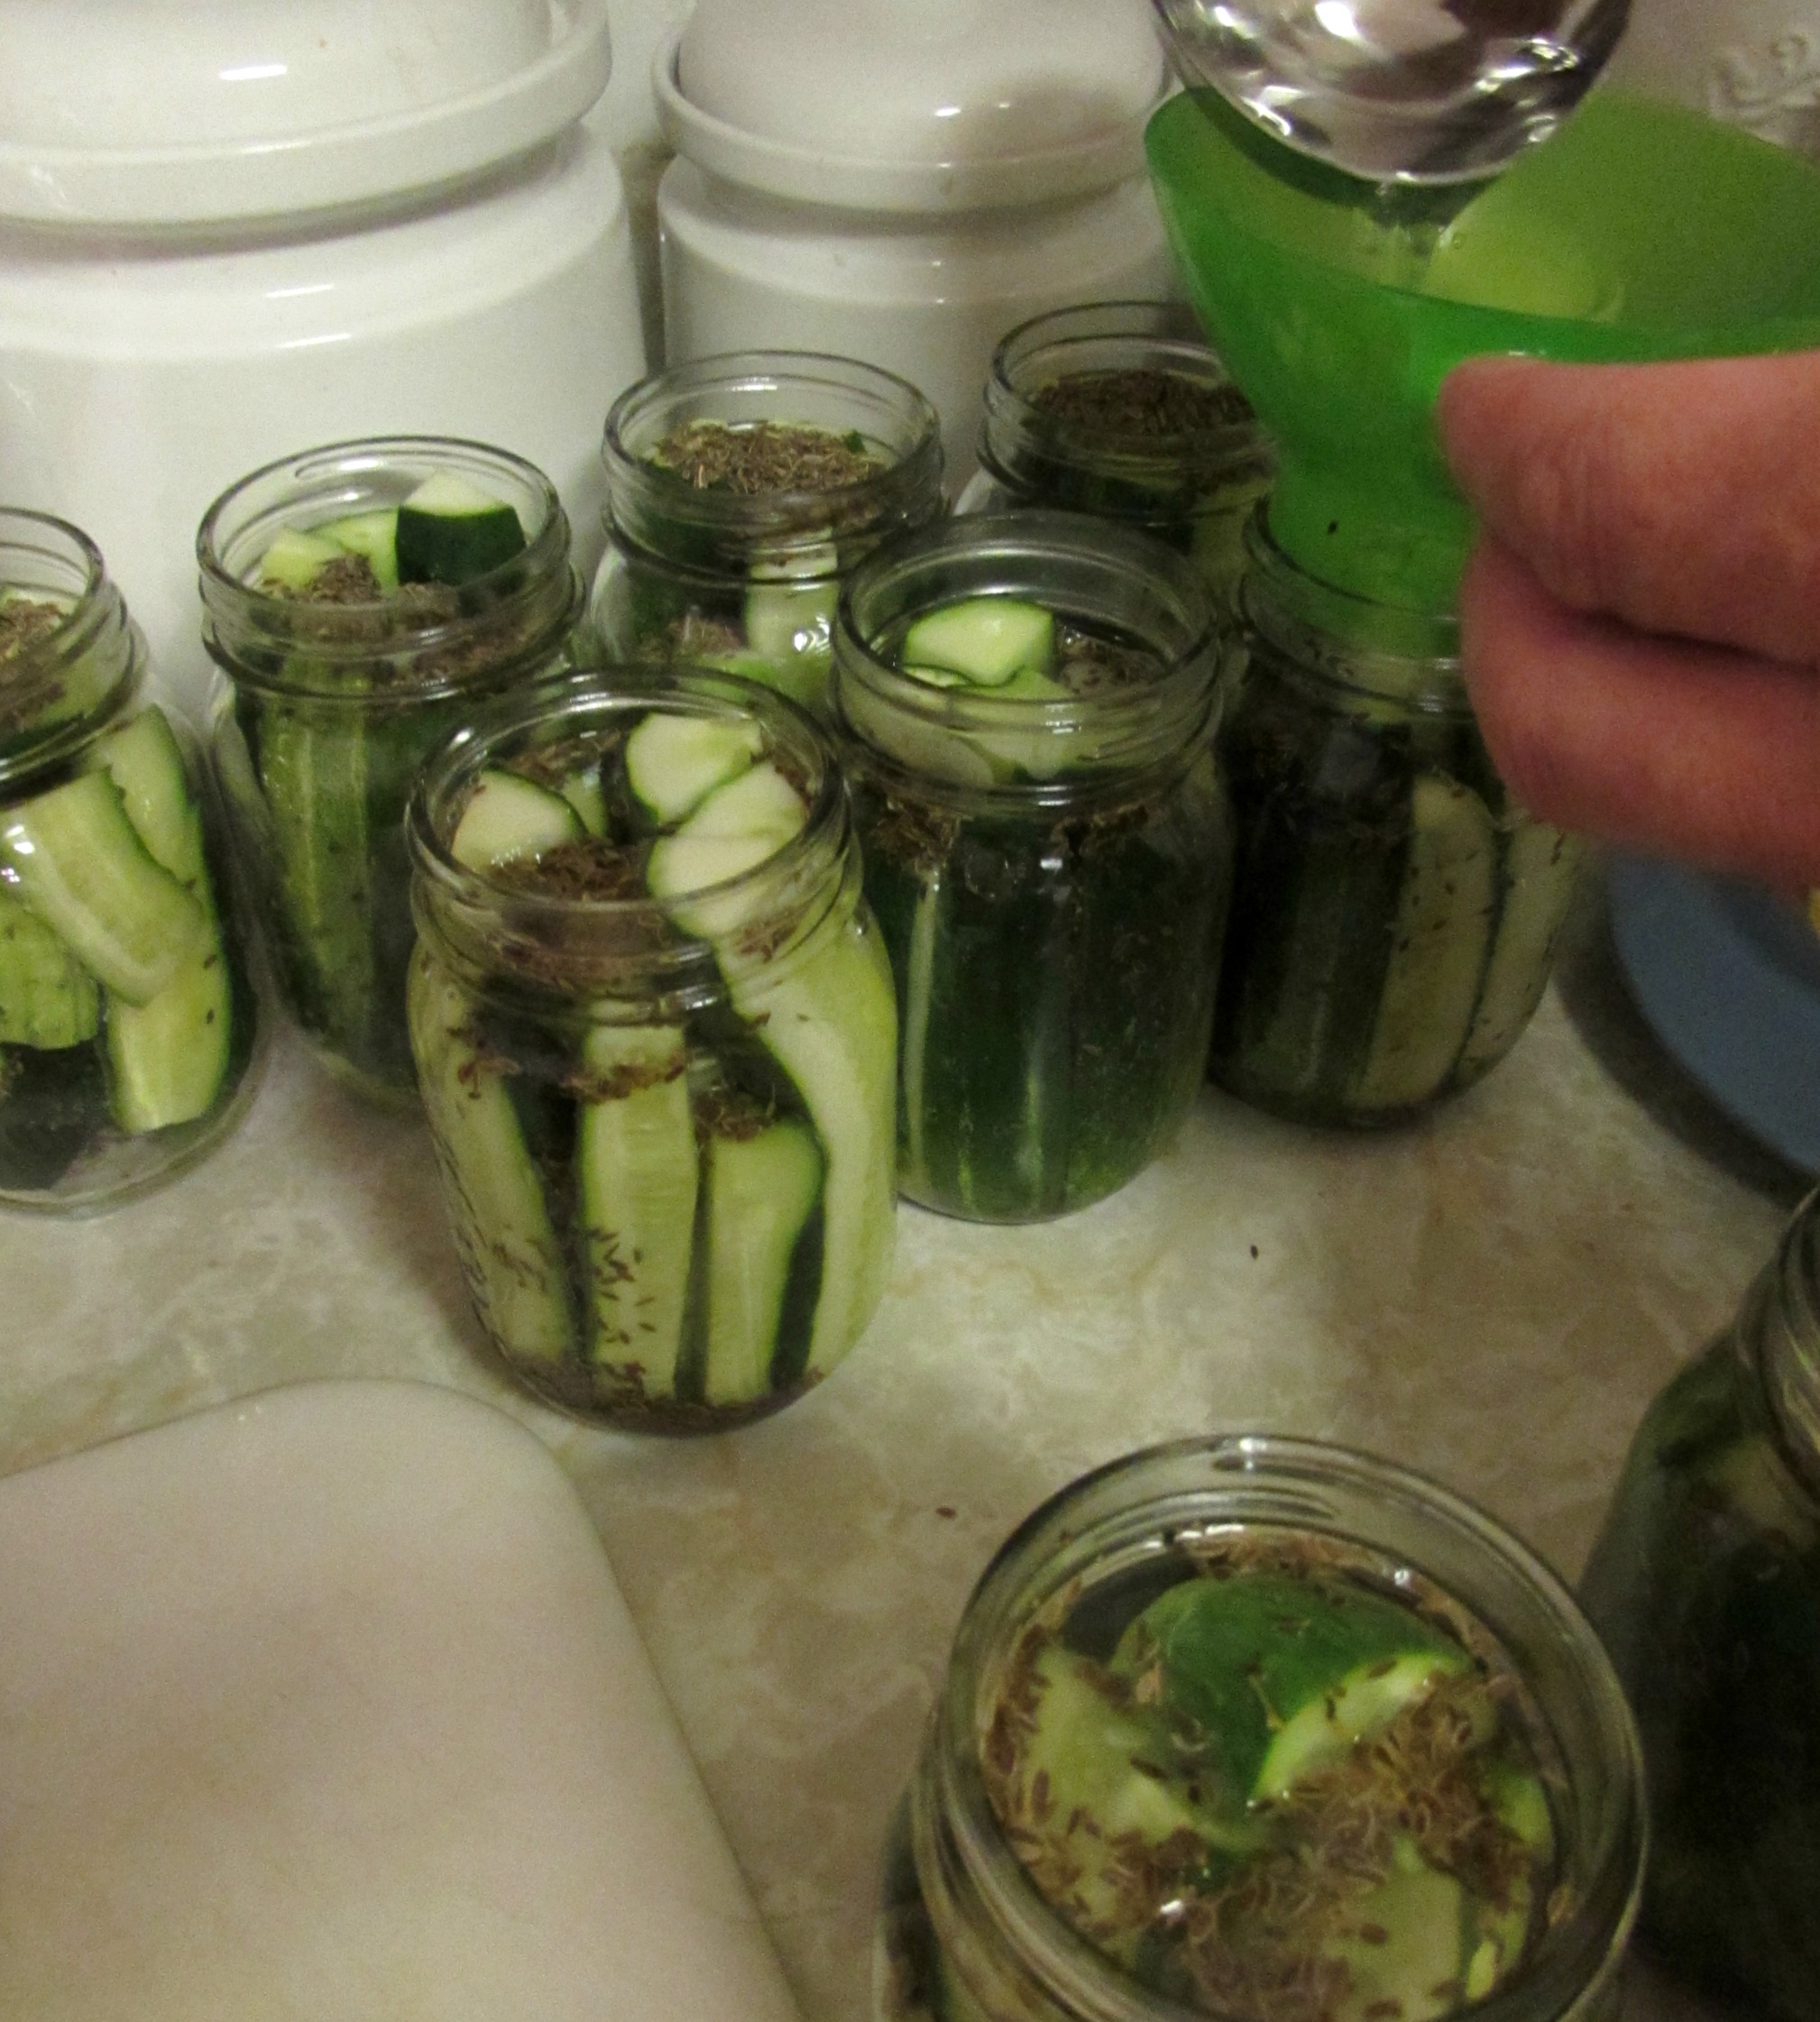
I never weighed the cucumbers and zucchini we grew – but we have pickled almost 30 pints and/or quarts of them.

We’ve also enjoyed fresh green beans and yellow wax beans for the past few weeks but with the plants producing more than we can eat fresh, we picked, blanched and froze the remainder – over fifteen pounds!

IMG_4294

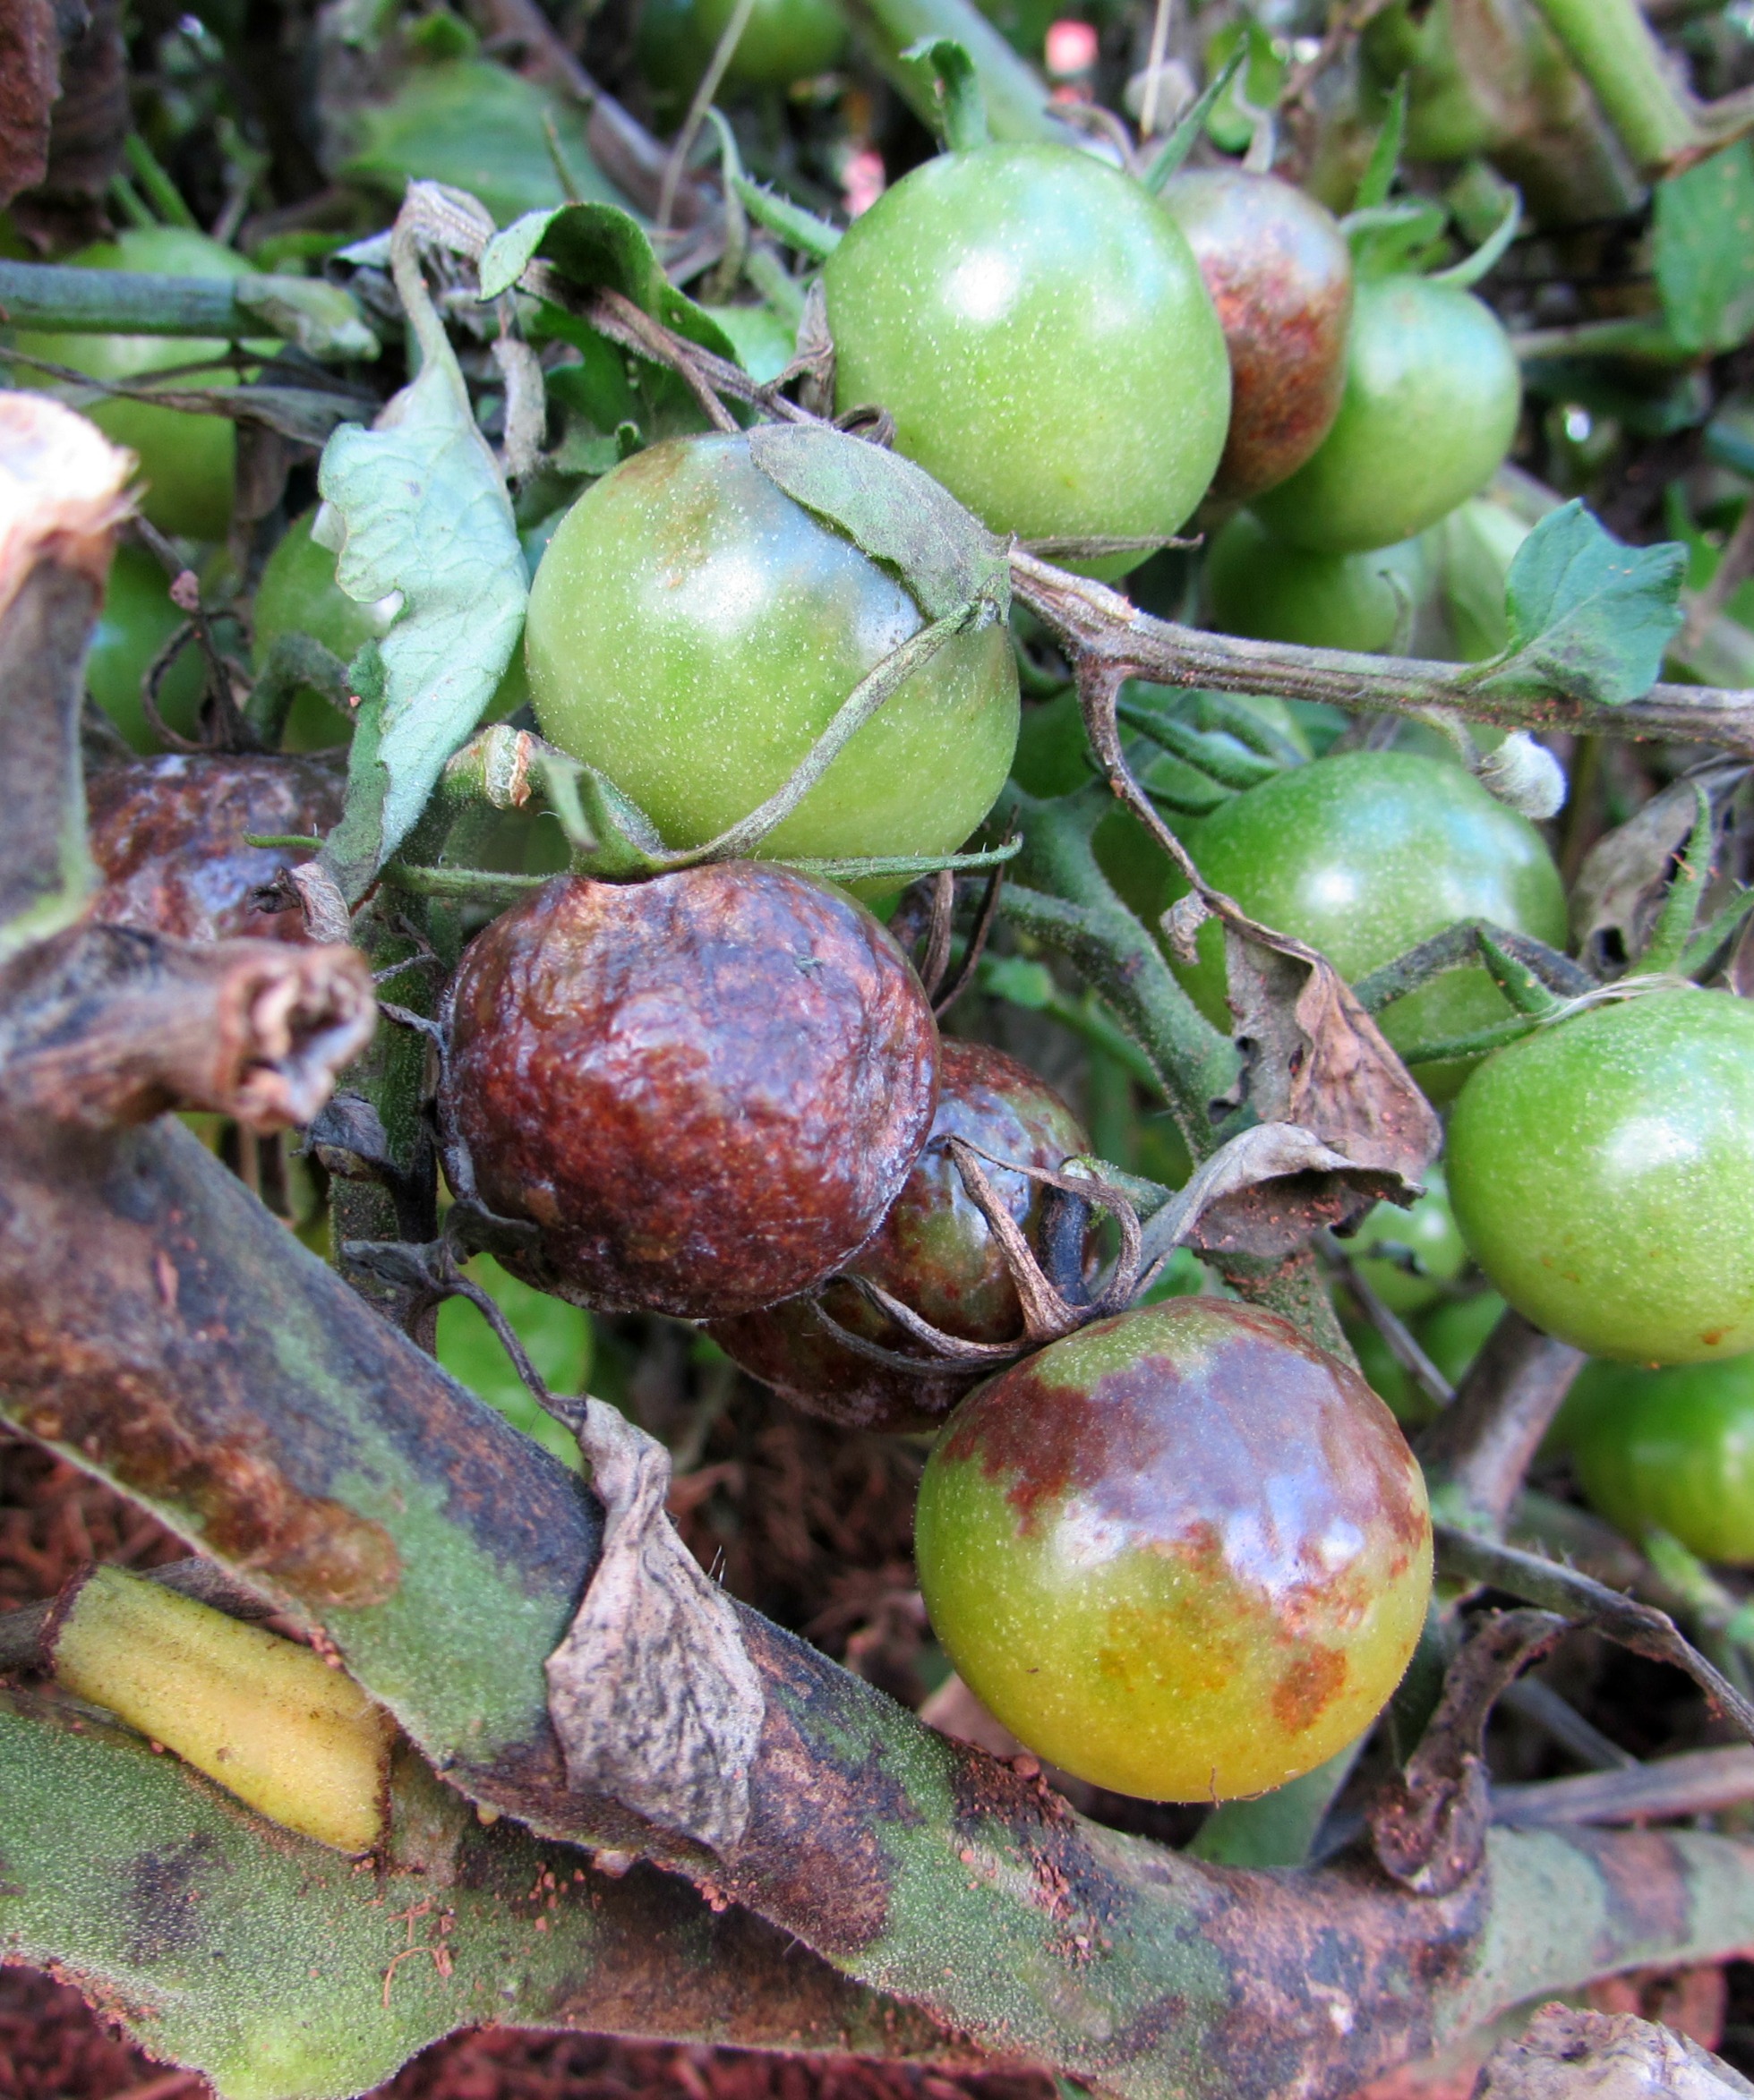
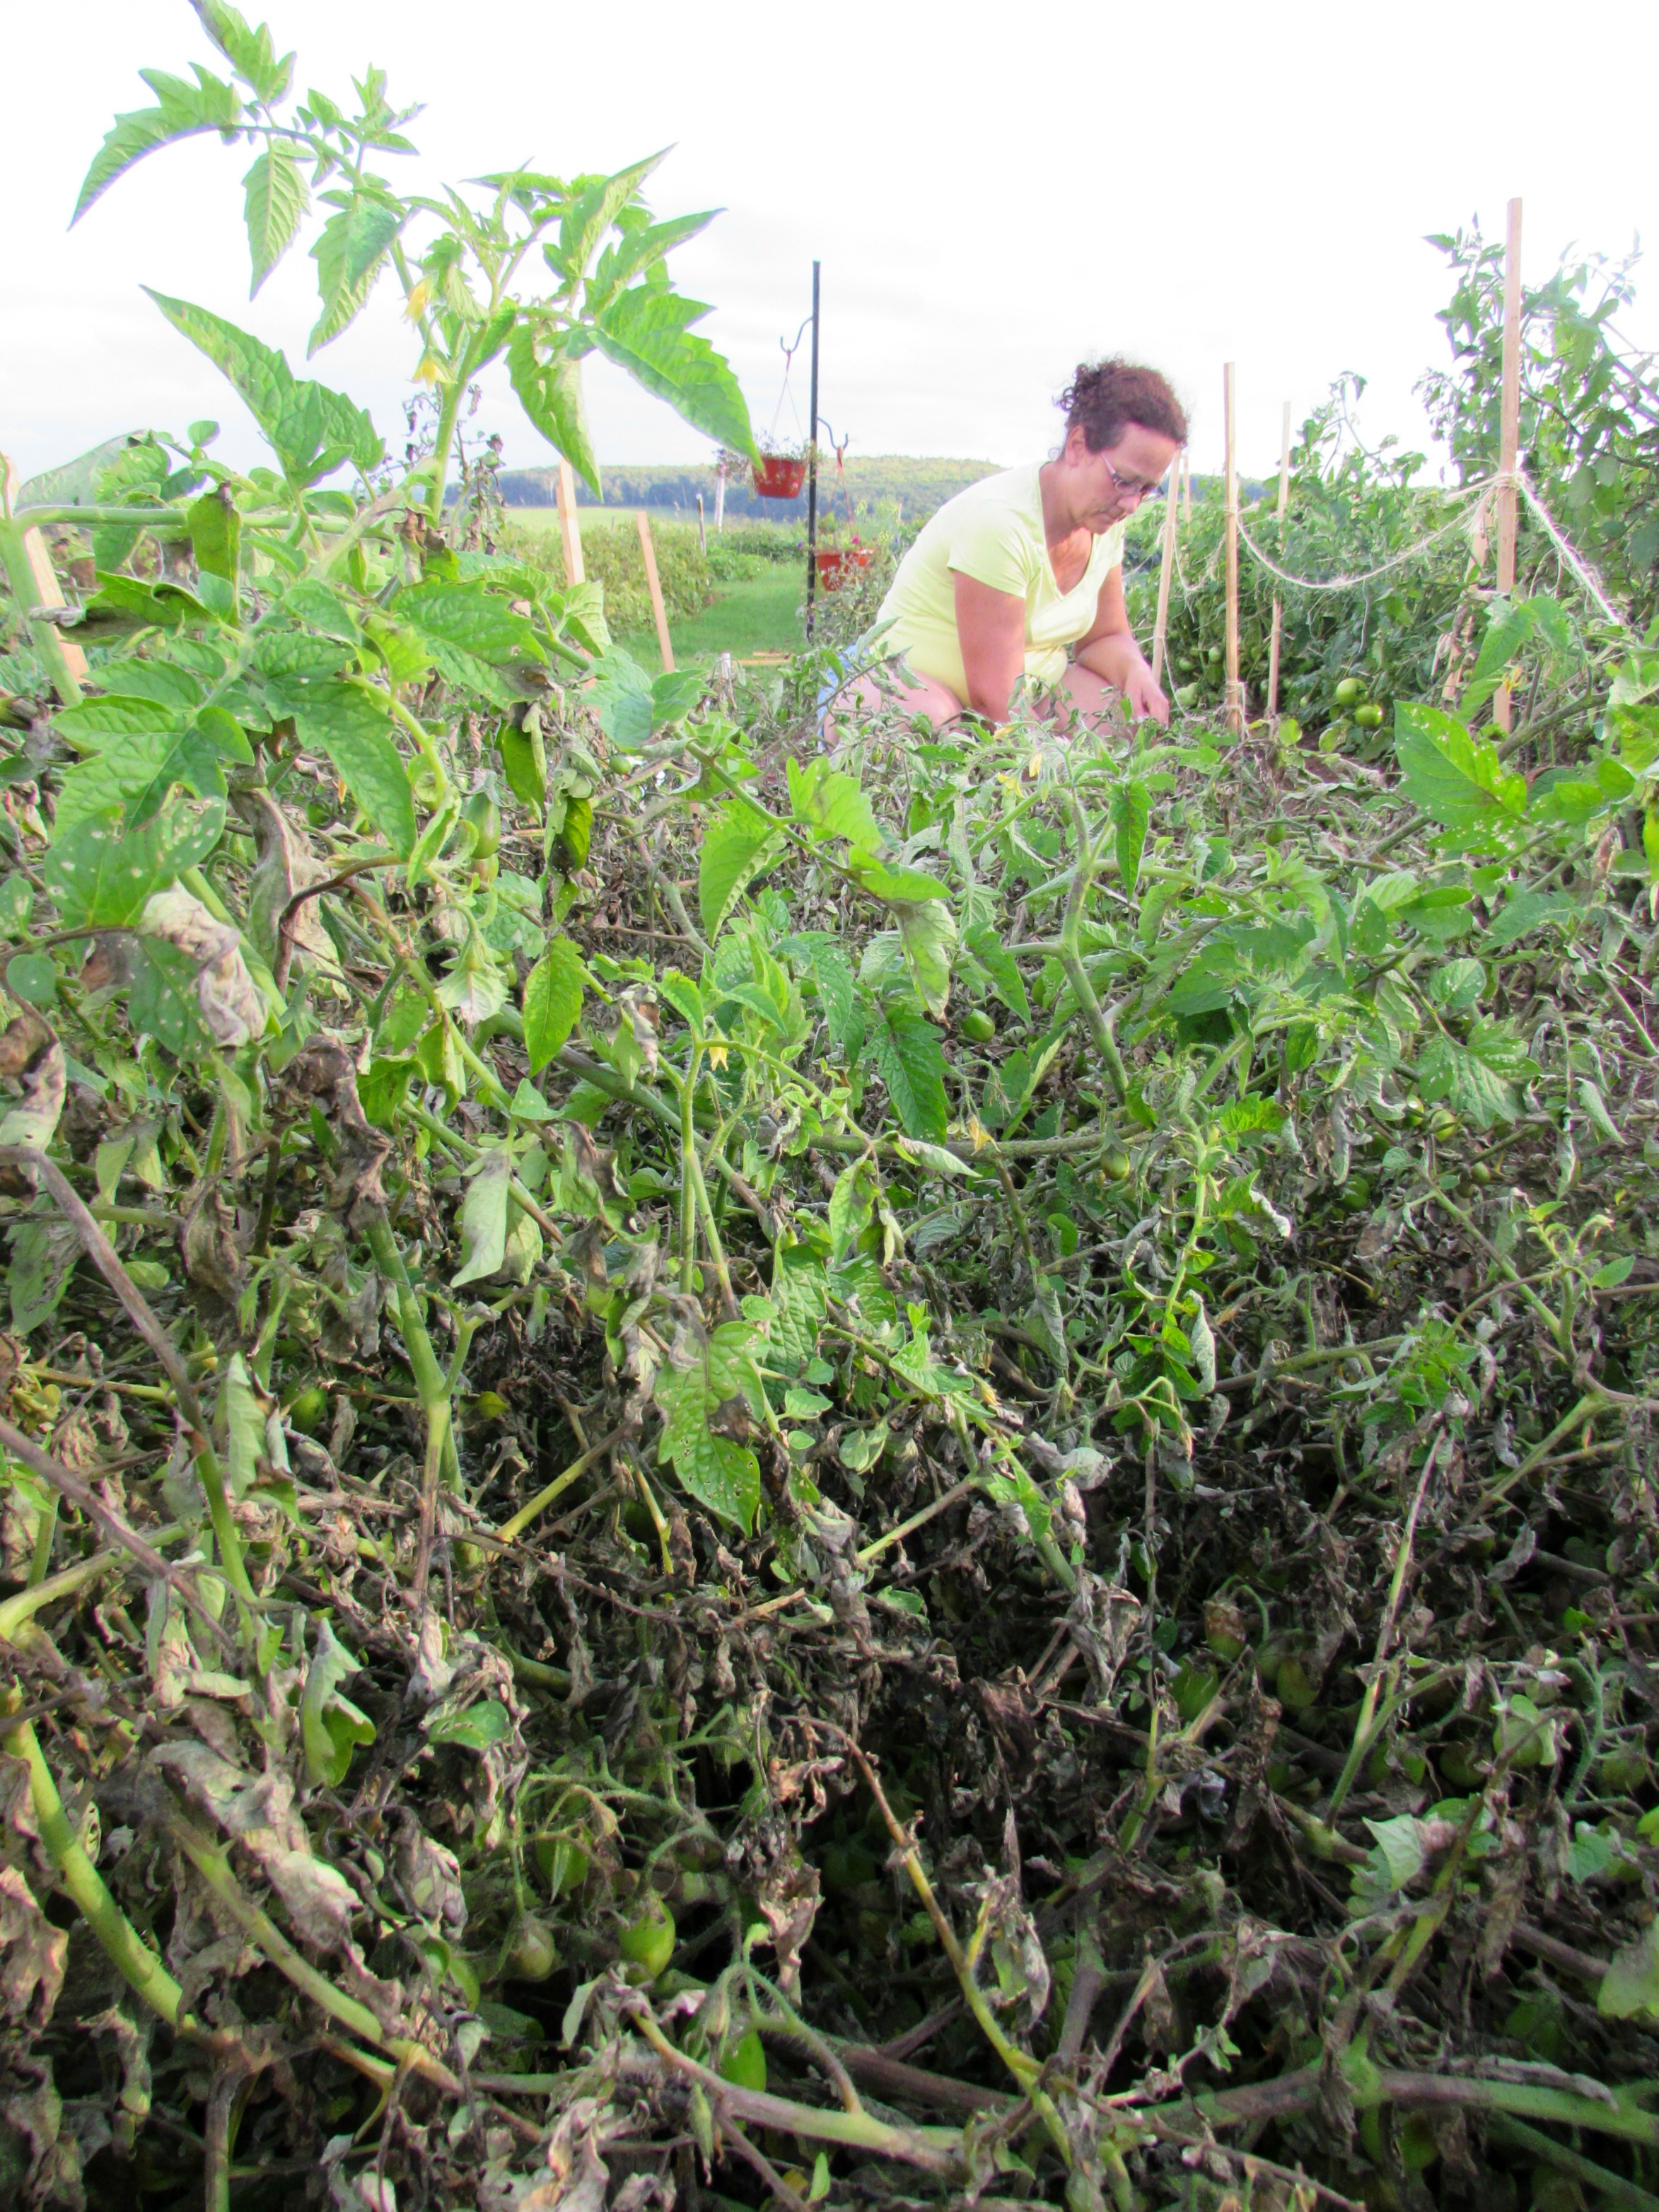
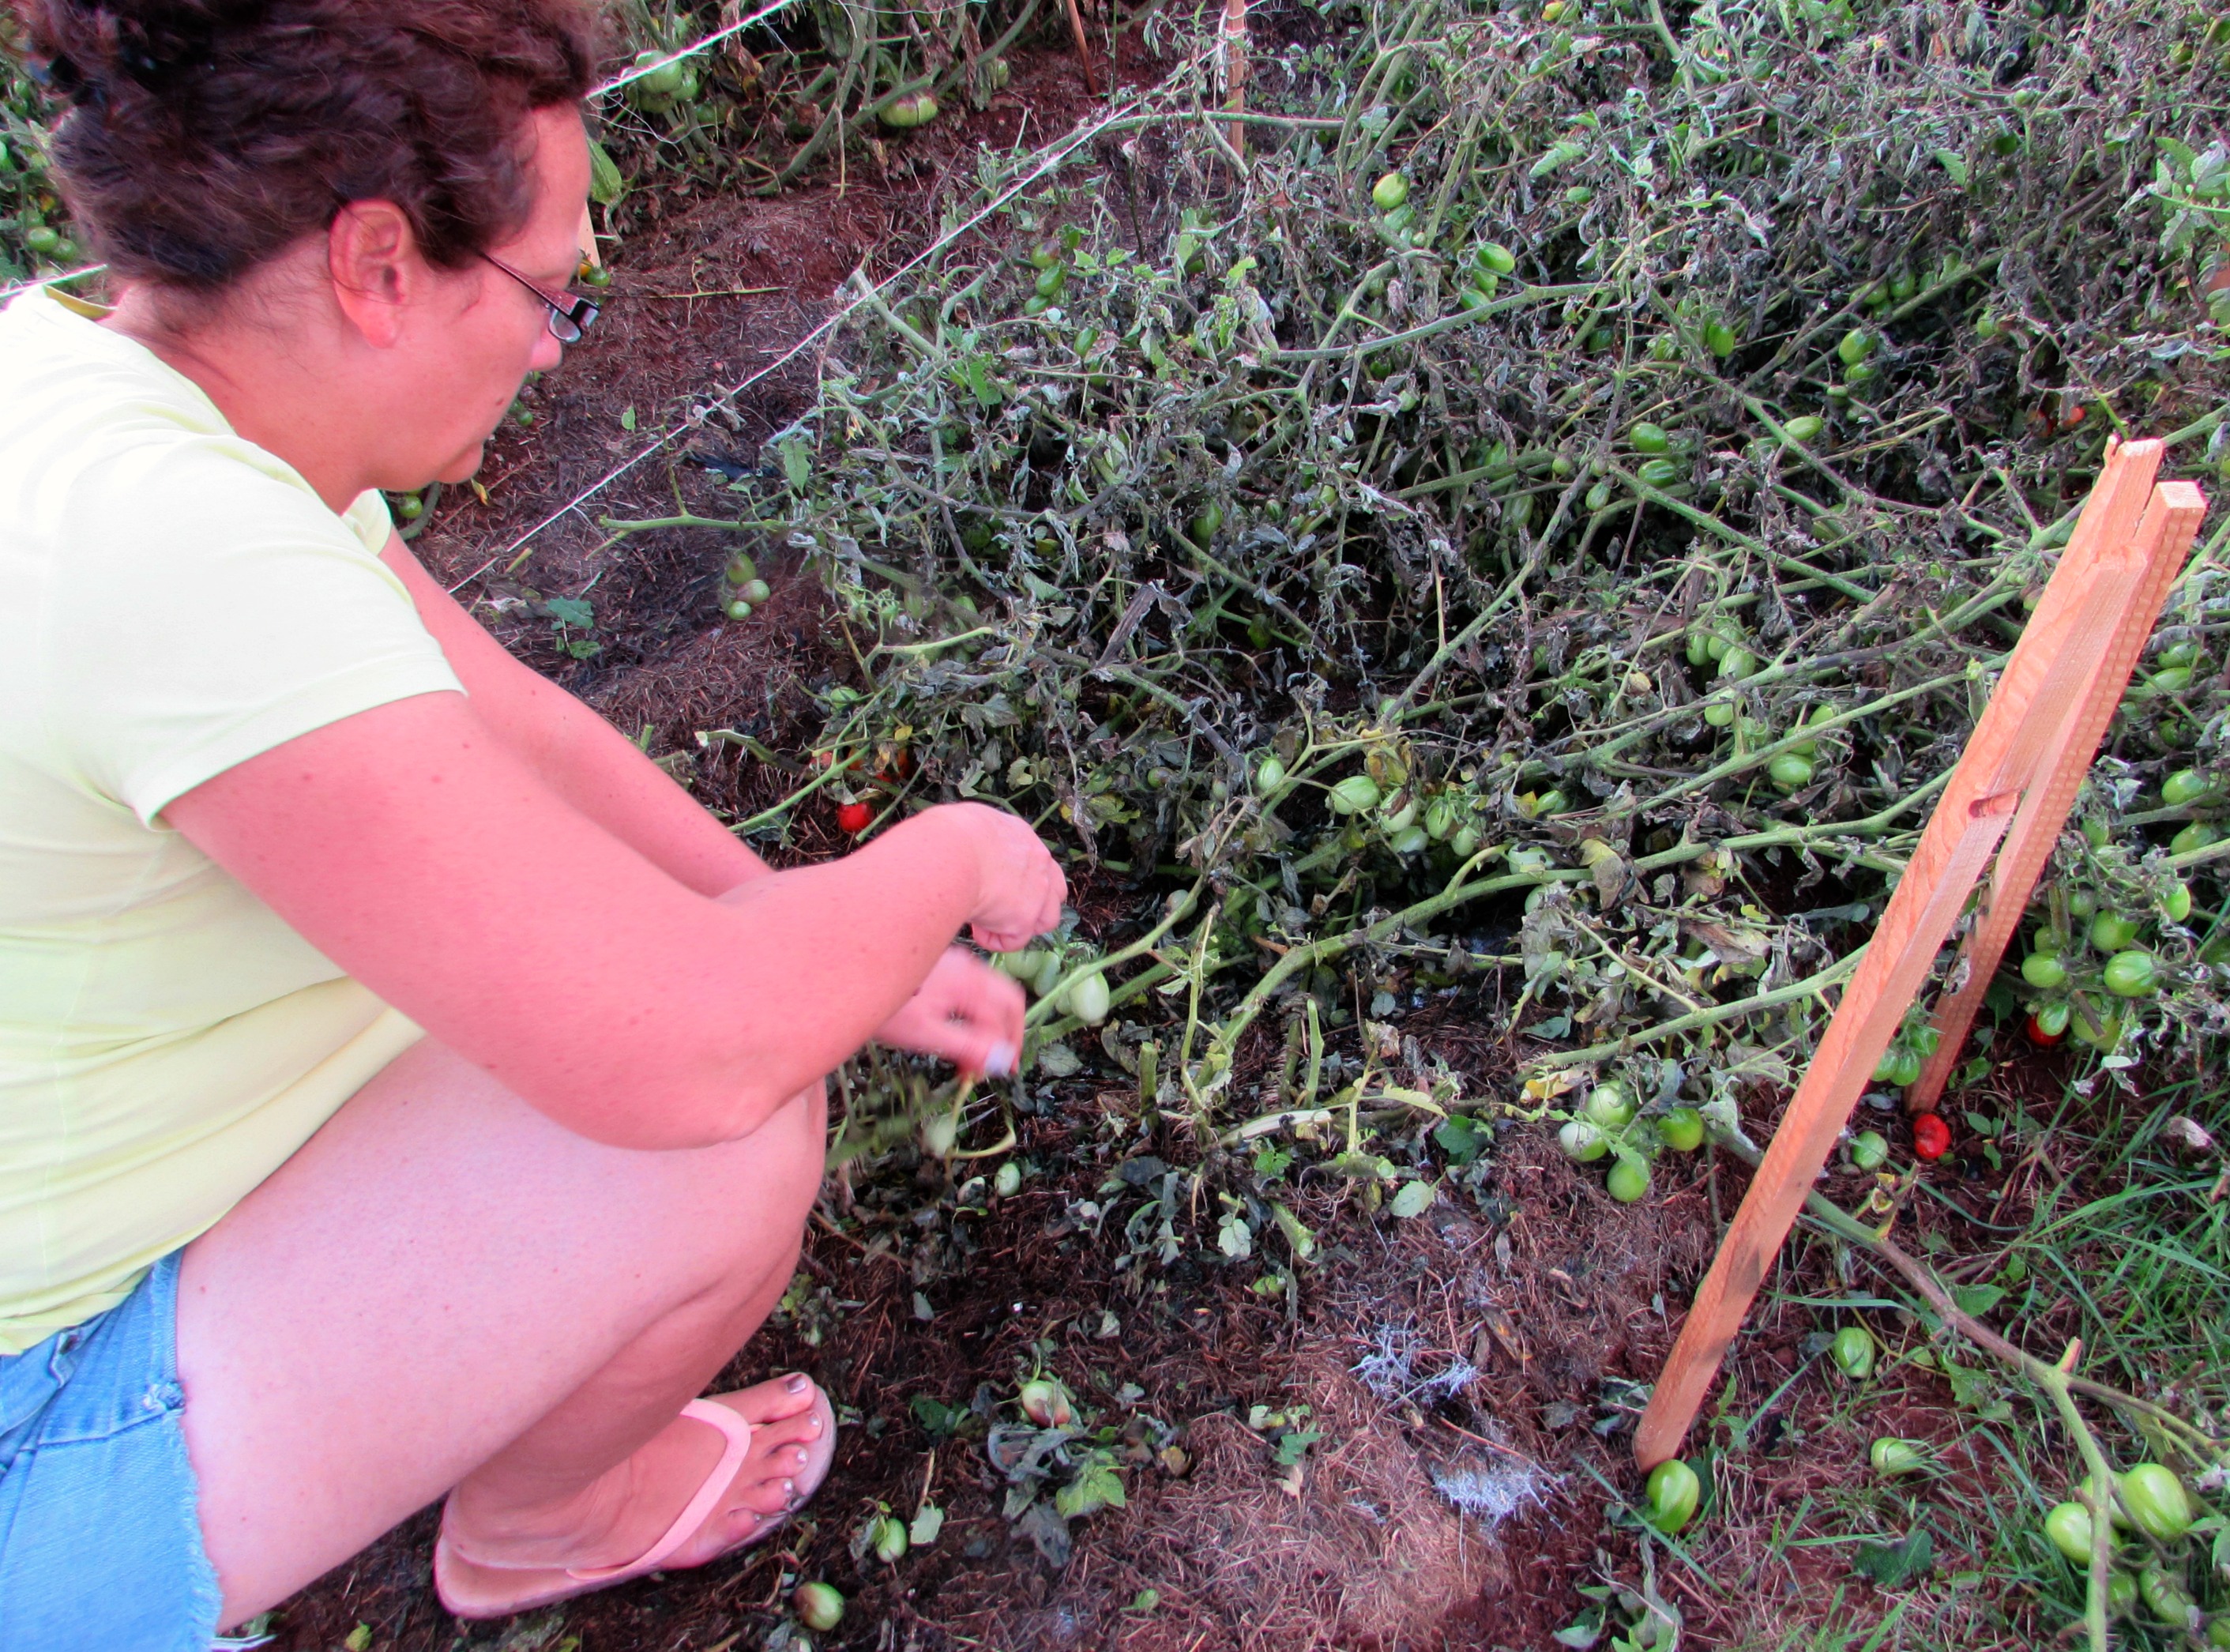
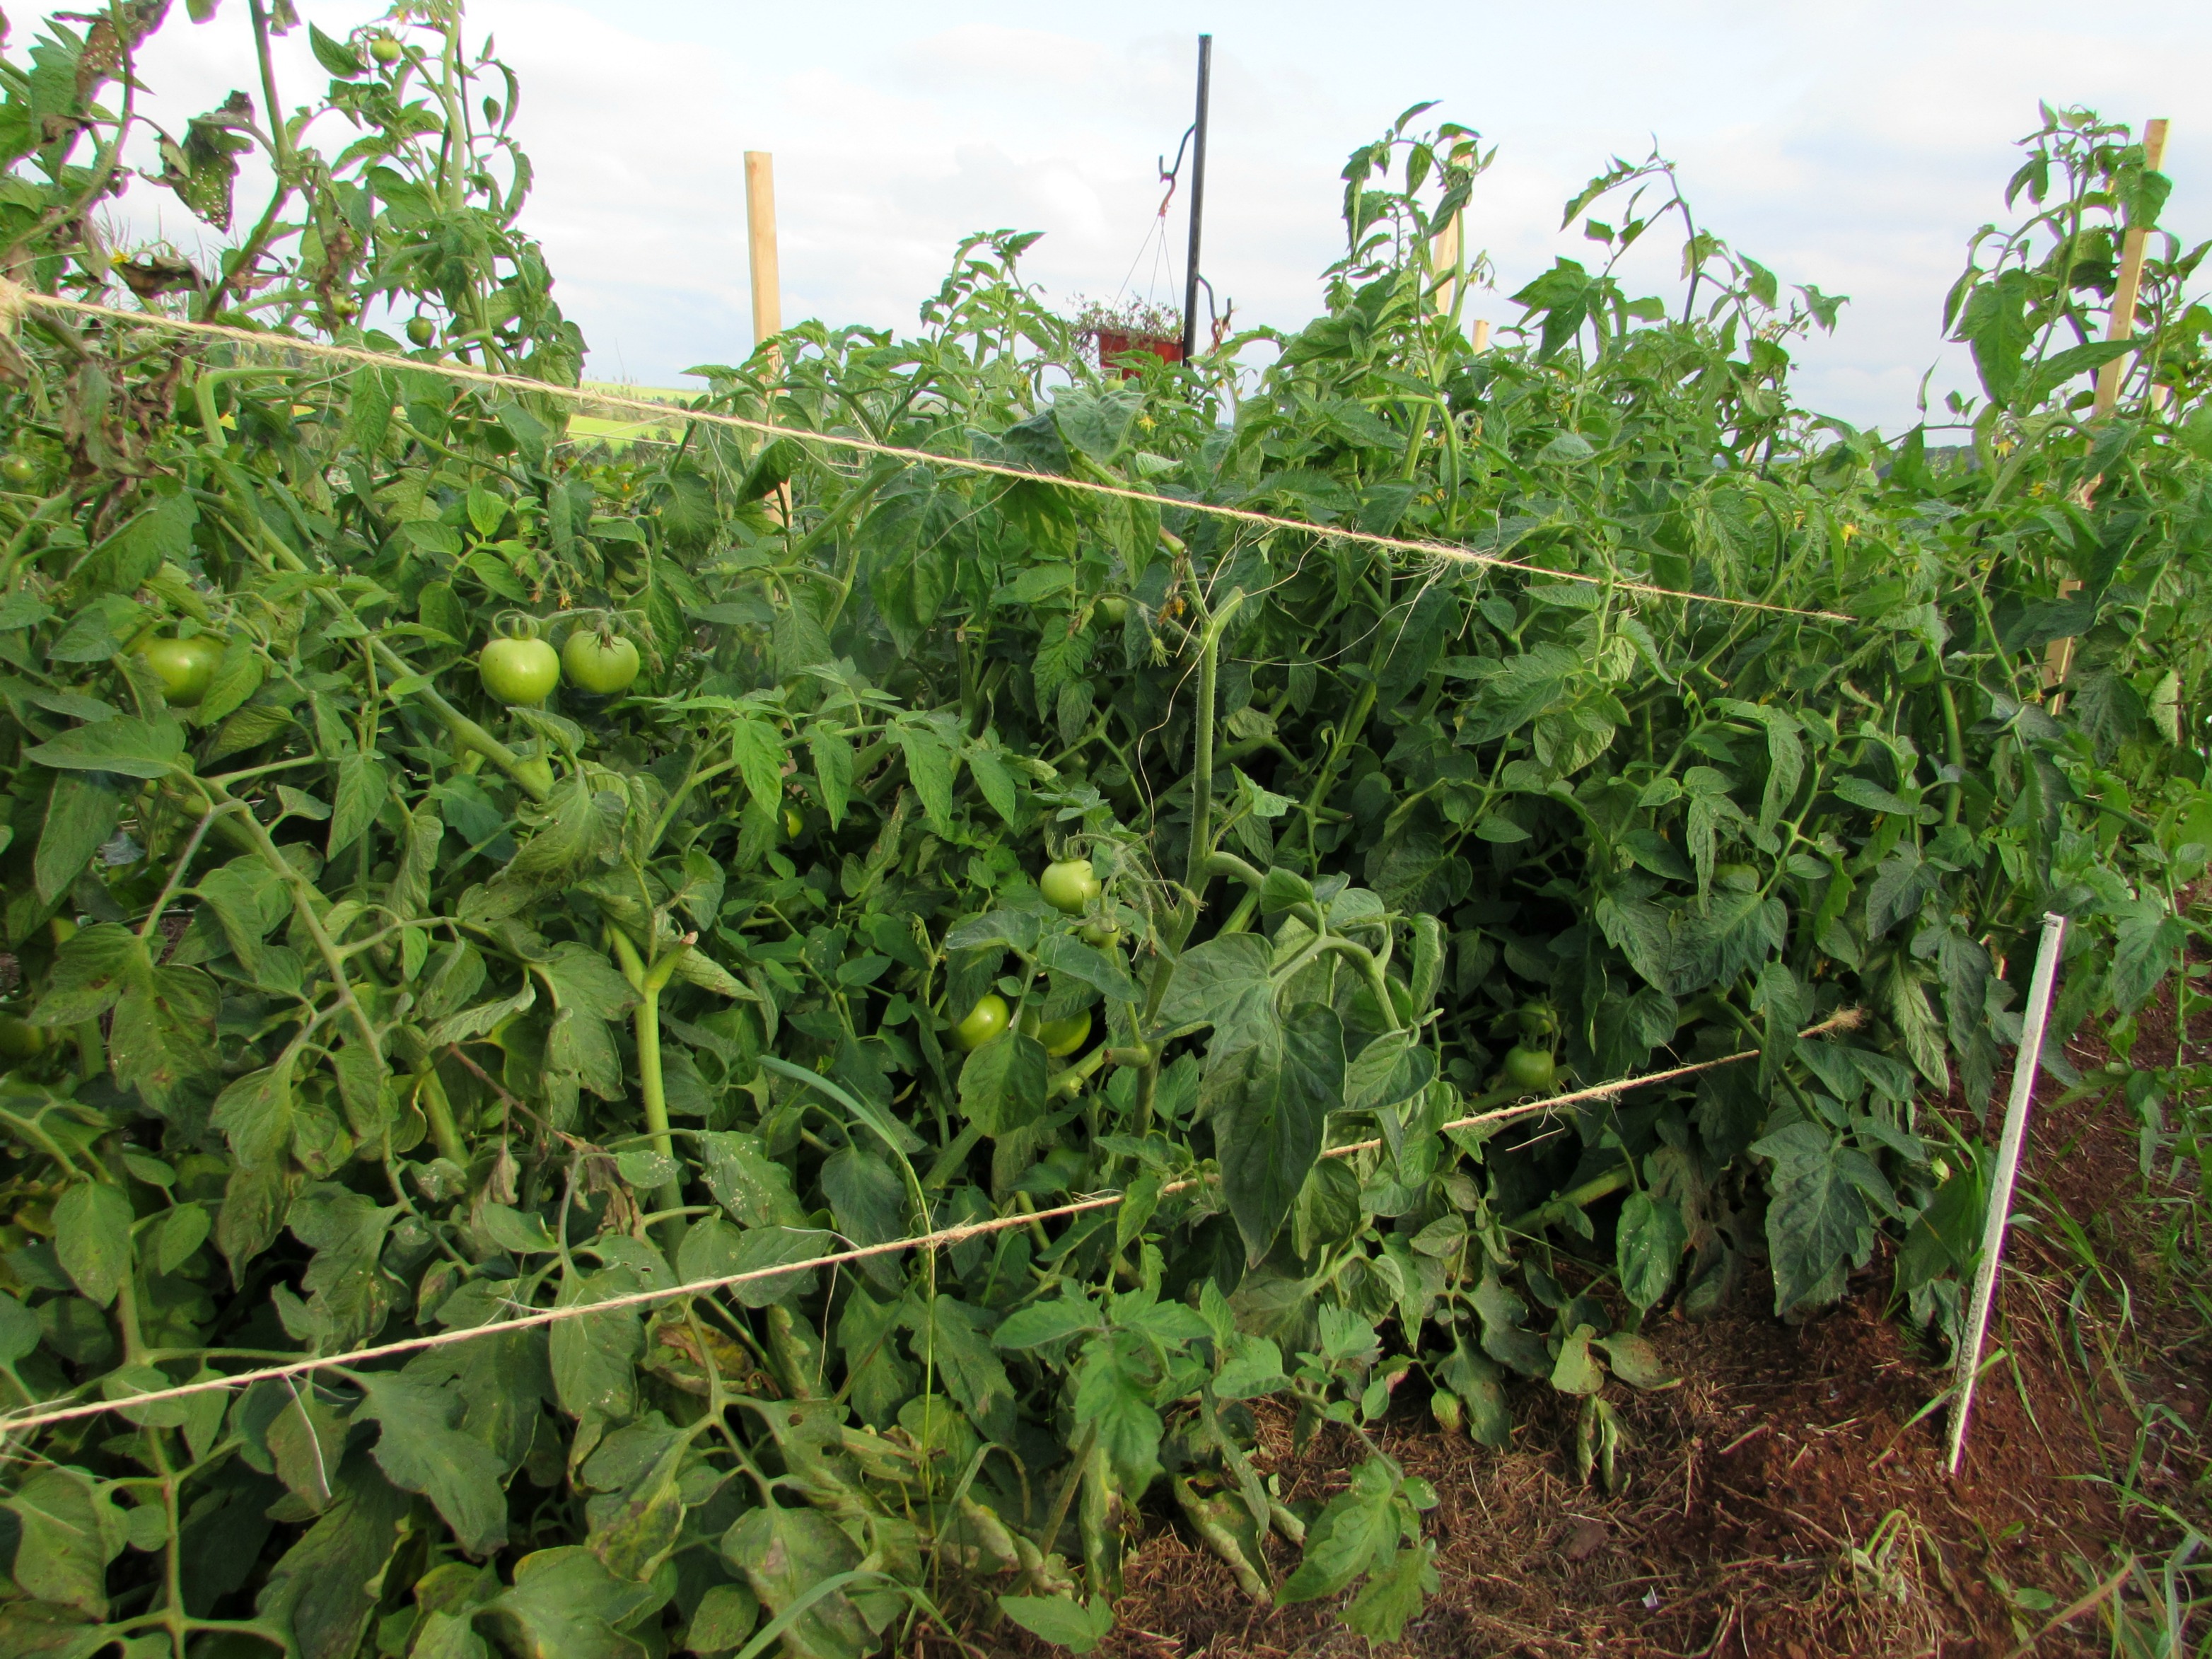
But sadly, not everything went so swimmingly.  I’ve already written about the issues we had with our tomatoes – then last week a cold snap claimed the sweet potatoes and winter squash plants.  Unfortunately, even though we covered the plants that evening, the cold was too much and these plants were beyond recovery.

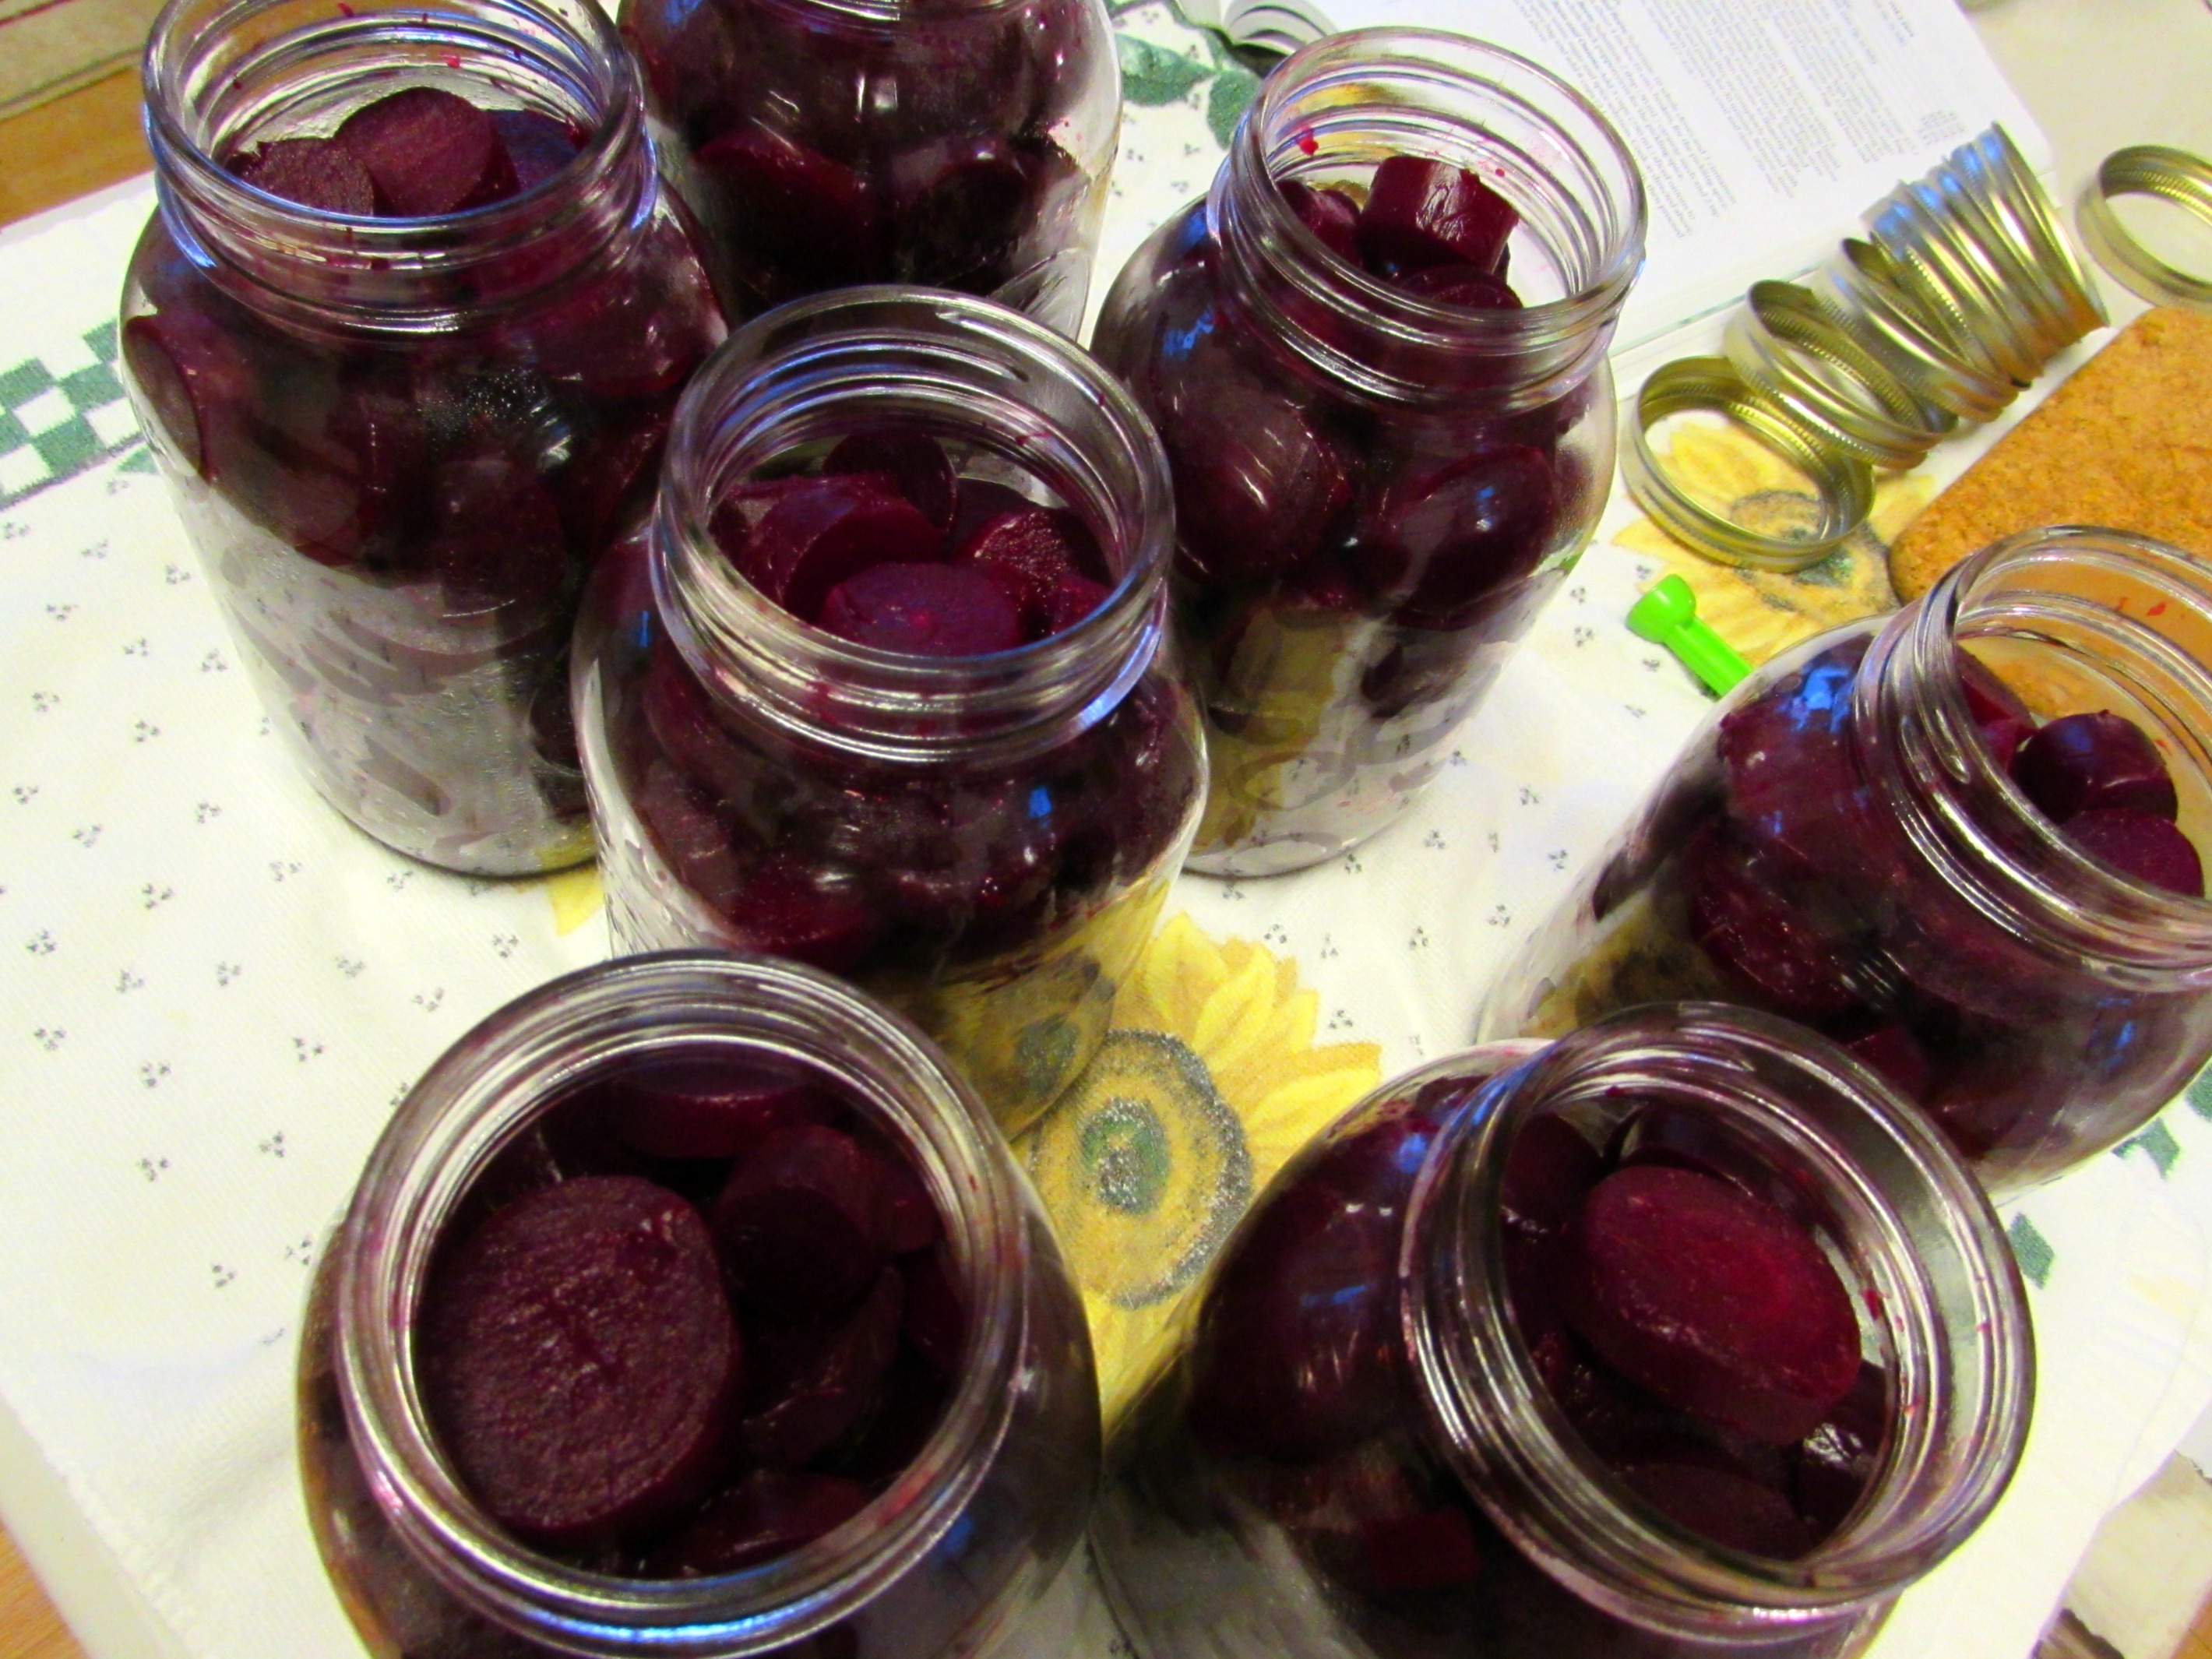
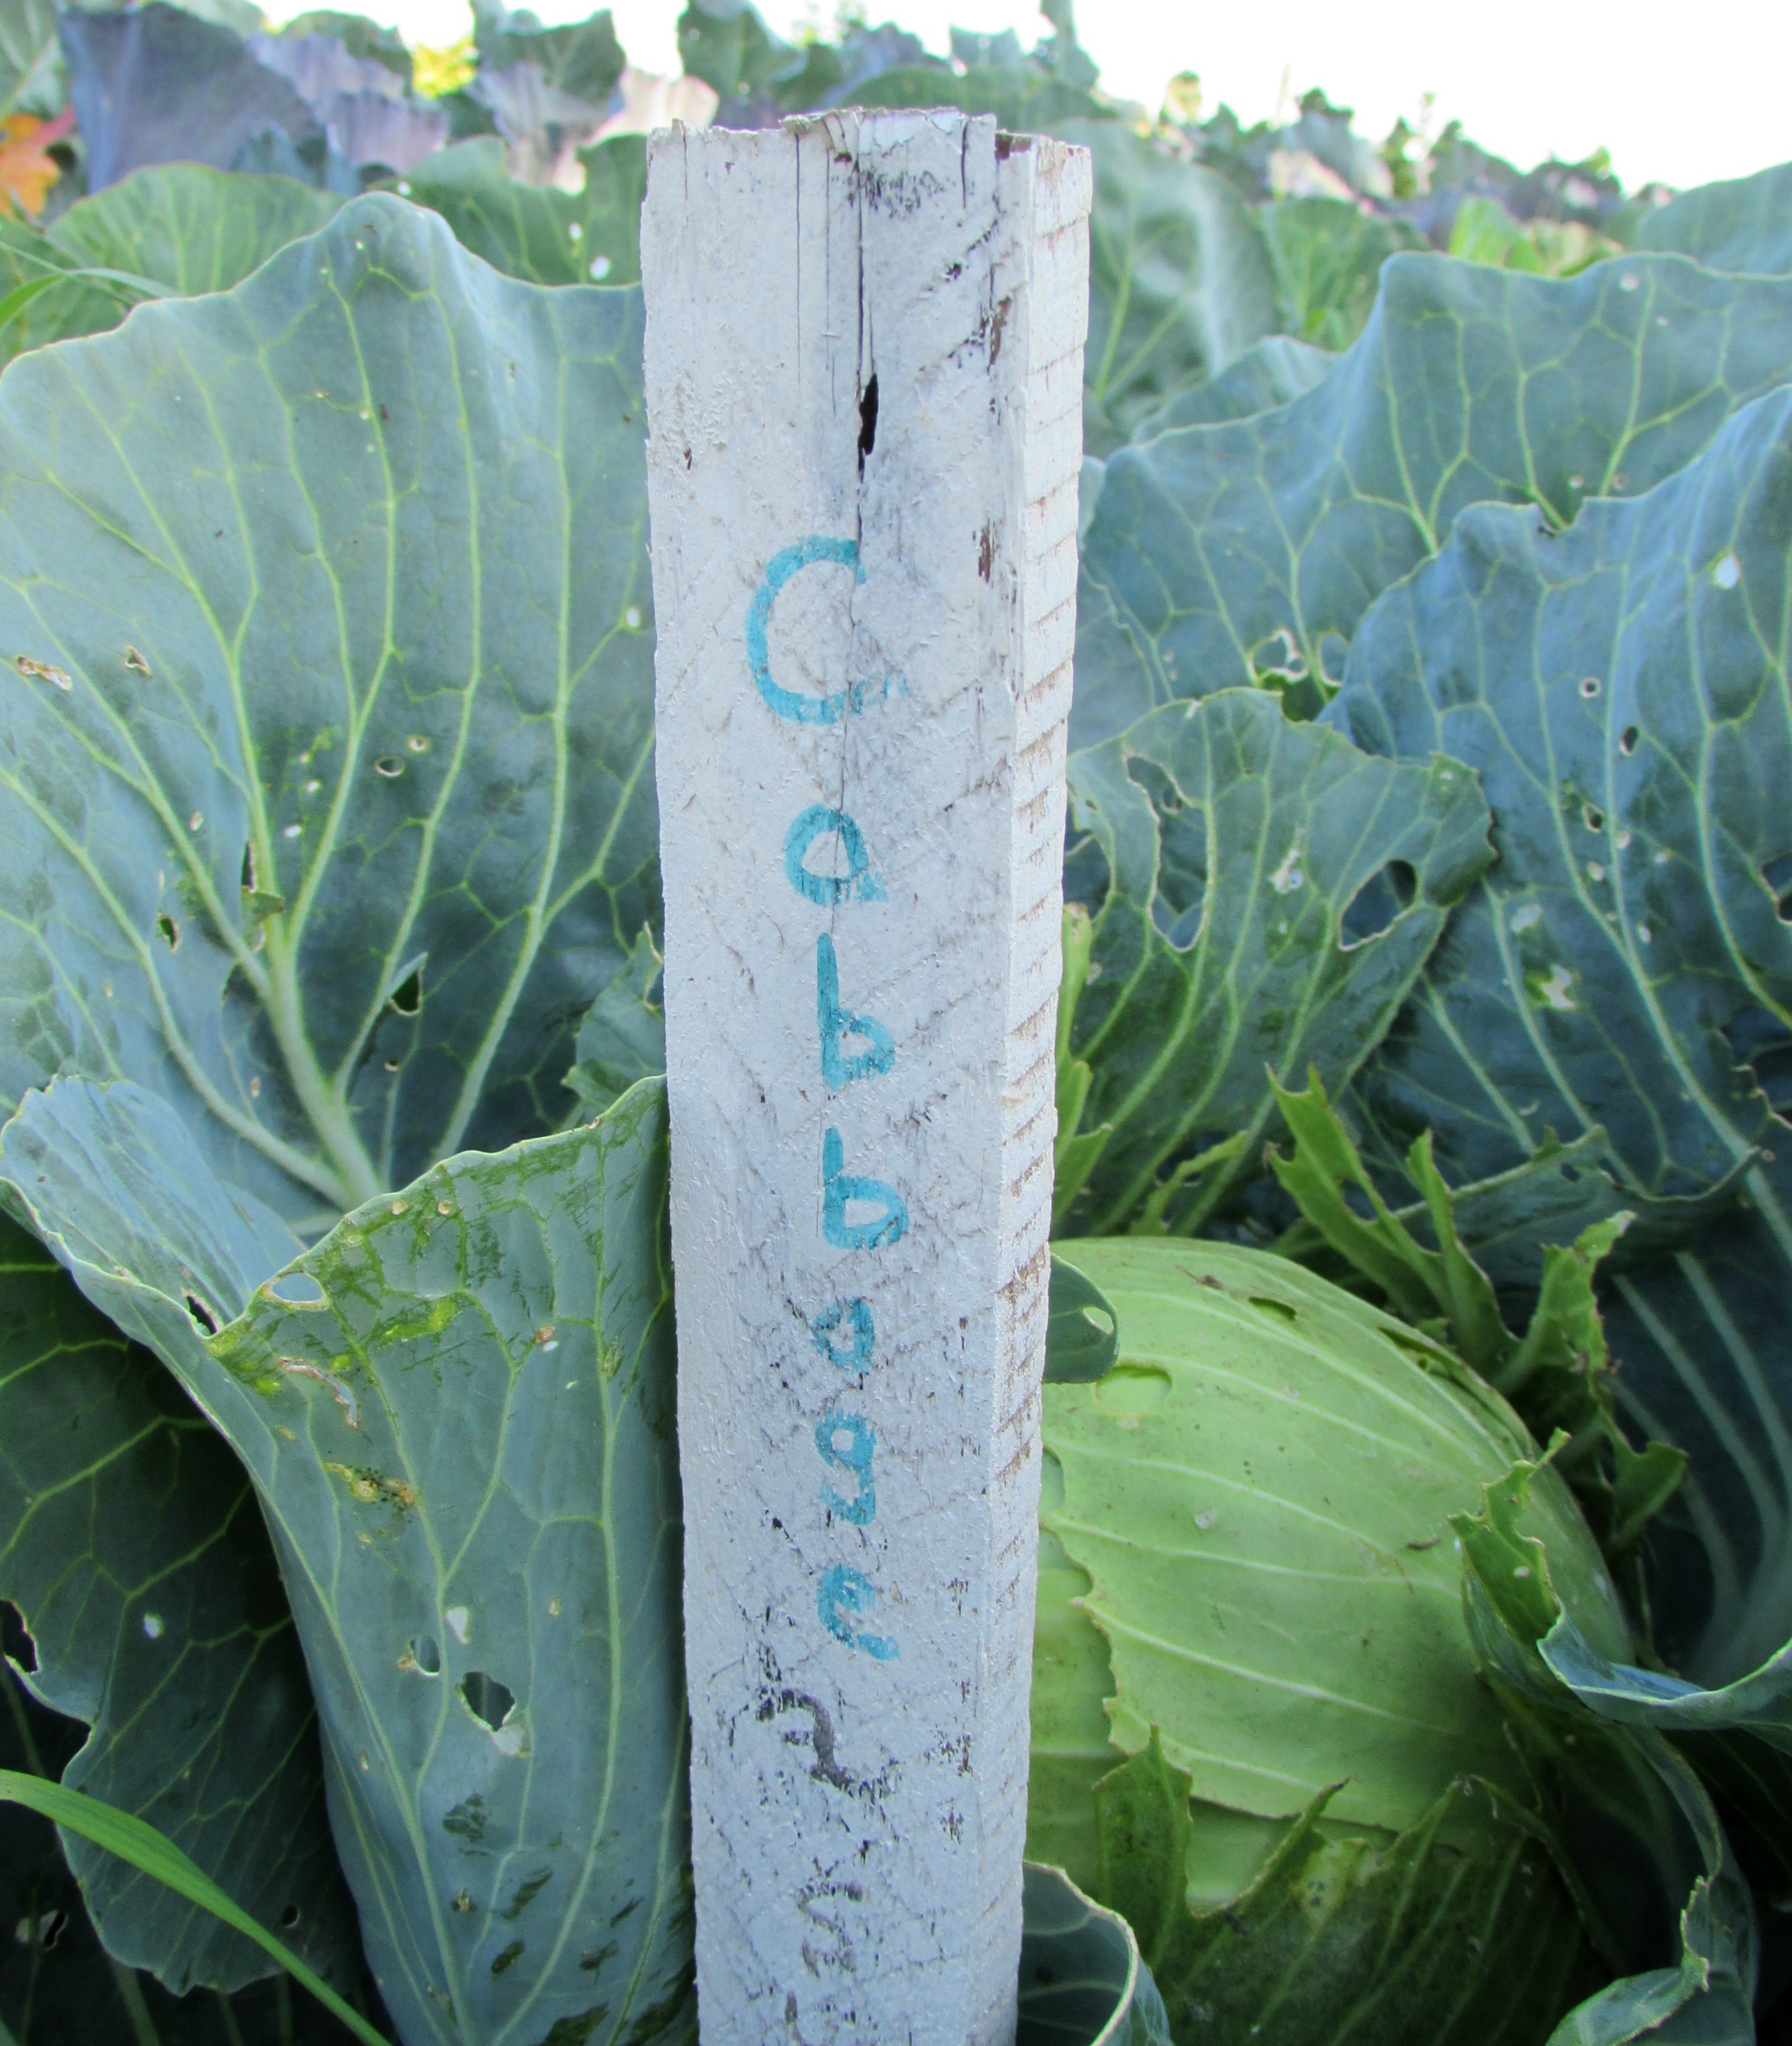
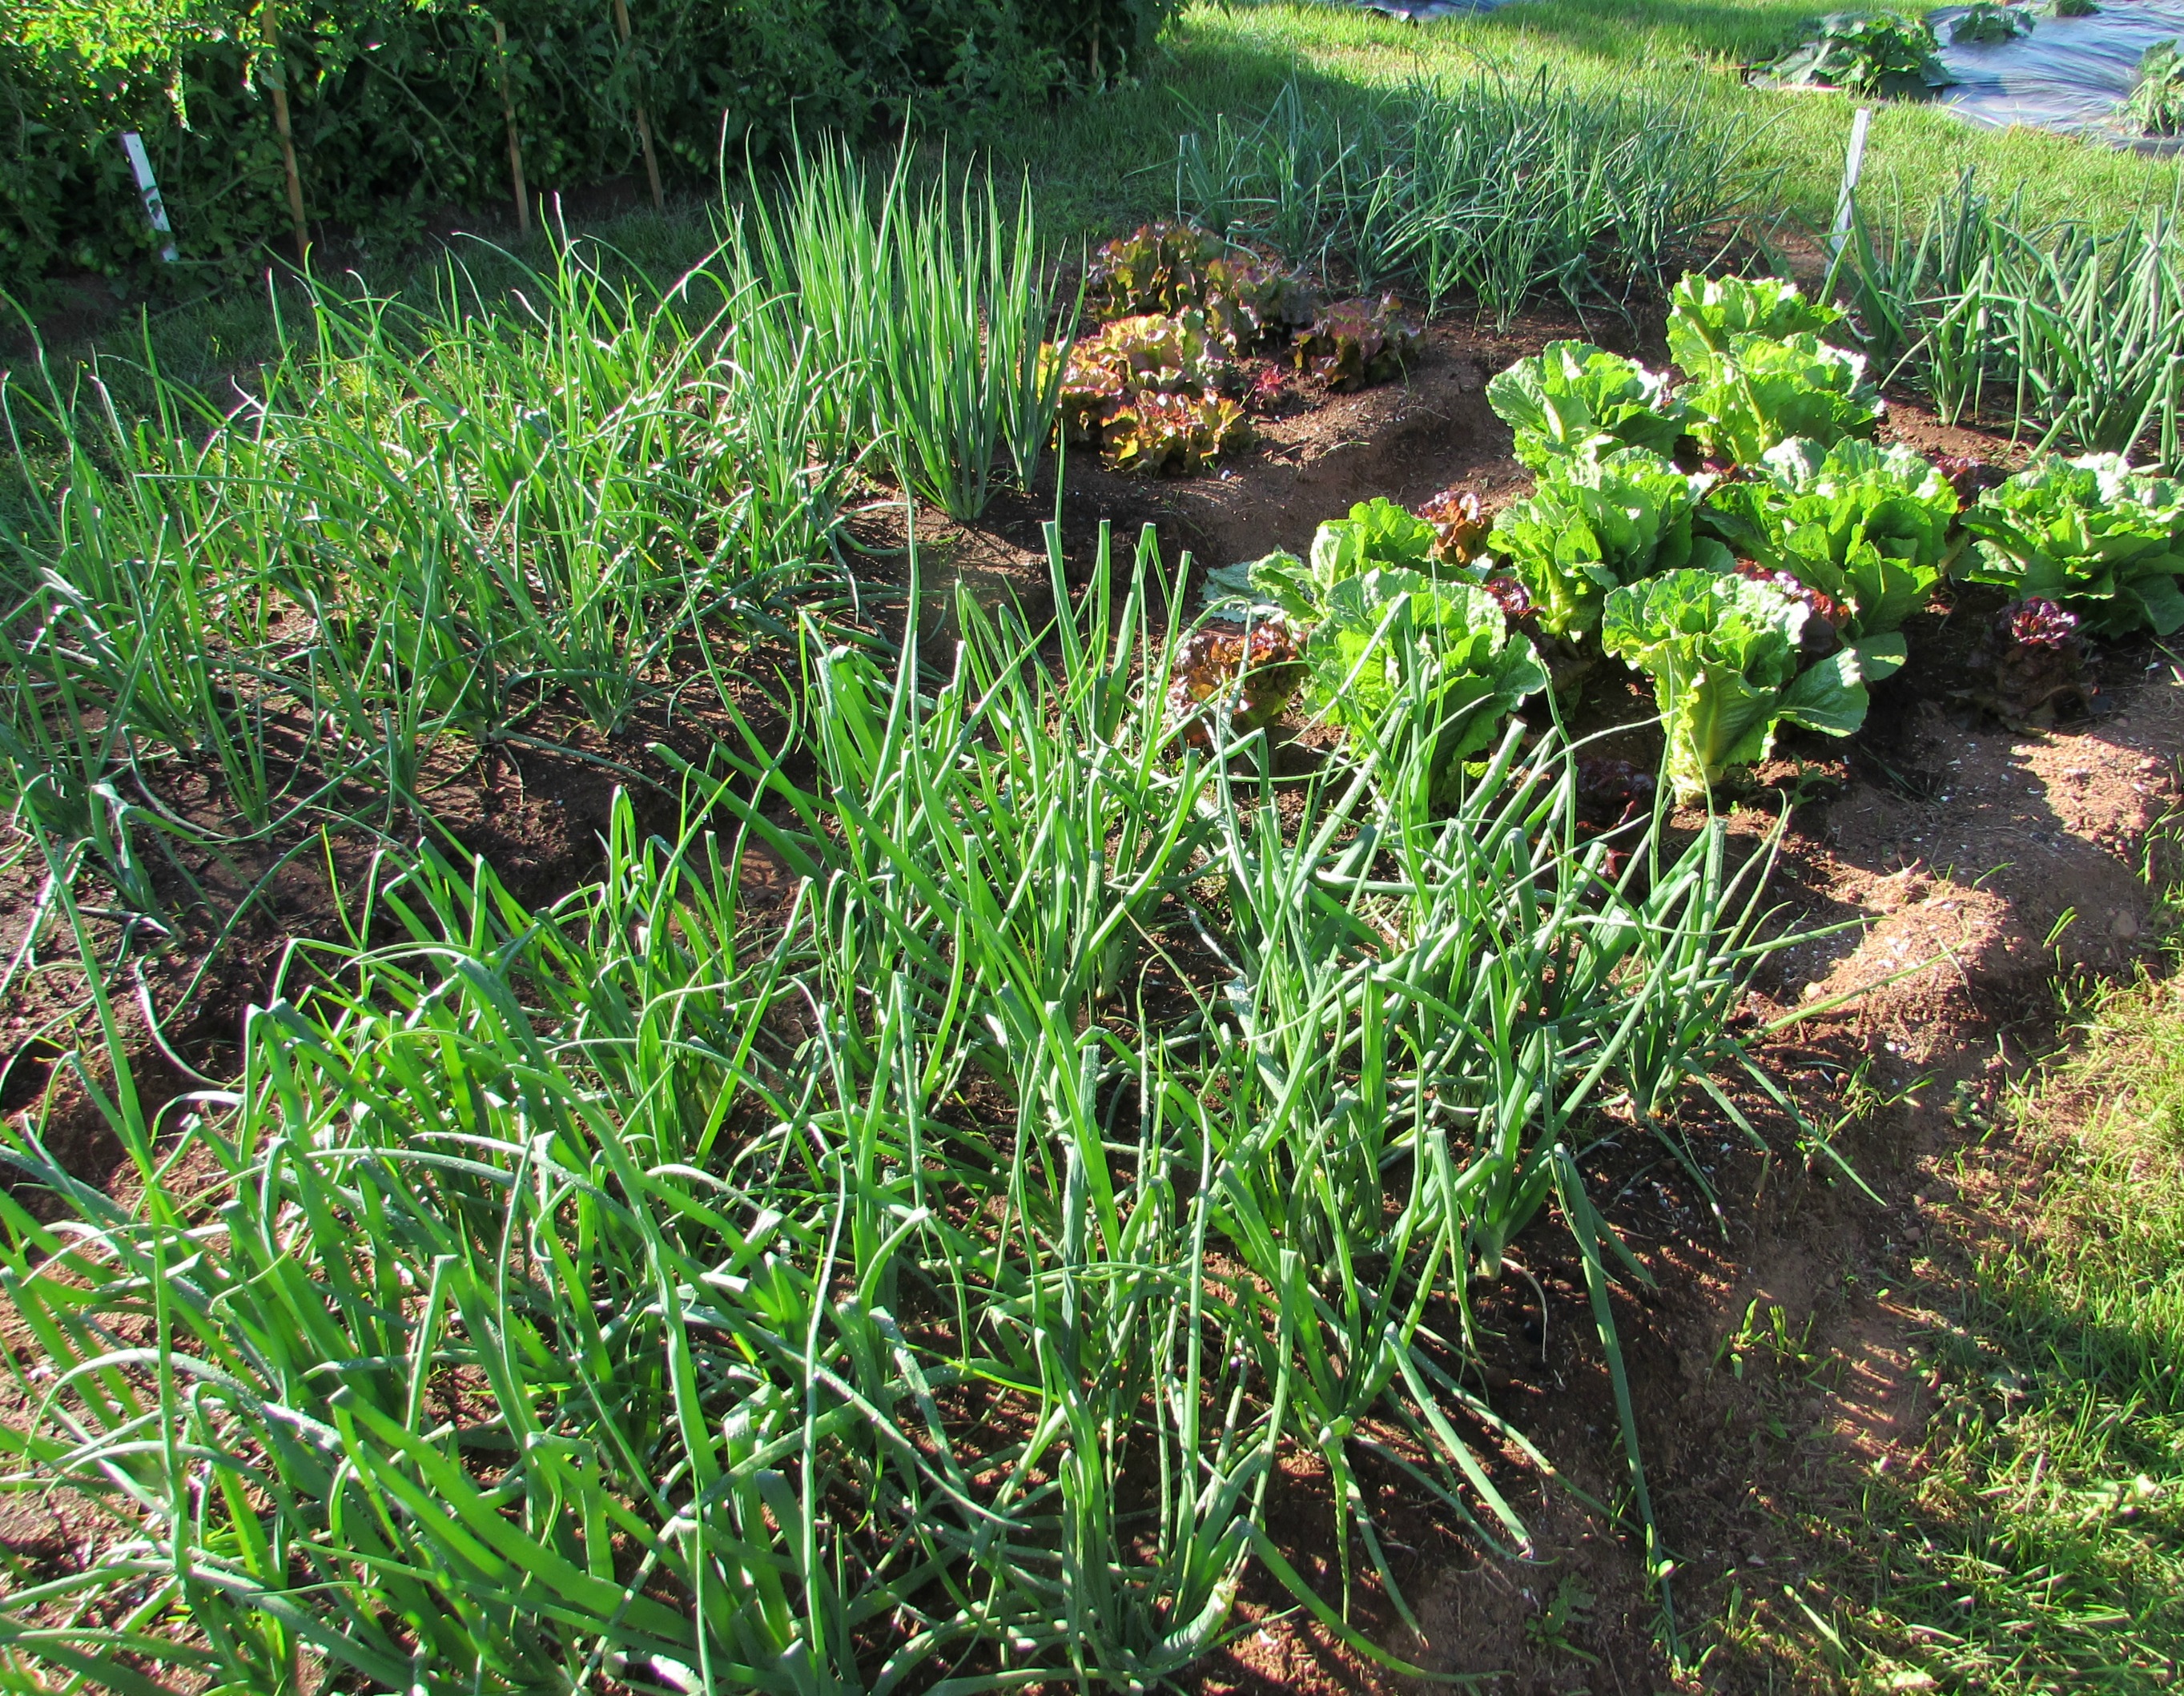
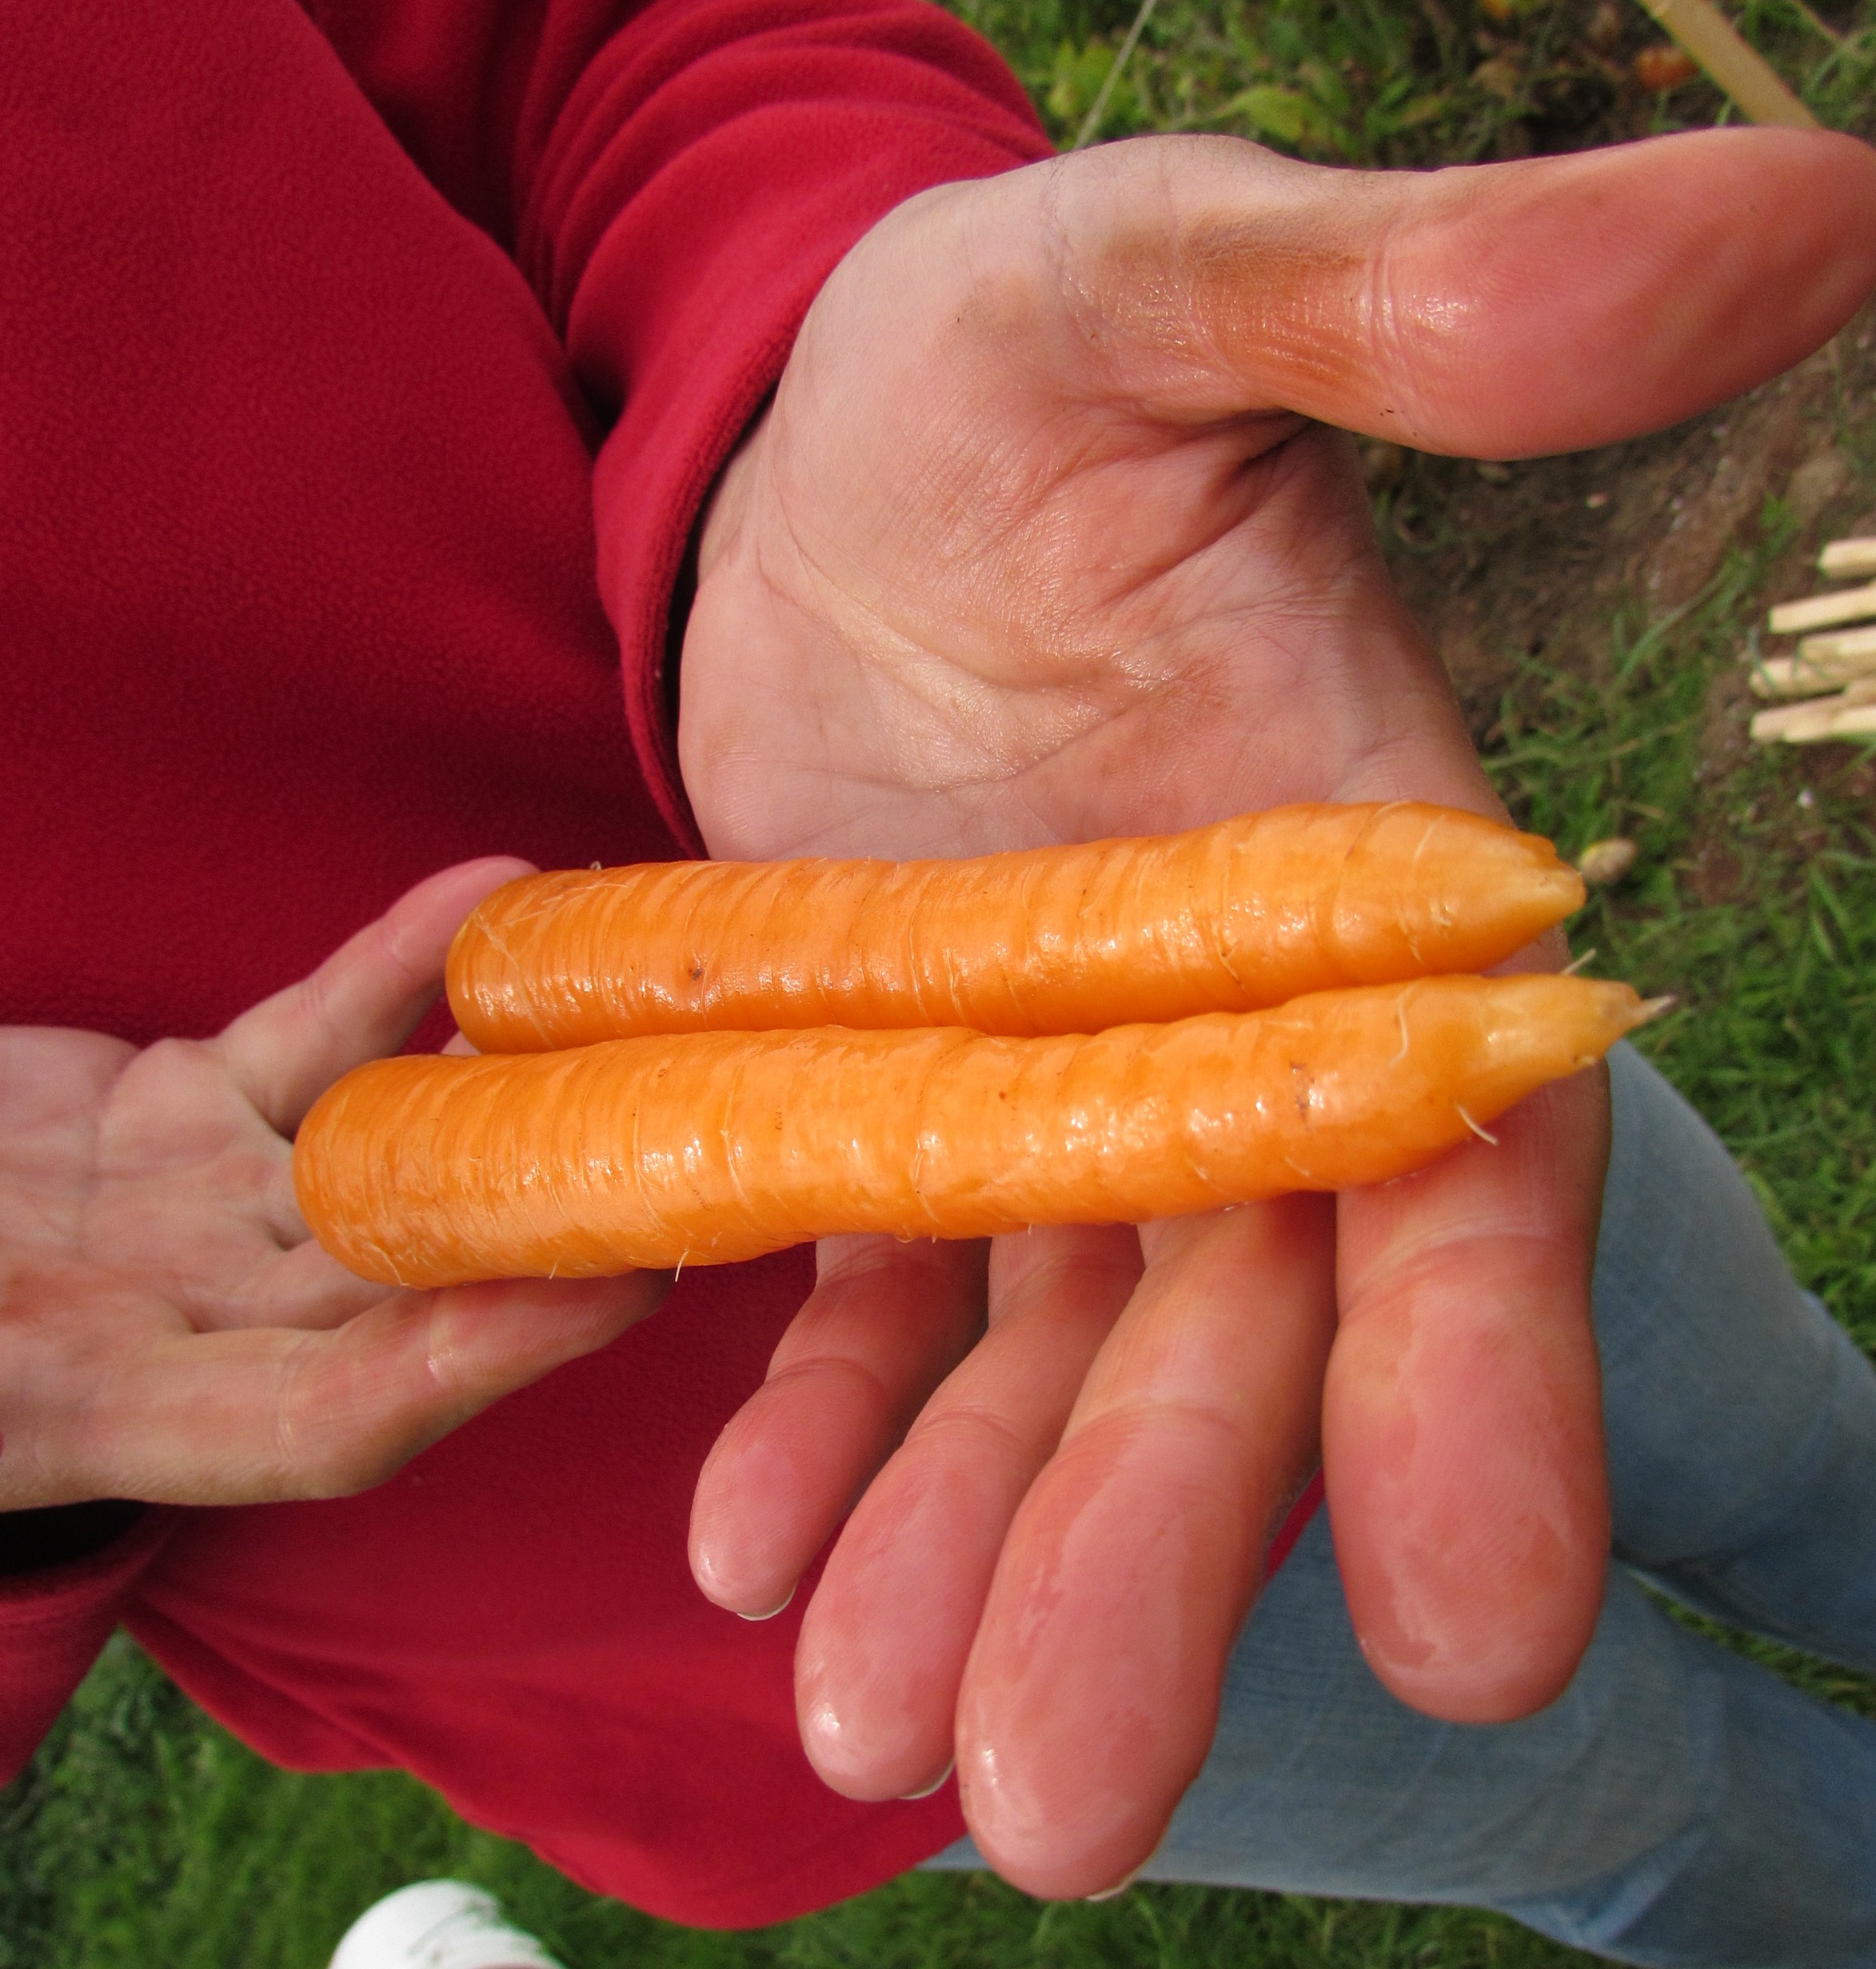
But, like the second corn harvest, we still have cabbage, rutabaga, carrots, parsnip, onions, pole beans, leeks, beets and swiss chard to pick as needed – and then to harvest for long-term storage as well.

Then we have some of the more unusual crops to enjoy.  Like these little guys:

IMG_4048

Ground Cherries (or Cape Gooseberries or Husk Berries depending on your preference).  A member of the tomato family, ground cherries grow in a little papery husk while on the plant and are ready for harvest when they fall to the ground.

IMG_4051

Sweet and juicy and pineappley – I love them over vanilla ice cream.

IMG_4056

The berries can be prepared in a tart or pie-shell as well – I’ll let Vanessa take care of that bit of research and let you know.

Other than some fruit, we haven’t bought any produce to speak of since the end of July.  And frankly, like most people know of home-grown tomatoes, there’s nothing like picking and preparing vegetables fresh from the garden.  And it’s good knowing that there’s no pesticides or chemical fertilizers to worry about.

IMG_4210

Today, we did a big cleanup on the harvested beds and planted a cover-crop of buckwheat to replenish some of the nutrients and organic matter in the beds.  Left in the bed to die as the cold approaches, it will also help protect the soil from wind-erosion through the winter.

And already, we’re planning what and how to plant the beds next year.  Until then we continue to enjoy this bounty.

Thank you, Lord.

IMG_4206

Moving Day!

News flash: Chickens grow fast.

With that realization, we stepped up our game last week and built the coop for our six “Golden Girls”.  We’ve been holding out on building it in hopes we would be able to have our new garden shed built at the same time.  The plan was to have the coop attached to and shared with the shed – making the care for the chickens and egg collecting easy and efficient.

Unfortunately with fall approaching, we find ourselves short on funds to build the luxury shed.  While we will be using the majority of the salvaged material for the shed, it will still cost more than we have to get it the way we want it – so for now, a quick and easy coop is the way to go.  And because it’s “temporary”, inexpensive as well.

Before we go further, we’ll take a little walk back in time.  Remember the original addition attached to the back of our house that we removed in the spring?

IMG_2133

We carefully dismantled everything and stored the material in the barn and yard for future use.

IMG_2223

That’s where we began.

A quick look through the pile and I found a couple of pressure treated 4″x4″ posts and some 2″x8″ joists taken from the back porch and deck.  I had a sheet of plywood left over from building our garbage chute that we used when we were gutting the second floor of the house – we’ll use that for the floor.  The concrete blocks were left behind from a previous owner and taken out of the old crawlspace prior to our foundation getting done.

coop Collage1

So far no cost to us.

Once the deck and floor was built, we scavenged some 2″x4″s and framed the walls and roof.  Rather then sheathing the coop with plywood and applying some sort of siding, we elected to use the pine boards taken from the old addition ceiling and made board and batten siding applied directly to the frame – no plywood.

coop Collage2

We debated the exterior finish for the coop.  Would we leave it natural? stain the wood? paint?  Given our location and climate, leaving it unfinished wouldn’t be an option.  It wouldn’t take long for the exposed pine and spruce to deteriorate and although it’s a temporary home for the girls, I want it to last.  We’ve been trying to decide what colors to paint our house next year and thought we’d test our choices on the coop.  But then again, paint’s not cheap either.  That’s when I remembered that somewhere in the house is a box with some of the paint we brought with us from Ontario.  The taupe was from our garage door and trim, the red from our front door.

The window was one of several we found in the barn from who-knows-where, but it was perfect for our needs.  I just had to build the frame for it.  We also built the door for the coop with the pine boards. From there, we finished the framing and and sheathed the roof with a sheet of OSB sheathing we used inside for the baffle vents in our attic.  When we cleaned out the barn shortly after moving to PEI, we found part of a bundle of shingles the previous owner used for some roof repairs.

coop Collage3

We bought three lengths of shingle/fascia flashing, a quart of white paint and the door and window hardware.

With the coop done, we built the run with a few more pieces of salvaged lumber and the chicken wire we bought at the local farm co-op.  The mesh extends below the bottom of the run and laid into a trench just outside the frame.  It was buried with whatever stone we could find handy and then backfilled with soil.  The idea is to keep anything outside the coop that wants in, out.  (That sentence makes sense, right?)

coop Collage4

Vanessa then dug up a few patches of grass and replanted it into the run.  They’ll eat some of the grass and want to dig and scratch as well.

coop Collage5

And there you go.  The only thing left was to introduce the girls into their new home.

coop Collage6

Then we realized they didn’t have a ramp to get from the coop into the run and back.

IMG_4190

So with the last of the scraps I had around, we quickly assembled the ramp and left the birds to explore.

coop Collage7

So far, they seem to love the new environment.  The chicks may have been cute but to be honest, I’m happy to get them out of our house and frankly, I think they’re just as happy to get out of their cramped brooder.

IMG_4238

So I think we met our objective: for just over a hundred bucks we’ve built a great reclaimed-wood chicken coop.  Even the two enamel pots we use to bring the kitchen scraps to the girls were found underneath the old rear-yard deck we demolished.

IMG_4247

The one thing we’ll have to do before winter sets in is to insulate the coop.  I framed it to allow for a quick installation of 1-1/2″ styrofoam insulation to the walls, ceiling and floor which we’ll do when we can afford it.  But we’ve learned that chickens are tough birds and will handle our cold winters with relative ease.

Next year, when we build Chicken Coop 2.0, we’ll likely move this one to the back and use it for the meat chickens we plan on having – or perhaps a small coop we use when introducing new birds to our flock.  Either way, it turned out better than we hoped for and we’ll find a good use for it!

IMG_4251

Now we just wait for eggs.


Disaster

It was bound to happen sooner or later.

We’ve had our first letdown on our old island farm.  And it came in the form of a disease called “late blight”.

IMG_3960

Sadly, once infected, the affected plants (in our case, tomatoes) are essentially doomed and destroying these plants is the only hope of preventing it from spreading to other plants.

IMG_3961

This disease is famous as the cause of the Irish potato famine in the 1800’s. Phytophthora infestans is not a fungus or a bacterium or a virus. It belongs to a group of organisms called “protists”, although they are still commonly referred to as “fungi”.

IMG_3956

On tomato, the first symptom on plants is often a brown/black lesion on the stem. Leaves develop large brown/black blotches, often starting at leaf margins. In humid weather and in early mornings, a fuzzy mould can often be seen on the underside of the brown/black blotches or on the stem lesions.

IMG_3957

On tomato fruit, infection causes a brown/black, leathery rot.  It may also become soft and mushy if invaded by secondary organisms.

In cool, wet or humid weather the pathogen produces structures called “sporangia”. These sporangia can travel up to 20 kilometers in wind or wind-blown rain. Rain-spread sporangia can cause infection even in a garden where tomatoes or potatoes have not been grown before.

Potatoes are also very susceptible to late blight – hence the cause for concern when it is detected here in Prince Edward Island.  Fortunately, our potatoes seem to have come away unscathed.  We’ve been enjoying new potatoes daily for a couple of weeks and we’re ready for our big harvest for cold-storage this weekend.

We first heard of a blight-outbreak in our area on the local news.  It was just a few days later when we started seeing the signs of infection on our own tomatoes.  And once it started, everything went downhill quickly.

IMG_3955

With the onset of the disease, we moved to remove the plants and bag them for disposal.  It’s strongly recommended that you NOT compost the affected plants as the organisms may not die in the composting process.  Burying, burning or sending the plants to the landfill is the best way to rid your garden of the active problem.

IMG_3964

Although the plants were dying, we could still use the green tomatoes if we acted quickly.  Often with late blight, even green tomatoes brought in the house to ripen may still rot anyway.  In wet weather, green fruit may have been infected already, or be carrying spores on the surface. As the fruit ripens, rot develops.

IMG_3962

Some gardeners report that washing green fruit in soap and water after picking, or dipping green fruit in a 10% bleach solution (1 part household bleach to 9 parts water) followed by a soap and water wash, reduces fruit rot during ripening.  We didn’t take any special measures to allow the tomatoes to ripen – so we did lose quite a lot to rot, but we still enjoyed a few fresh tomato sandwiches in the meantime.

IMG_3968

So with the glut of green tomatoes, we spent a couple of days making a few different preserves – Salsa Verde, Green Tomato and Pineapple Chutney and Piccalilli.  I’ll be sharing some of these ideas in future posts, but today, it’s all about Green Tomato Chow.

On Prince Edward Island, these firm, under-ripe green tomatoes are transformed into a tangy-sweet condiment that is often served alongside salt cod cakes.  I’ve had Green Tomato Chow (or Chow Chow, or Yum Yum, depending on your upbringing) on a couple of occasions since moving to the island.  Most recently with crab cakes from the Blue Mussel Cafe in North Rustico.   Think of it as a relish, to be served alongside seafood, pork, sausages or even hamburgers.

At any rate, it’s a great way to use up some of your end-of-season green tomatoes – whether by choice or by….blight.


tomato collage 2

GREEN TOMATO CHOW

  • Green tomatoes, sliced – 5-1/2 lbs.
  • Onions, halved and sliced – 1-1/2 lbs.
  • Pickling salt – 1/3 cup

Layer tomatoes and onion with salt in large pot.  Cover and let stand on counter overnight.  Drain.  Add the following ingredients to the tomato mixture in pot.

  • Granulated sugar – 3-1/3 cups
  • Mixed pickling spice (tied in cheesecloth) – 4-1/2 tbsp
  • Turmeric – 2 tsp
  • White vinegar – 2 cups

Heat and stir until sugar dissolves.  Bring to a boil then reduce to simmer for two hours, stirring occasionally.  More turmeric can be added for color and more sugar can be added for taste.

For canning, pour into hot sterilized jars leaving 1/4″ headspace.  Seal and process for 10 minutes in hot water bath.  Makes about 4 pints.


So not all was lost.  Although our first season growing a variety of tomatoes was a bit of a bust, we have learned a lot.  We lost about 90% of the tomatoes we planted.  One variety we chose is labelled as blight-resistant, and these “Mountain Merit” tomatoes are chugging along nicely in their beds.  So it seems we’ll still be enjoying some red tomatoes after all.

IMG_3958


This Chow recipe was inspired by “Company’s Coming – Preserves” by Jean Pare.


I know it’s been a while. A lot has happened.

It’s said: “great things are believed of those who are absent.”  If that’s indeed true, I hope I don’t let you down.

It has been a great few weeks since my last post.   A lot of things have happened to us and through us.  We’ve had a great time visiting with family and enjoying the bounty that’s come from our garden.

My last post spoke of the busy couple of weeks getting the house ready leading up to our vacation.  I won’t revisit that, but suffice to say, we enjoyed our little trip to Ontario.  Not that is was solely for our amusement – my brother Scott and his fiance Dawn were married.  That in itself was reason enough for us to drop everything and head back, but the honor was mine when I was asked to perform their wedding ceremony – to the surprise of everyone in attendance.

IMG_347

It was a beautiful day spent with family and friends.

IMG_34

While in Ontario though, we had a little scare.  I ended up in the hospital with a blood clot in my leg.  As the doctor said however, I got lucky.  The clot was in an arterial vein and I wasn’t at risk of it moving to my heart or lungs – so I was sent on my way with blood thinners to enjoy the rest of the vacation.

Once the newlyweds were married, we all convoyed back to PEI for a “familymoon”.

IMG_3479

Scott and Dawn, Scott’s kids Carrie and Ryan, one of Dawn’s daughters, Jordan and her husband Christian, and my Mom spent the week with us to see the life we’ve been making for ourselves.

IMG_3588

We did some of the usual touristy stuff – went to the beach (several times), ate some lobster and visited the sights and scenes.

IMG_3561

It was hard to see the family leave after only a week here, but we had a tremendous time together.

IMG_3600

Vanessa and I weren’t done with the vacation just yet, though.  We’ve been mackerel fishing now a couple of times.

IMG_3661

I want to take advantage of this as much as we can while the summer is here.  There is no catch-limit or license required to catch mackerel here – so while we’re able, we’ll be stocking our freezer with these freebies.

IMG_3669

And speaking of freebies, our garden just keeps giving and giving.  While our guests were here, we enjoyed produce picked daily from the garden – including broccoli, lettuce, beets, new potatoes and zucchini.

IMG_3523

Since our visitors left, the tomatoes are turning, the beans are almost ready and the corn is almost there.  We haven’t bought any produce – other than some fruit – in about a month.

IMG_3755

What we haven’t been able to eat fresh, we’ve been canning or freezing.  We’ve pickled fourteen pounds of beets and have a second crop planted for an early fall harvest.

IMG_3665 IMG_3677 IMG_3678

We’ve also processed fifteen pints of pickles – dill and bread & butter

IMG_3911 IMG_3838 IMG_3873

and have about ten pounds of cabbage fermenting for sauerkraut.

IMG_3803 IMG_3856 IMG_3869

So while we’re not entertaining guests, or fishing, or tending to the vegetable garden we also have our chickens.

IMG_3770 IMG_3772 IMG_3776

We now added six laying hens to our family so we quickly built a brooder for the chicks and Vanessa and I are currently building on a small coop from some of the reclaimed wood from the renovations on the house.

So needless to say our month-long absence is not the result of not having anything to write about, but rather the opposite – we’ve just been too busy to keep up with everything.   Hopefully we haven’t lost anyone along the way.

We’ll get back on track, but for now, some pictures from our garden:

IMG_3730 IMG_3745 IMG_3818 IMG_3820 IMG_3804 IMG_3827 IMG_3807 IMG_3868 IMG_3907


Under pressure

Have no fear – although we’ve not posted anything in the past couple of weeks, we’re still alive and kicking.  Renovations have been running at a feverish pace now that the foundation and roof repairs are complete.  All spring we’ve been waiting for the floors to be leveled before continuing with the repair scope.

In the past two-and-a-half weeks, we’ve patched the hole in the second floor where the old chimney extended through the house.  We’ve restructured the attic floor for an eventual bonus room.  Added roof ventilation on the sloped ceilings.  Framed the partitions for the bedrooms and bathroom.  Re-wired the second floor electrical circuits.  Insulated the second floor roof and walls.  Framed the floor of the kitchen addition.   Opened up the floor and built the stairs to the basement and hung the drywall in the bedrooms.

That, with an extensive cleanup outside and maintaining the vegetable garden made for an exhausting couple of weeks.  But the rush is not without reason.  My family is visiting next week and we need more than a single room to house seven visitors.  But it’s good – the deadline has advanced the renovations further than we would have done otherwise.

And that’s where it sits right now.  We’re enjoying a much needed break this week with family as my brother is getting married this weekend.  From there, we all convoy back to Pleasant Valley to spend some time together and we get to share a part of our adventure with them.

And perhaps some of the chores, too.

IMG_3090 IMG_3104 IMG_3108 IMG_3072 IMG_3091 IMG_3146 IMG_3192 IMG_3194

The storm passed. Everyone’s happy.

Well we survived our visit from Arthur – the first Atlantic hurricane of the season – although it was downgraded to a Tropical Storm by the time it hit the island.

charlottetown-waterfront

We lost power last night and have been without for about twelve hours now.  (Note: I’m currently writing this blog entry in my notebook to be transferred to the computer once power is restored). 

We’ve only been without power for a few hours now, but it certainly drives home the point of how reliant we are to the grid.  Since we’re so deep into the renovations, and we’re going to rewire the house anyhow, I’ll be hardwiring a few critical circuits to run off a generator if needed – the fridge, well-pump, a few lights and plugs, etc.  Nothing extravagant, just enough “juice” to get us through a lengthy blackout if needed.  With a well, no power means no water.

Not that we had any issue with this storm – there was lots of advance notice of the impending hurricane.  We had filled a couple of water containers we use for camping with water – and the bathtub as well.

So other than the power outage, we came out of things unscathed.  The roof was finished on Friday – one day before the storm hit….

IMG_2929

….and thankfully we didn’t lose a single shingle.

IMG_3056 IMG_3061

Not to say the house didn’t rock in the strongest wind gusts – because it certainly did – but there were no significant issues.  I’ll admit it was pretty unnerving how the house shook in the strongest gusts – probably made all the worse because the house is completely gutted on the second floor.  One gust tore off the Tyvek building wrap from the exposed area on the back of the house and it’s now M.I.A.  The way the wind was howling, I suspect someone in Prince County is picking it up from their yard today.

Before the storm came, I closed in the floor of the addition to prevent and wind from gusting through the basement.  We didn’t need the basement filling up with water before the concrete floor gets poured, either.

IMG_3045 IMG_3051

So suffice to say we’ve now got our work cut out for us.  Everything we’ve been doing to date has led up to this moment.  The demolition was in anticipation of the new foundation.  The new foundation allowed us to get the roof re-sheathed and shingled, which now allows us to finally get the upstairs renovations underway.

In fact, we had a big lumber order delivery on Friday to start restructuring the attic floor, install the roof vents for the cathedral portion of the ceilings and rebuild the partition walls.  This week, we’ll be getting our clawfoot tub, shower unit and associated hardware.

But it’s not all work, no play either.  We had a surprise visit from a good friend and former co-worker, Skip and his beautiful daughter Brooke.

Skip and Brooke Collage

Skip and Brooke. Not an accurate representation.

They had an east-coast road trip planned and paid us a totally unexpected visit.  Skip was our lead-carpenter back in my Ontario life so I was tempted to shove a hammer into his hand when he walked in our front door.

Our work days have been lengthening as of late to get as much done as possible before our family arrives in August for vacation.  I’ve been preparing them that they shouldn’t expect the Royal York Hotel here, rather more like the Hav-a-Nap motel.  Either way, it’s going to be great to see family again and show them what we’ve gotten ourselves into.

In anticipation of their visit, we’ve been exploring the island ourselves for ideas to bring them.  Murdoch on the other hand is quite happy to just go to the beach.

Insanely happy

Insanely happy

Oh yeah, and to wrap things up, my birthday came and went.  We just did a small celebration this year….

b-day fireworks

Oh, wait.  That was Canada Day in Charlottetown.   For my birthday, we just sat in the dark.

Thanks, Arthur.


The eagle has landed!

No more bouncy-castle.  No more walking-the-plank to leave the house.  The house has its new foundation and now, we’ve nowhere to go but up!

IMG_2911

It’s only been a little over three weeks since the house first started to creak its way off the old stone foundation, but yesterday it completed the round-trip to its new (and last) foundation.

After the the excavation was done and footings poured, the stone-slinger arrived….

IMG_2568

….and we started forming the foundation walls.

IMG_2582

Needless to say, once the four concrete trucks pulled up to the house,we had more than our share of visitors.  Everyone came out of the woodwork to introduce themselves and see the progress we’re making.

IMG_2618

In no time the foundation was poured and all that was left to do was wait for the concrete to cure for a day or two, then strip the forms.

IMG_2615 IMG_2621

Everything was going so well, then the skies opened up and the rains came.  And it rained.  And rained.

IMG_2844

Oh yes, then hail.

IMG_2817

Other than these couple of days, the work pretty much chugged along.  The forms were stripped and the walls damp-proofed.

IMG_2825 IMG_2828 IMG_2830

Then at long last, the jacks were reinstalled to lower the house onto the foundation.

IMG_2881 IMG_2885 IMG_2873

With the foundation work now done, the process of removing and replacing the old and rotten floor joists and carrying beams will start.

IMG_2902 IMG_2906

And just like everything else we’ve done here, this seemingly enormous task will also get done – one step at a time.

Red soil and red sky

So with the foundation work chugging away, we finally have an opportunity to get our gardens planted.

Whenever we had some spare time over the last couple of weeks, we raked the old grass and straw from the garden area, laid-out the bed locations and tilled the soil.

IMG_12598

Last week we had a load of compost delivered to our place to help enrich the beds.  With time running against us, we didn’t test the soil or composition – we’re just trusting that the fertile soil of PEI doesn’t stop at our property line.

Speaking of fertile PEI soil: I suppose it’s only fitting that even compost in Prince Edward Island would be full of lobster bits.

IMG_12602

Once the compost was worked into the bed, it was time to start planting.  We started with the tomato beds – all from seeds started earlier this spring.

IMG_12625

In all, we’ve planted about twenty-four Roma tomatoes for sauces and canning.  In addition to the paste tomatoes, we also planted six each of four Heirloom-varities: Brandywine, Pruden Purple, Mountain Merit and Golden Cherry.

IMG_12652

With the tomatoes planted, we jumped over to the potato bed.  Not originally planned as part of our garden, the potato bed was a last minute addition.

IMG_12644

We never really thought we’d need to grow potatoes in PEI – we’re living in Canada’s potato capital, afterall.  Heck, we even have lobster in our soil!  So, like everything else, we went all-out and planted four types of potatoes: red potatoes, Yukon Gold, Russet and a purple-fleshed variety.

IMG_12649

Before the day was up, we planted two of our berry beds – raspberry and blackberry – and also got our asparagus bed planted.

IMG_12748

We’ve never grown asparagus before but have dedicated a 25-foot row for it – although it will still be a few years before we’ll actually be able to harvest spears to eat.

Finally, before we headed out for our drive, we finished up one more bed.

IMG_12751

Three types of cabbage, rutabaga, broccoli, broccolini, cauliflower, kale and collards.

All in all, not a bad start on the gardens.  We’ve still got the beans and peas to plant, as well as carrots, beets, sweet potato, corn, summer and winter squash, cucumbers, onions, garlic and peppers.

As of late, our backyard is taking on the appearance of a motocross course.  As exciting as it is having the foundation-work done, I’m really looking forward to getting the mess cleaned up.

IMG_12753

We’re still deciding where to use all of the island stone salvaged from the foundation….

IMG_12763

….and exactly how to get it all in place.  I do know, it’s going to be a beautifully landscaped property once we get to tackle that pile.

But as the sun was going down, we decided to take advantage of the remaining daylight to go for a walk on the beach.  A quick drive from the house and we arrived in Cavendish just in time to watch the sun set.

IMG_22661

Still early in the season, we had the beach to ourselves.  Tide was low and we walked along the shoreline to take it all in.

IMG_22655

IMG_22726

IMG_22679

I think this was the first time we really stopped to let it all sink in: this is our home.  We’re only minutes form the ocean in any direction from our house.

IMG_22665 IMG_22677 IMG_22706

With the sun down, we walked back through the sand dunes to the car.

IMG_22730 IMG_22728

No matter how crazy the renovations get, we’re exactly where we want to be.  With the house.  With the gardens.   With each other.

IMG_32681


Fast and furious

What a whirlwind week we’ve had.  When we last left you, the foundation repairs had started.  The steel supports were delivered and a few of the damaged sills were replaced.

That was child’s play compared to where we are now.  In fact, things are progressing so quickly, that what you’re currently reading is old news (well, to us anyhow).

Thankfully the weather has been on our side – for a change.  With an exception of one rain-day last week, it’s been non-stop progress.  So with that said, here’s how the last few days went:

After the sills were replaced, the soil was cut down around the house and stones removed from the foundation to make pockets for the big steel beams to be installed.

IMG_2456

Picking up one end with the excavator and slowly guiding it through the pockets in the foundation, the beam is pushed from the back of the house, with only inches to spare….

IMG_2458

….out through the front of the house.

IMG_2468

Needless to say, Elmer has done this once or twice before.  Now for the second beam.

IMG_2476

IMG_2480

So that takes care of the main cape.  The kitchen ell has two smaller supports perpendicular to the two mains.  These will be jacked by hand.

IMG_2483

But the two main supports will be raised pneumatically.  With the cribbing and jacks in place, it’s time to start lifting.

IMG_2485

IMG_2497

There she goes!

IMG_2498

Front-to-back, the main beams are raised and the side supports are jacked manually to keep pace.

IMG_2507 IMG_2513 IMG_2515

Murdoch’s such a trooper, too.  He’s happy just to be out with us and the guys from Moveall Structures.  Of course, anytime he gets attention, he’s happy.

IMG_2525

And there it is.  The house is up a couple of feet off the old foundation wall and the next step is to remove the old stone wall and excavate to a depth to accommodate the new full-height basement.

IMG_2542

Unfortunately, Thursday is where the week ended for the crew.  Rain came on Friday and the remaining excavation would have to wait until after the weekend.

But, in spite of the rain, Friday was just what we needed.  Our good friends, Aarno and Helena were passing through the maritimes on their way back to Ontario and paid a visit.  How awesome to see old friends and familiar faces – and to share a glimpse in what we’re doing.  We went for a quick drive along Cavendish and stopped for lunch at the Blue Mussel Cafe in North Rustico.

IMG_2531

Vanessa with Helena and Aarno

It was there we met Steve, the new owner of the restaurant.  He and his wife just moved to PEI last year, looking for a change of pace and had just opened the restaurant for the season only six days earlier.  And to top it off, they were originally from Ajax – practically neighbors to us in Ontario!  If you ever find yourselves in the area, I’d certainly recommend their cafe.

The day off was more than a welcome change.  It was entirely necessary.   During the week of the foundation work, we were digging and preparing the vegetable gardens.  Vanessa was raking and shoveling while I was getting dragged around the yard by the tiller we rented.  Needless to say, we took advantage of the rainy weekend and rested up.

On Monday, the guys were back to complete the excavation.  The goal was to finish in time to get the footings poured.

IMG_2546 IMG_2551

IMG_2542

I’ll hand it to them: they put in a long day to get it done, and by the end of the day, the milk truck, er, concrete truck was backing in and the footings were poured.

IMG_2557 IMG_2562 IMG_2564

What an enormous undertaking, but I’m sure well worth the investment.

Like I mentioned before, it’s all happening very fast.  But in the same breath, I can’t wait until the foundation is done and we’re back on the ground.  Vanessa says it’s like living in a bouncy-castle.  Perhaps not quite that bad, but you certainly feel every wind gust and the floors spring under your feet.

I’ll keep the posts coming as quickly as I can, but remember, find Our Old Island Home on Facebook and “like” us for real-time updates.  You’ll have already known that we’ve started forming the foundation walls today.

Until next time: keep your feet on the ground!


The start of something new

At long last, the foundation work is underway.  The long, cold, wet spring has put us a little behind schedule but hopefully we’ll make up some time with the nice weather as of late.

Vanessa and I were sitting at the breakfast table last week when this hauled up outside our house.

IMG_2385

IMG_2393

We stopped traffic on Highway 2

The huge carrying beams had arrived, the excavator was already delivered – so it was time to get underway.

First, make a cut in the topsoil to provide access to the sills – the first to be replaced.  Once all of the old sills are removed and replaced and the walls are re-supported, the house can be lifted and the excavation can start.

IMG_2388

So I thought I’d take you on the grand tour of what’s under our house before it all disappears.

Go ahead....after you.

Go ahead….after you.

The original foundation is hand-cut sandstone, dry-stacked to about 5′ high.  The mortar you see in the joints was applied sometime in the past in an attempt to keep some of the moisture out.

IMG_2444

All of these stones will be removed and salvaged from the foundation and stored at the back of our property.

IMG_2435

A lot of these stones will be used in-and-around our property as part of our landscape design as garden borders, retaining walls, walkways and steps to the deck.

IMG_2434

The stones are beautiful – all hand shaped and fit precisely for the foundation – and will have a prominent place in our garden.  But still – that’s a lot of rock.

The whole process for the new basement will take a few weeks, but while that’s underway, we’ve kept busy building our gardens.  The plants we started inside need to be transplanted so our first job is to build the garden beds.

IMG_2396

The areas we’re working in have never been farmed before.  Decades of grass growing waist-high and dying back every season has made the digging difficult (to say the least) but because of this, I suspect the soil is going to be very fertile.  We’ve easily got a couple more days of digging and tilling the soil before we actually plant anything.

IMG_2403

There are some vegetables that should have been planted by now, but with the disagreeable weather and the house demolition monopolizing our time, we will just have to make do.

Fortunately, out seedlings have been thriving inside our grow-op.  We’ve slowly acclimated the plants to living outdoors by daily increasing their outside exposure.

IMG_2398

Hopefully by this time next week, the veggies will be all planted and we’ll be starting on the new shed/chicken coop.

So, things are looking up.  We’re turning that corner that we’ve been waiting for – restoration instead of demolition.  We still have a lot ahead of us, but it’s a nice feeling that we’re into a new stage.  Until then, though, we continue working in the garden and getting our beds planted.  That in itself is like therapy.

Vanessa says: "ever feel like you're being watched?"

Vanessa says: “ever feel like you’re being watched?”

"No idea what you're talking about."

“No idea what you’re talking about.”