So with demolition now underway on the second floor, I thought I’d show you where we want to take our renovations to our old island home. Last week I posted the floorplans and a couple of elevations of our house as it currently stands – you can see it here: https://ouroldislandhome.com/2014/01/20/best-laid-plans/ . This week, I’m going to post the new plans showing some of the changes we want to make – more on that shortly.
Yesterday, I had some lumber and plywood delivered from Castle Building Supply just outside Kensington. Since we’re just gutting the second floor for now, I had the disposal bin dropped under the Master Bedroom window and I built a garbage chute with some of that lumber – from the window right into the bin.

Ignore that sofa – it’s left from the previous owner
We’ve been pulling off all the old doors and trim before we get to the dirty stuff – lath and plaster.
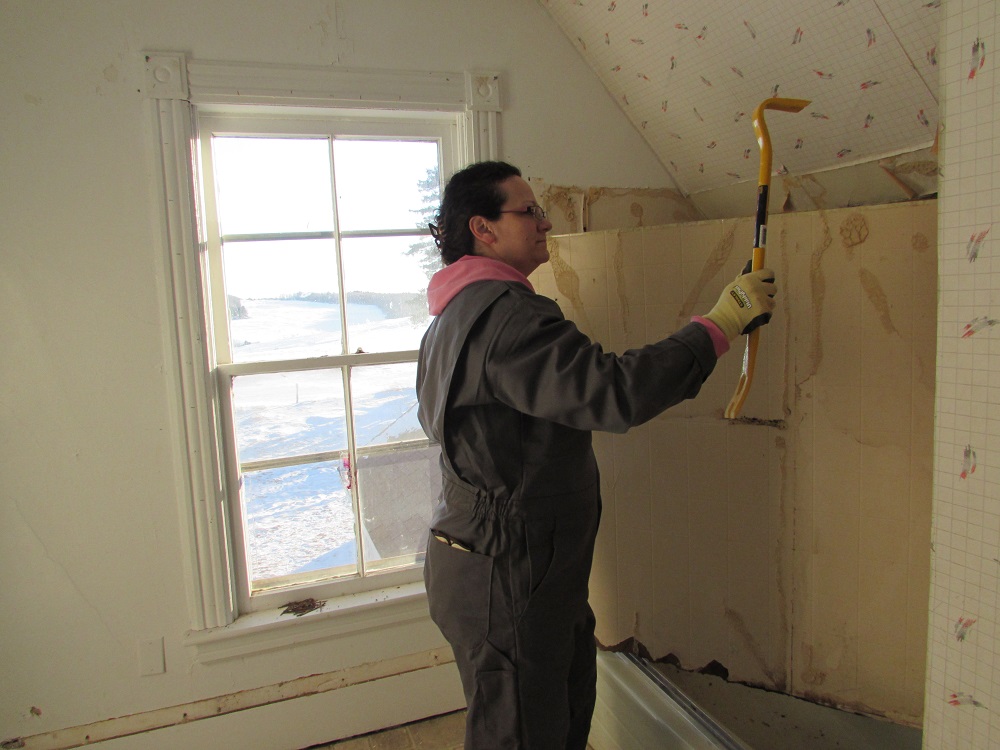
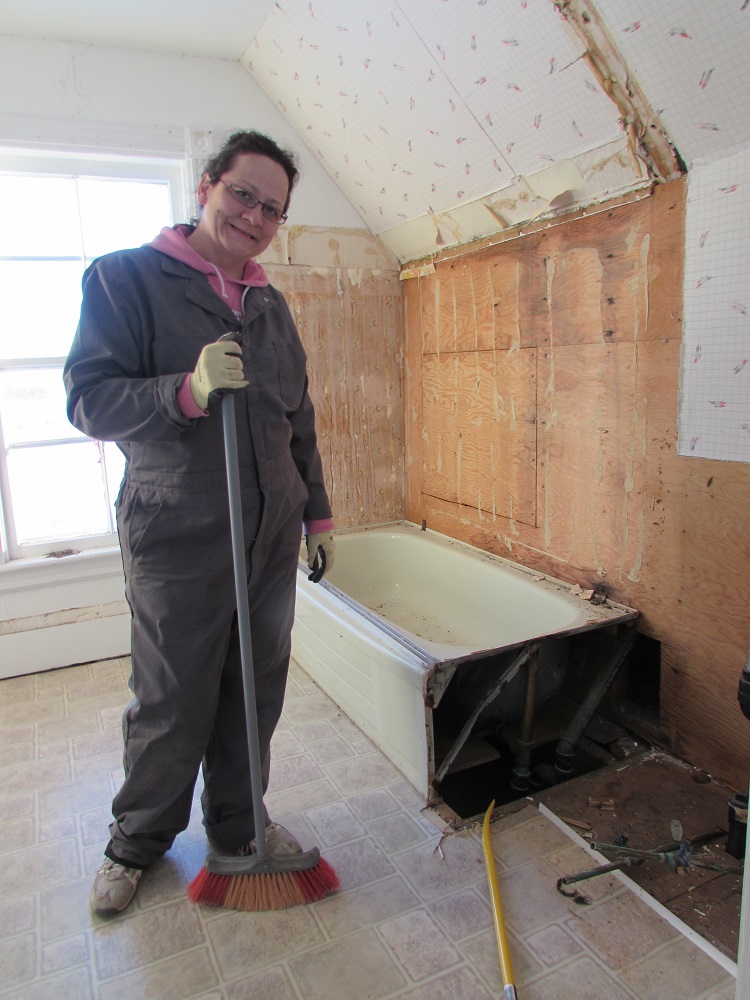
….and bathroom fixtures
Vanessa’s also been saving all of the old cut-nails from the trim. She already has plans to incorporate them into her jewellery making.

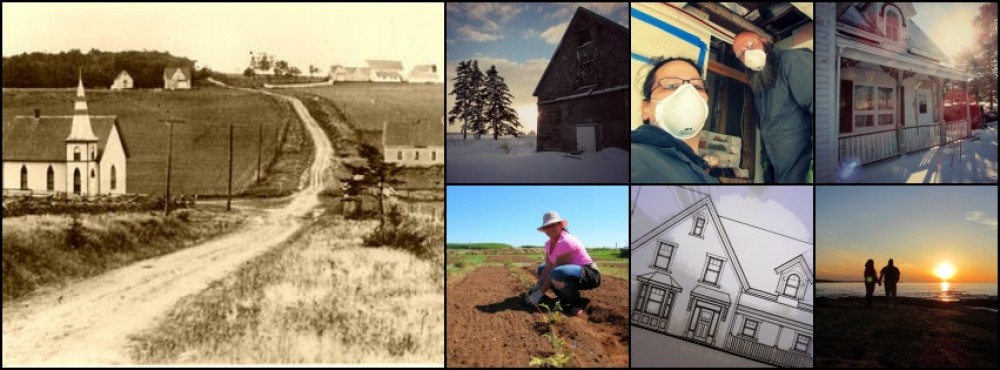
We’ve been looking at a lot of island homes like ours. The truth is, the “island-ell” style of our farmhouse was obviously very popular back in the day. It’s hard to drive anywhere without spotting a house like ours. Unfortunately however, a lot of them have been renovated beyond their original design and charm. You could say they’ve been “ruinovated.” Some others have been abandoned and left to decay. Still, there are those old homes which have been maintained over the years or restored out of their ruinovation or neglect and brought back to their original glory.

Like these gems
Fortunately, our house has not been overly renovated – although it has suffered from years of neglect and some poor design choices. The exterior is close to what was original (as far as I can see) with a couple small changes inside and out.

Main Floor
Main Floor: The functionality of each room will remain essentially the same. The Front Hall/Entry remains as-is although we’ll likely build a closet into the nook under the stairs. The previous owner had laundry hook-ups in this space – and I’m now using the nook for my drafting table. We’ll change the front door system and add a transom window over it. A number of the older homes like ours also have a portico (porch roof) over the entrance – we’ll do the same. The Parlor/Living Room to the left will get a new bay-window (very typical of this style of house, although missing in ours) and the triple casement window on the side (previously added and now in desperate need of replacement) will be changed to two double-hung windows. The French Doors from the entry Hall to the Living Room were also a previous owner’s addition and will be removed and a more open-concept at the Hall/Parlor/Dining Room junction provided. A new set of Garden doors will open from the Dining Room onto a new covered rear-yard deck. Vanessa’s Craft Room opens to the left of the Dining Room. The Kitchen excites me – new cabinets, fridge, wall oven, cooktop, apron sink and an island fills the space. We have a small banquette in the corner with round table for in-kitchen eating and a coffee bar between the two new front windows. The front porch now extends to wrap around the side of the kitchen providing a secondary entrance into our new addition. This multi-purpose space serves as a combination of Mudroom, Laundry, Pantry, Washroom and Summer Kitchen. We love to cook and entertain and this layout will serve us well.

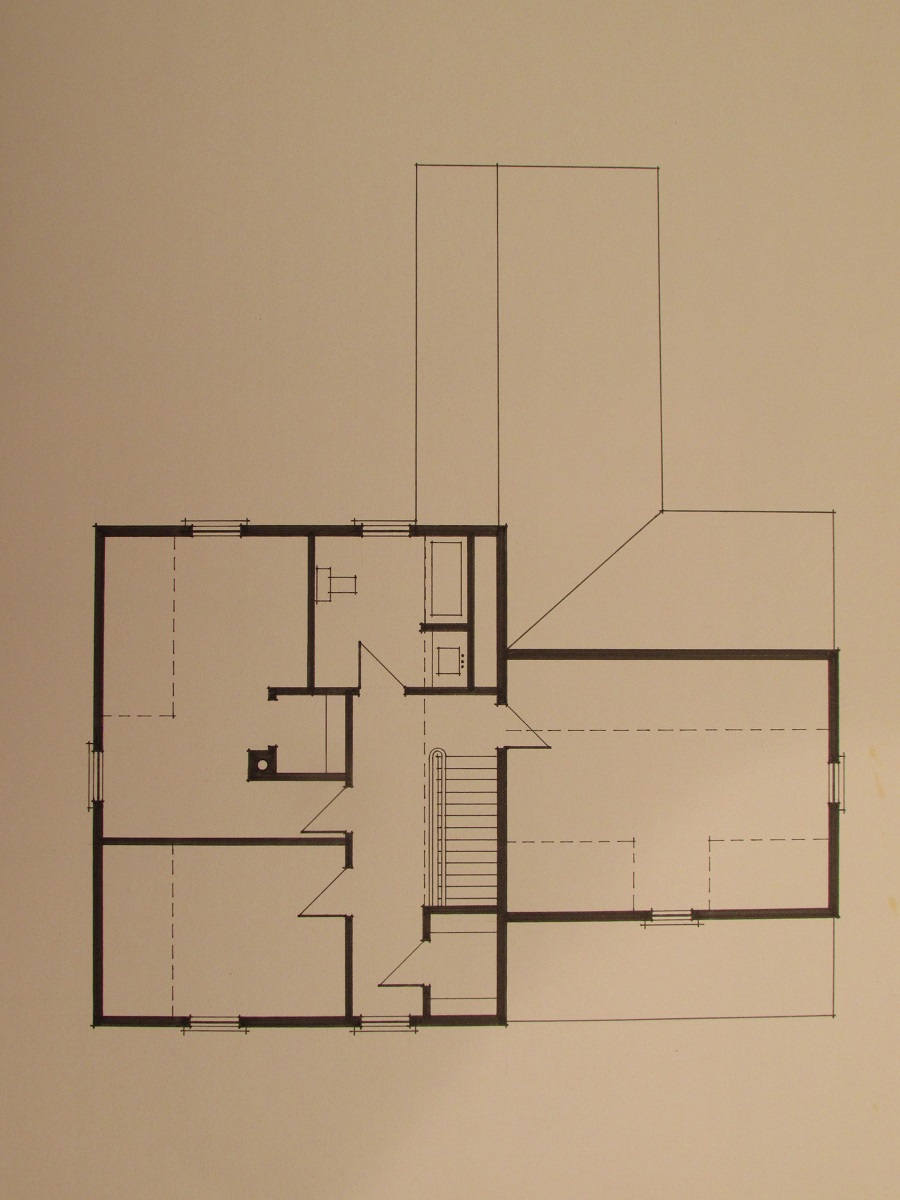
Second Floor
Second Floor: The big change up here is the Master Bedroom to the right of the upper hall. This big bedroom currently has no closets or storage of any sort. We’ll add closets and dressers built directly into the knee walls under the sloped ceilings. The addition of a large dormer at the back will greatly improve our view and add lots of natural light to the room. The front dormer looks onto the street and the side window over our driveway – but the new large window dormer at the back (complete with window seat) will open up our view to the valley. The Bathroom gets a full overhaul with freestanding tub and toilet moved under the sloped ceiling. A shower with glass enclosure and vanity are added to the other side. I see white mosaic tiles on the floor and subway tiles on the wall for a bright, crisp classic look. The huge closet in the spare bedroom was mostly removed along with the chimney flue. This opens up the room nicely while keeping a portion of the closet (accessed from the hall) for linens. The front bedroom will now serve as an Office/Den and the storage closet remains at the front of the Upper Hall.
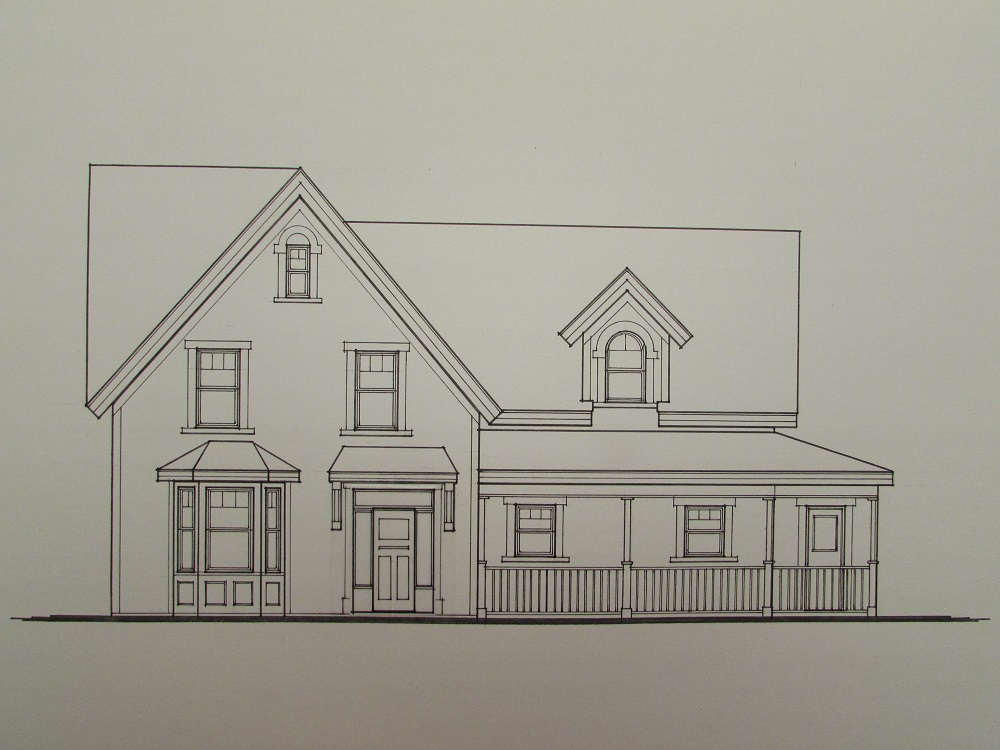
Front Elevation
Front Elevation: The addition of the bay window and a portico at the front door give some “heft” to the main cape at the left side of the house. This provides some balance to the ell with the front porch extending around the side of the Kitchen. Oversized window casings and corner/frieze boards will add some depth from the fairly bland trim and “shutters” of the original.
So, there you have it – the “bones” of it, anyhow. You can see our direction. In the near future we’ll be posting some of our design choices – the trim style, doors, cabinetry, flooring and tiles, etc.
For now, the gutting continues and we’ve got a lot of the thankless jobs still ahead (cleaning, insulation, plumbing and electrical rough-ins, framing repairs) before the beautification happens.
Until then, I will continue to resist the urge to use our garbage chute as a slide.

….or perhaps a fireman’s pole from the bedroom to the kitchen?