The eagle has landed!

No more bouncy-castle.  No more walking-the-plank to leave the house.  The house has its new foundation and now, we’ve nowhere to go but up!

IMG_2911

It’s only been a little over three weeks since the house first started to creak its way off the old stone foundation, but yesterday it completed the round-trip to its new (and last) foundation.

After the the excavation was done and footings poured, the stone-slinger arrived….

IMG_2568

….and we started forming the foundation walls.

IMG_2582

Needless to say, once the four concrete trucks pulled up to the house,we had more than our share of visitors.  Everyone came out of the woodwork to introduce themselves and see the progress we’re making.

IMG_2618

In no time the foundation was poured and all that was left to do was wait for the concrete to cure for a day or two, then strip the forms.

IMG_2615 IMG_2621

Everything was going so well, then the skies opened up and the rains came.  And it rained.  And rained.

IMG_2844

Oh yes, then hail.

IMG_2817

Other than these couple of days, the work pretty much chugged along.  The forms were stripped and the walls damp-proofed.

IMG_2825 IMG_2828 IMG_2830

Then at long last, the jacks were reinstalled to lower the house onto the foundation.

IMG_2881 IMG_2885 IMG_2873

With the foundation work now done, the process of removing and replacing the old and rotten floor joists and carrying beams will start.

IMG_2902 IMG_2906

And just like everything else we’ve done here, this seemingly enormous task will also get done – one step at a time.

Red soil and red sky

So with the foundation work chugging away, we finally have an opportunity to get our gardens planted.

Whenever we had some spare time over the last couple of weeks, we raked the old grass and straw from the garden area, laid-out the bed locations and tilled the soil.

IMG_12598

Last week we had a load of compost delivered to our place to help enrich the beds.  With time running against us, we didn’t test the soil or composition – we’re just trusting that the fertile soil of PEI doesn’t stop at our property line.

Speaking of fertile PEI soil: I suppose it’s only fitting that even compost in Prince Edward Island would be full of lobster bits.

IMG_12602

Once the compost was worked into the bed, it was time to start planting.  We started with the tomato beds – all from seeds started earlier this spring.

IMG_12625

In all, we’ve planted about twenty-four Roma tomatoes for sauces and canning.  In addition to the paste tomatoes, we also planted six each of four Heirloom-varities: Brandywine, Pruden Purple, Mountain Merit and Golden Cherry.

IMG_12652

With the tomatoes planted, we jumped over to the potato bed.  Not originally planned as part of our garden, the potato bed was a last minute addition.

IMG_12644

We never really thought we’d need to grow potatoes in PEI – we’re living in Canada’s potato capital, afterall.  Heck, we even have lobster in our soil!  So, like everything else, we went all-out and planted four types of potatoes: red potatoes, Yukon Gold, Russet and a purple-fleshed variety.

IMG_12649

Before the day was up, we planted two of our berry beds – raspberry and blackberry – and also got our asparagus bed planted.

IMG_12748

We’ve never grown asparagus before but have dedicated a 25-foot row for it – although it will still be a few years before we’ll actually be able to harvest spears to eat.

Finally, before we headed out for our drive, we finished up one more bed.

IMG_12751

Three types of cabbage, rutabaga, broccoli, broccolini, cauliflower, kale and collards.

All in all, not a bad start on the gardens.  We’ve still got the beans and peas to plant, as well as carrots, beets, sweet potato, corn, summer and winter squash, cucumbers, onions, garlic and peppers.

As of late, our backyard is taking on the appearance of a motocross course.  As exciting as it is having the foundation-work done, I’m really looking forward to getting the mess cleaned up.

IMG_12753

We’re still deciding where to use all of the island stone salvaged from the foundation….

IMG_12763

….and exactly how to get it all in place.  I do know, it’s going to be a beautifully landscaped property once we get to tackle that pile.

But as the sun was going down, we decided to take advantage of the remaining daylight to go for a walk on the beach.  A quick drive from the house and we arrived in Cavendish just in time to watch the sun set.

IMG_22661

Still early in the season, we had the beach to ourselves.  Tide was low and we walked along the shoreline to take it all in.

IMG_22655

IMG_22726

IMG_22679

I think this was the first time we really stopped to let it all sink in: this is our home.  We’re only minutes form the ocean in any direction from our house.

IMG_22665 IMG_22677 IMG_22706

With the sun down, we walked back through the sand dunes to the car.

IMG_22730 IMG_22728

No matter how crazy the renovations get, we’re exactly where we want to be.  With the house.  With the gardens.   With each other.

IMG_32681


Fast and furious

What a whirlwind week we’ve had.  When we last left you, the foundation repairs had started.  The steel supports were delivered and a few of the damaged sills were replaced.

That was child’s play compared to where we are now.  In fact, things are progressing so quickly, that what you’re currently reading is old news (well, to us anyhow).

Thankfully the weather has been on our side – for a change.  With an exception of one rain-day last week, it’s been non-stop progress.  So with that said, here’s how the last few days went:

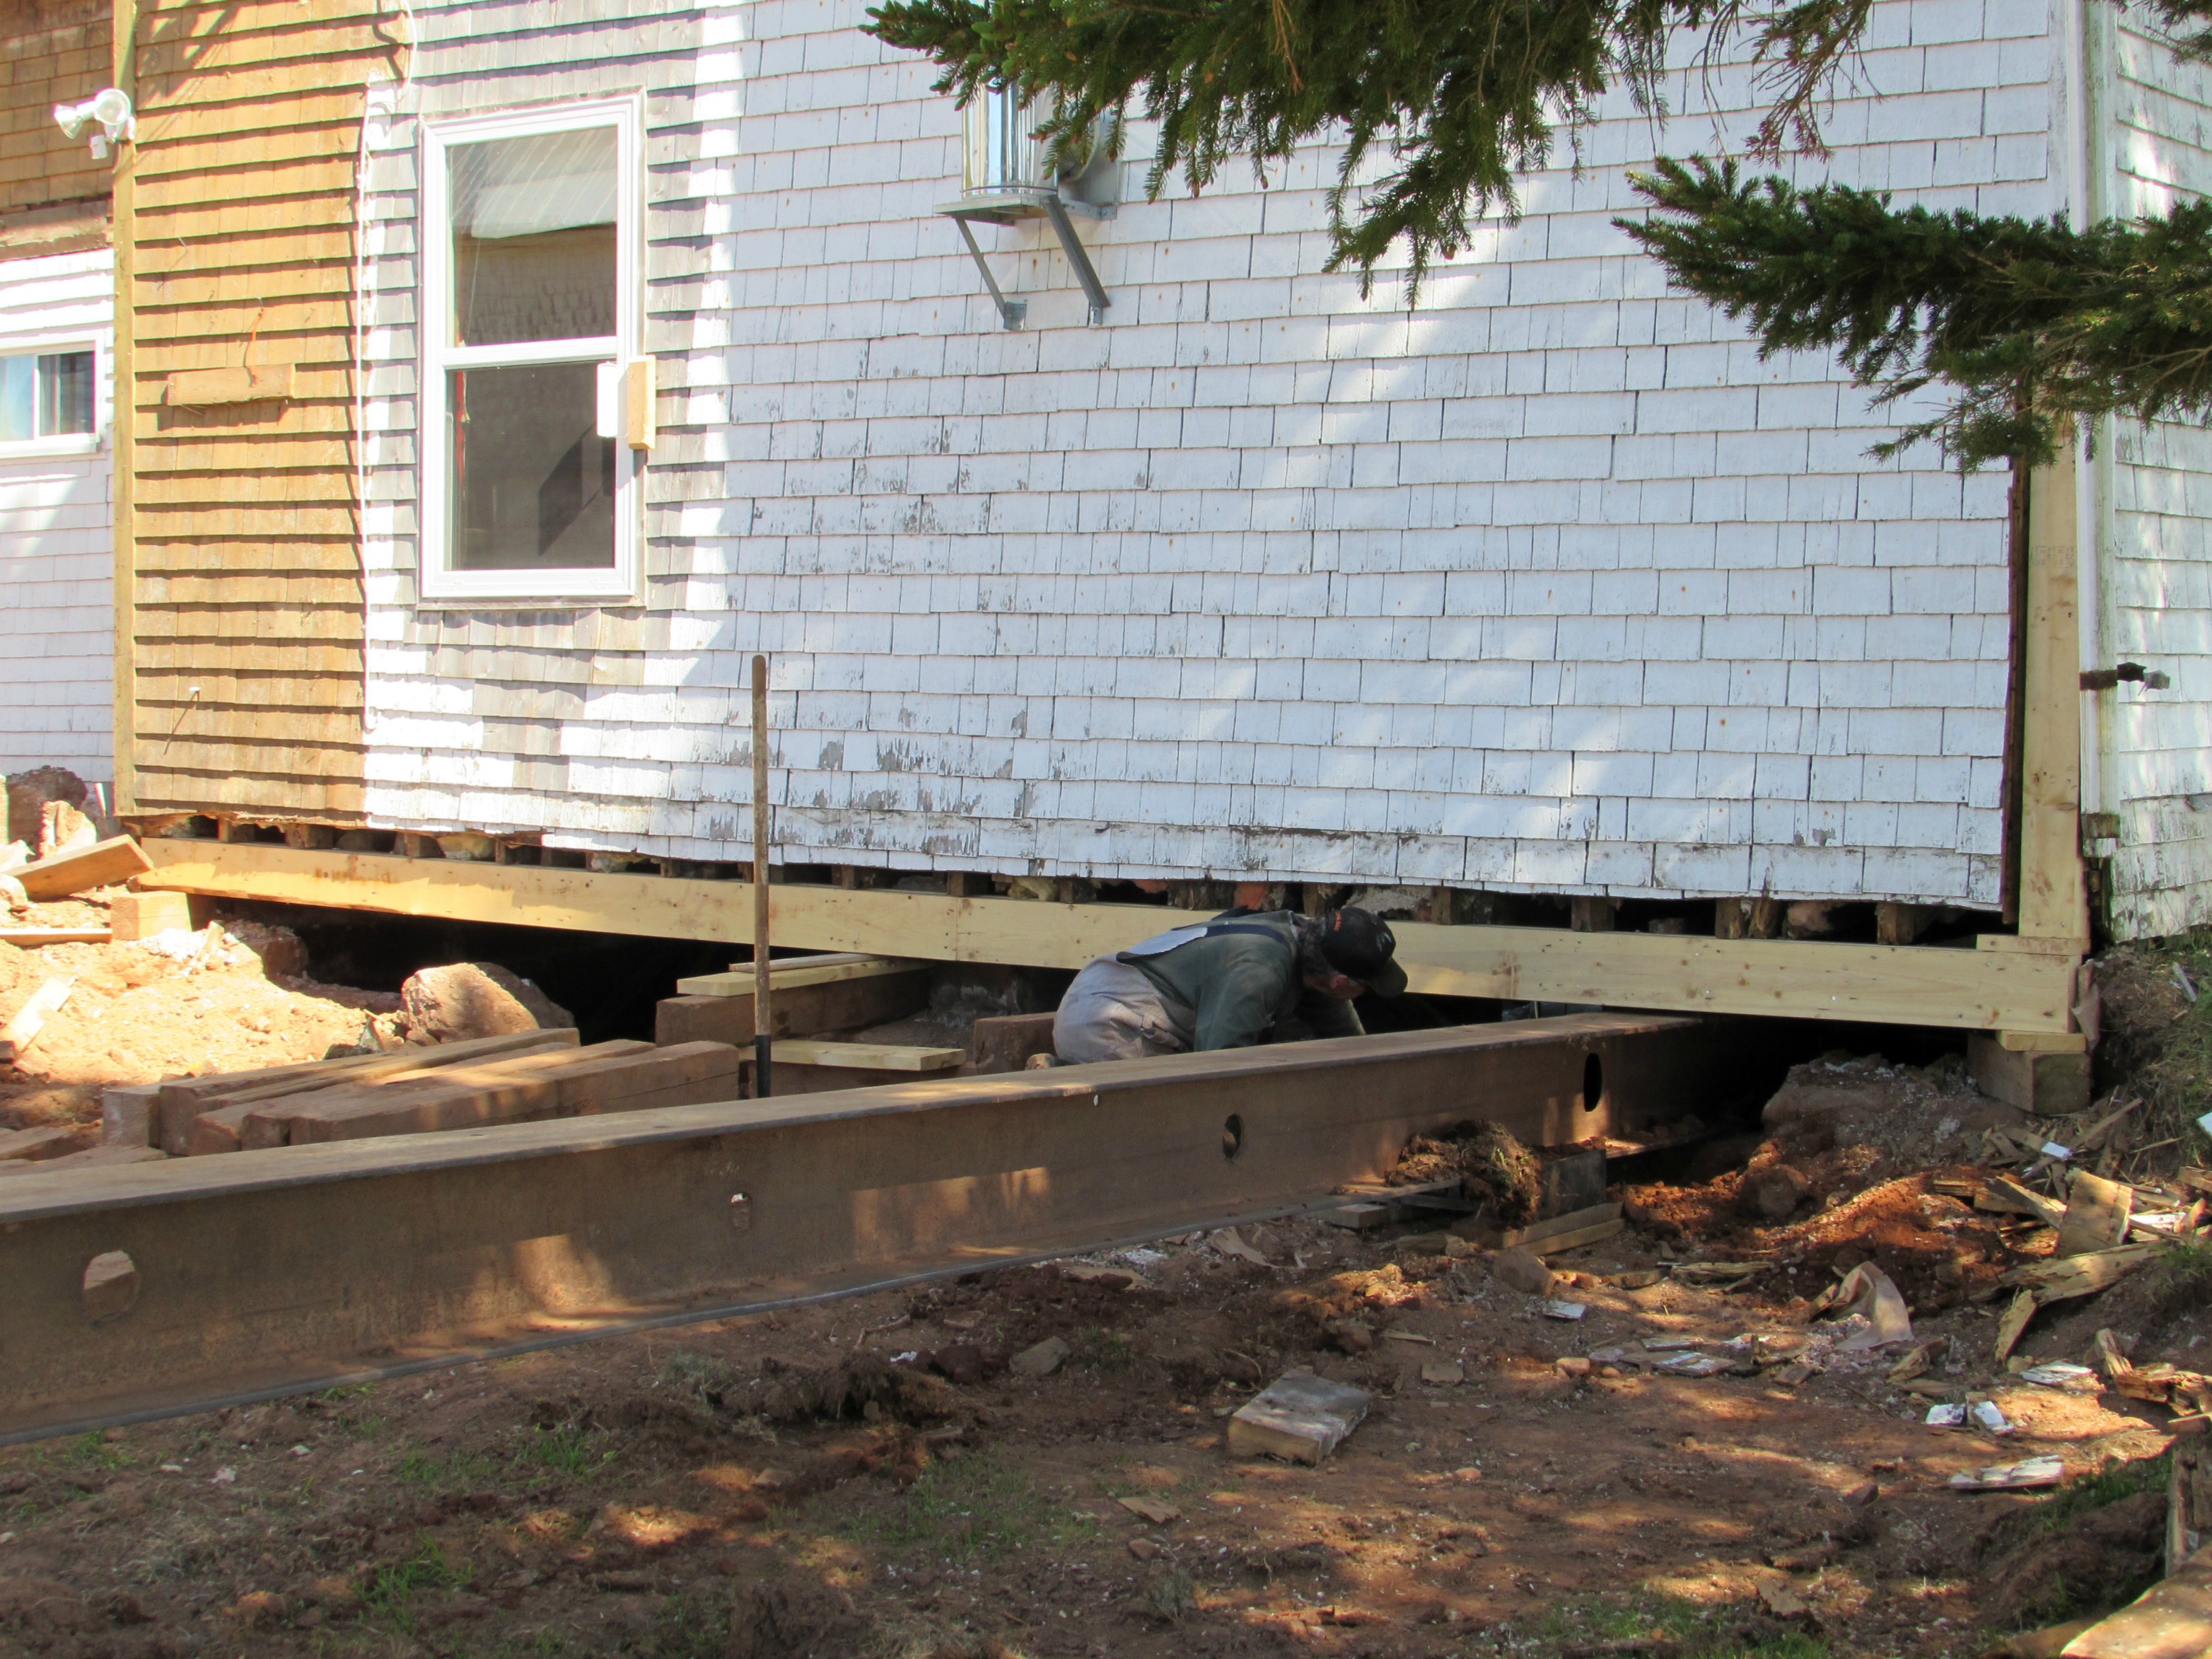
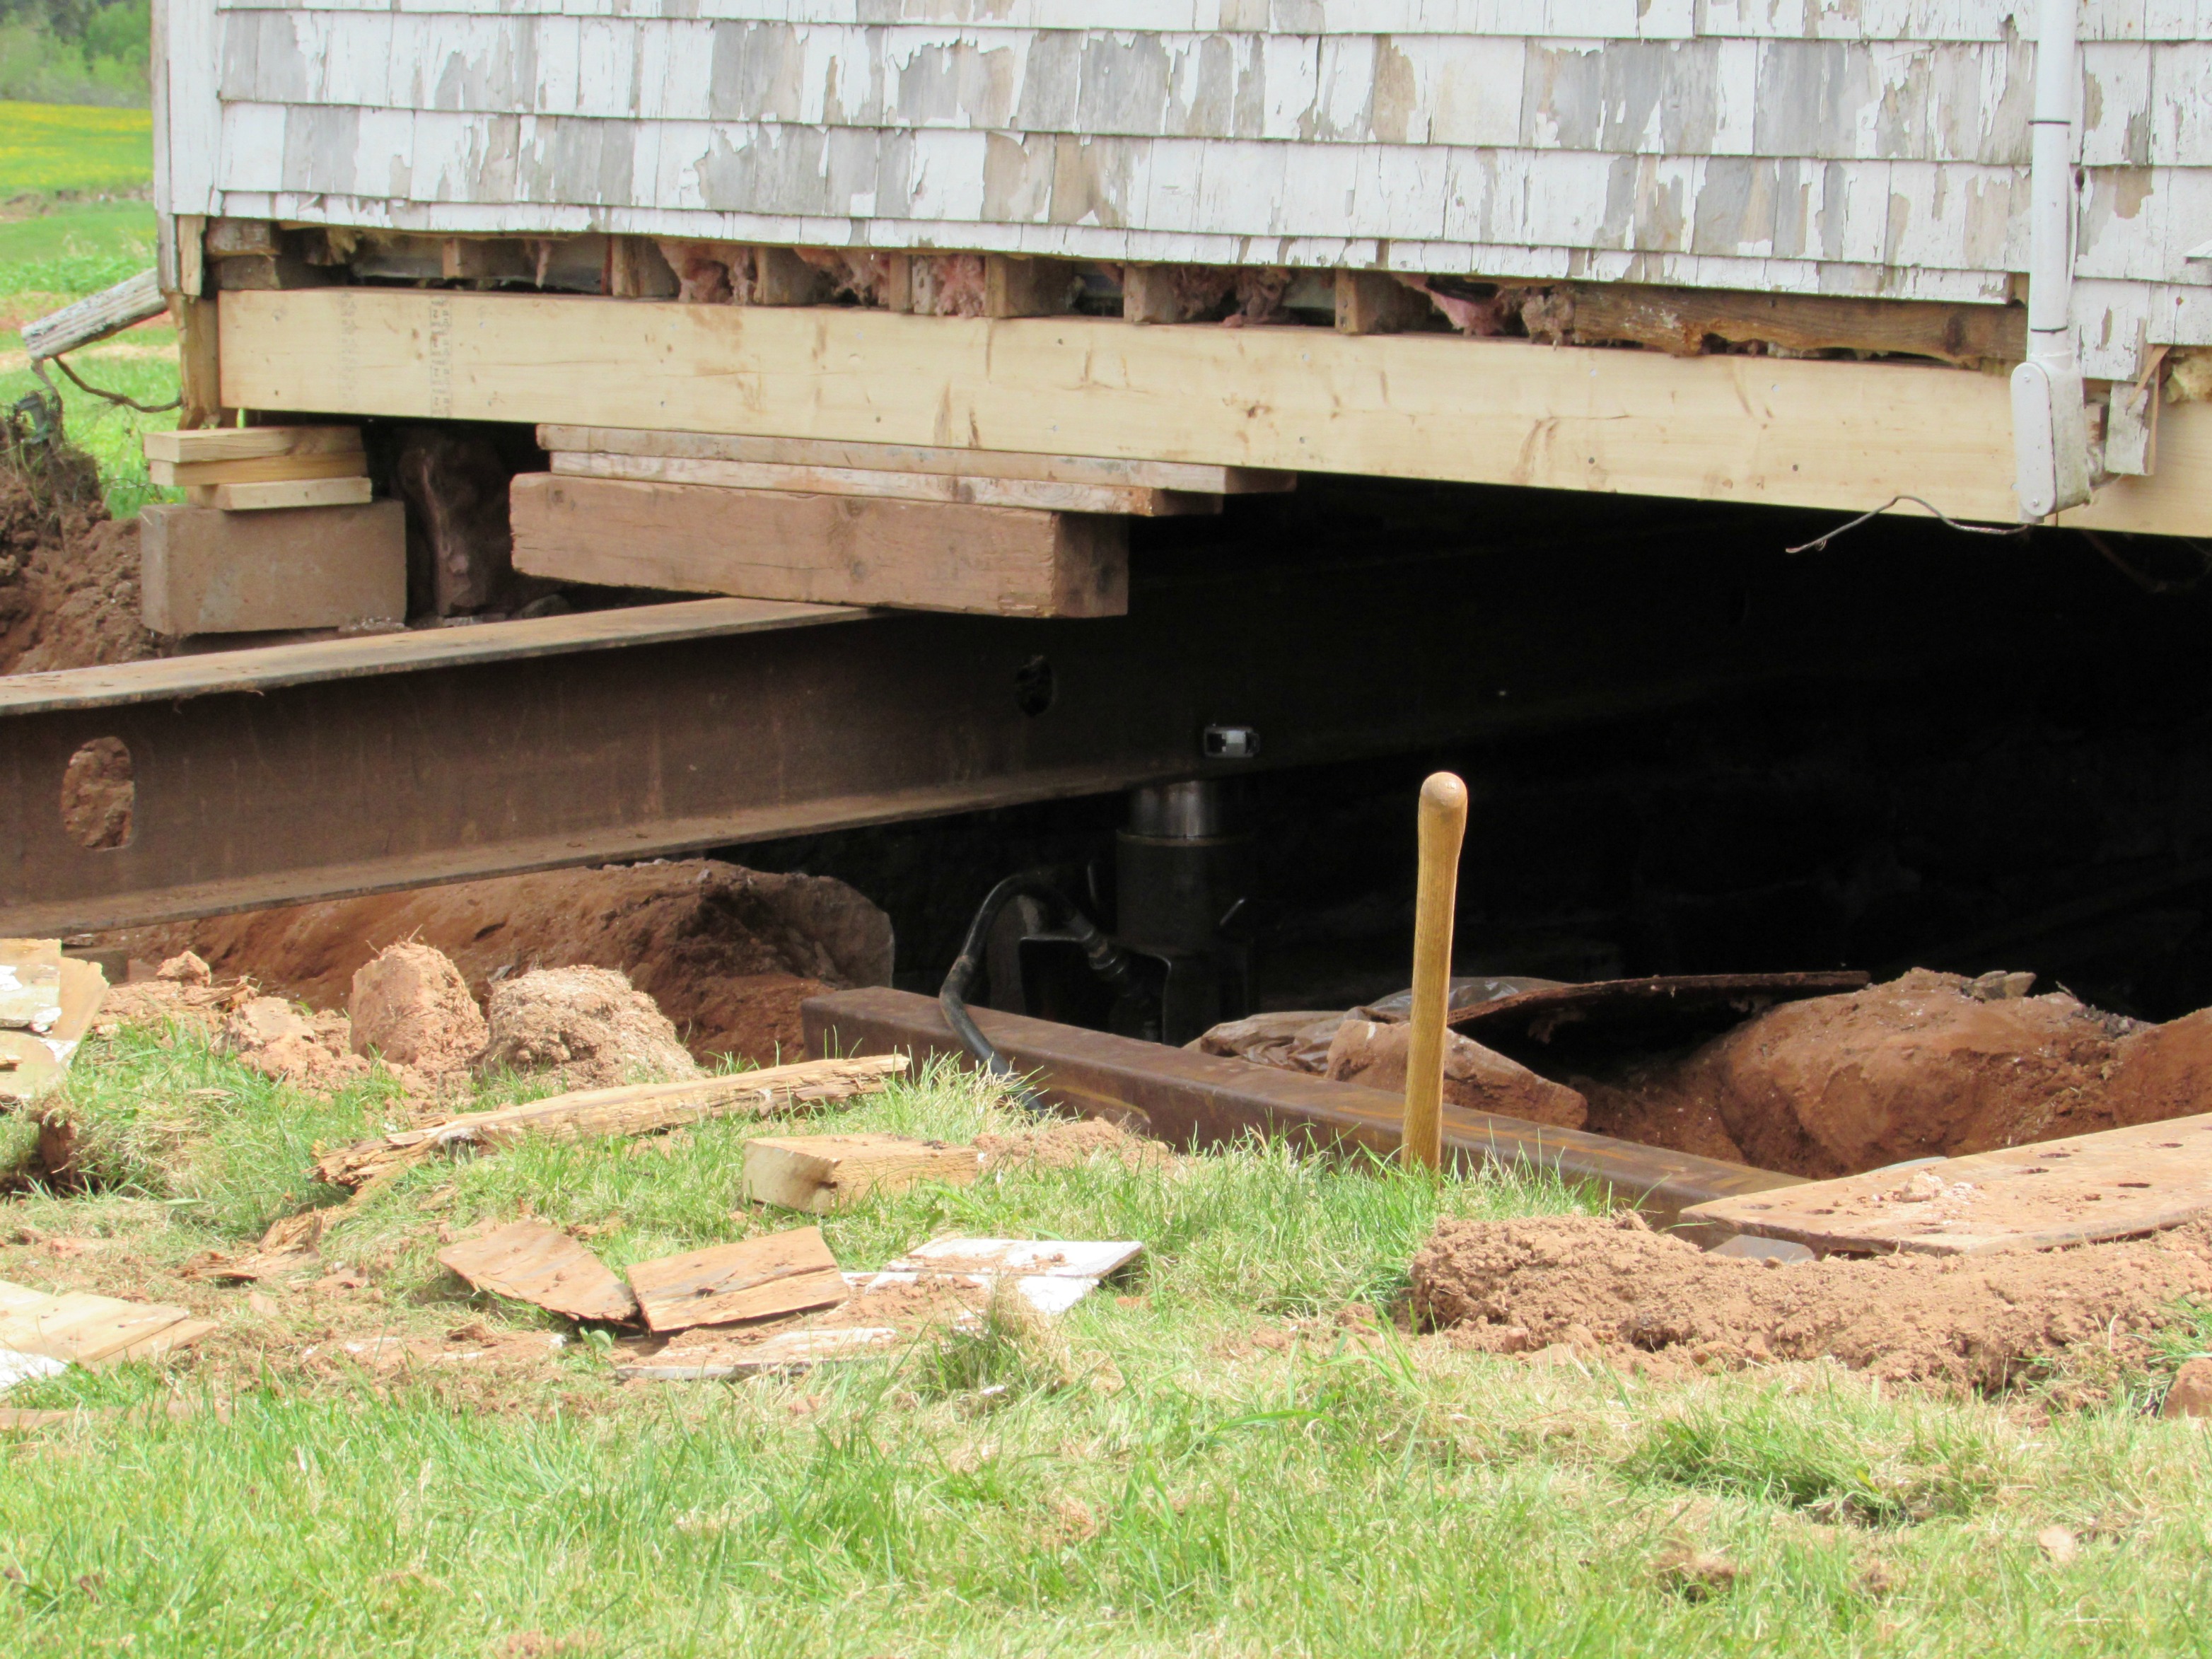
After the sills were replaced, the soil was cut down around the house and stones removed from the foundation to make pockets for the big steel beams to be installed.

IMG_2456

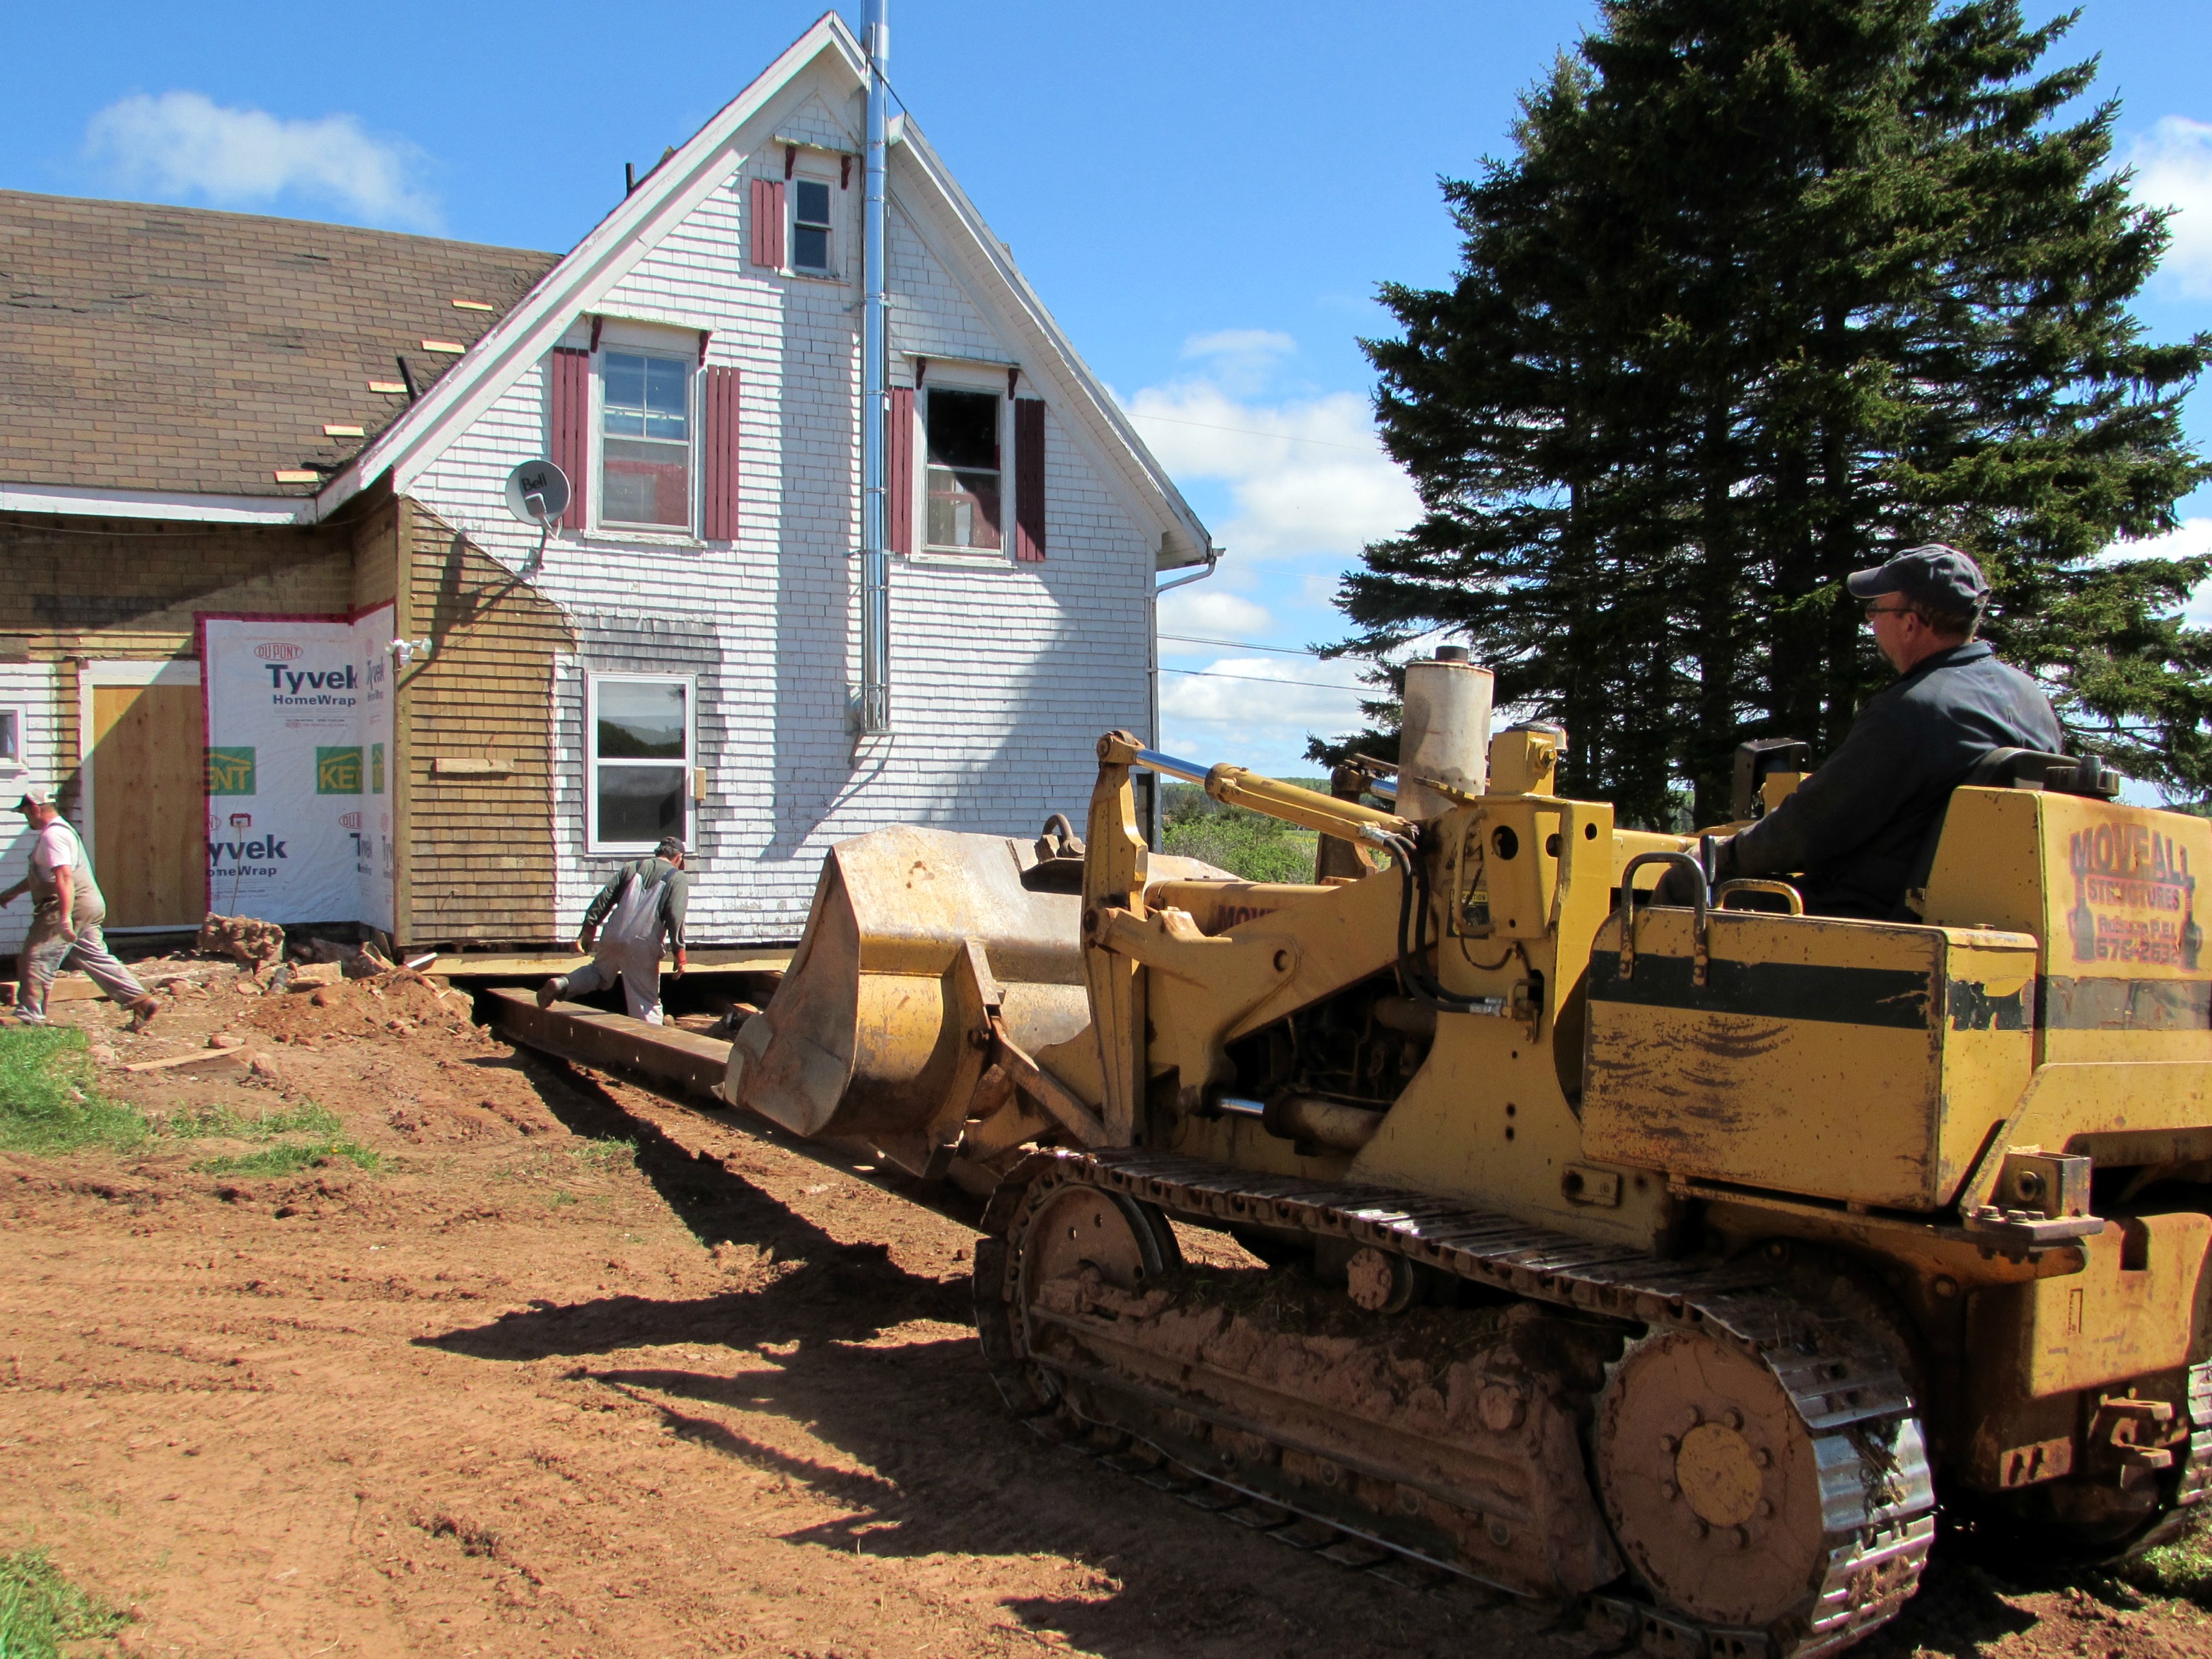
Picking up one end with the excavator and slowly guiding it through the pockets in the foundation, the beam is pushed from the back of the house, with only inches to spare….

IMG_2458

….out through the front of the house.

IMG_2468

Needless to say, Elmer has done this once or twice before.  Now for the second beam.

IMG_2476

IMG_2480

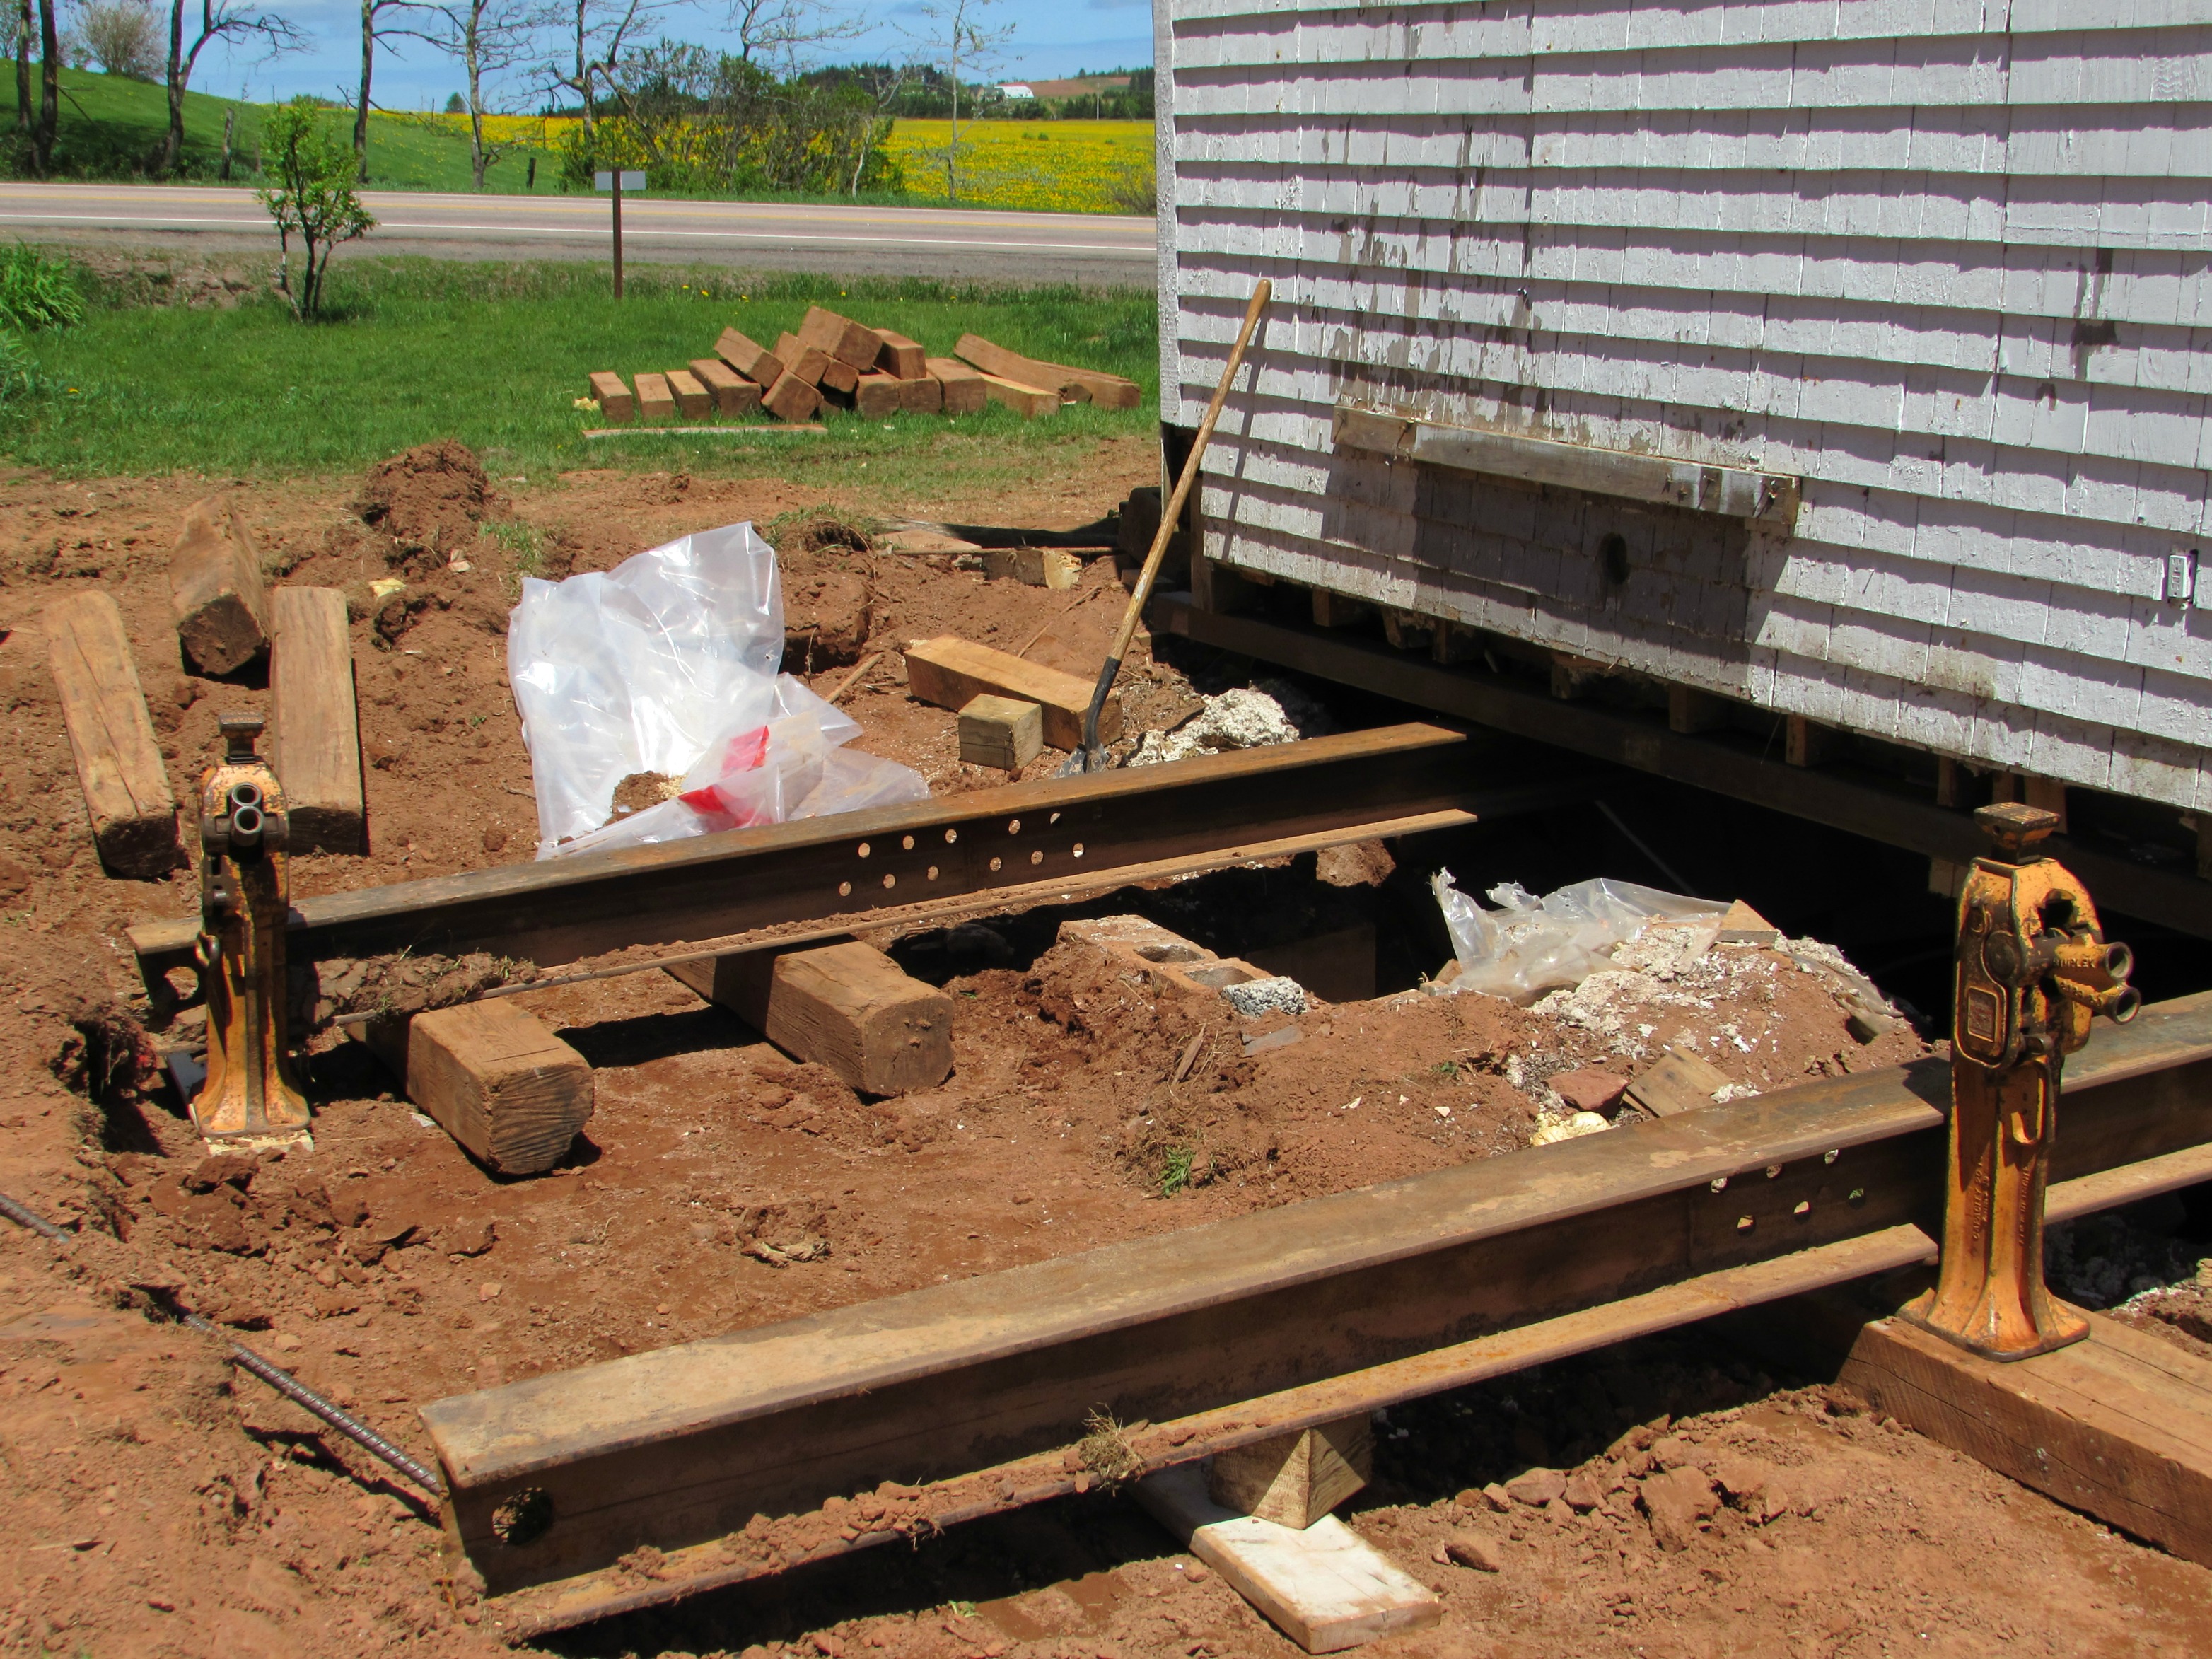
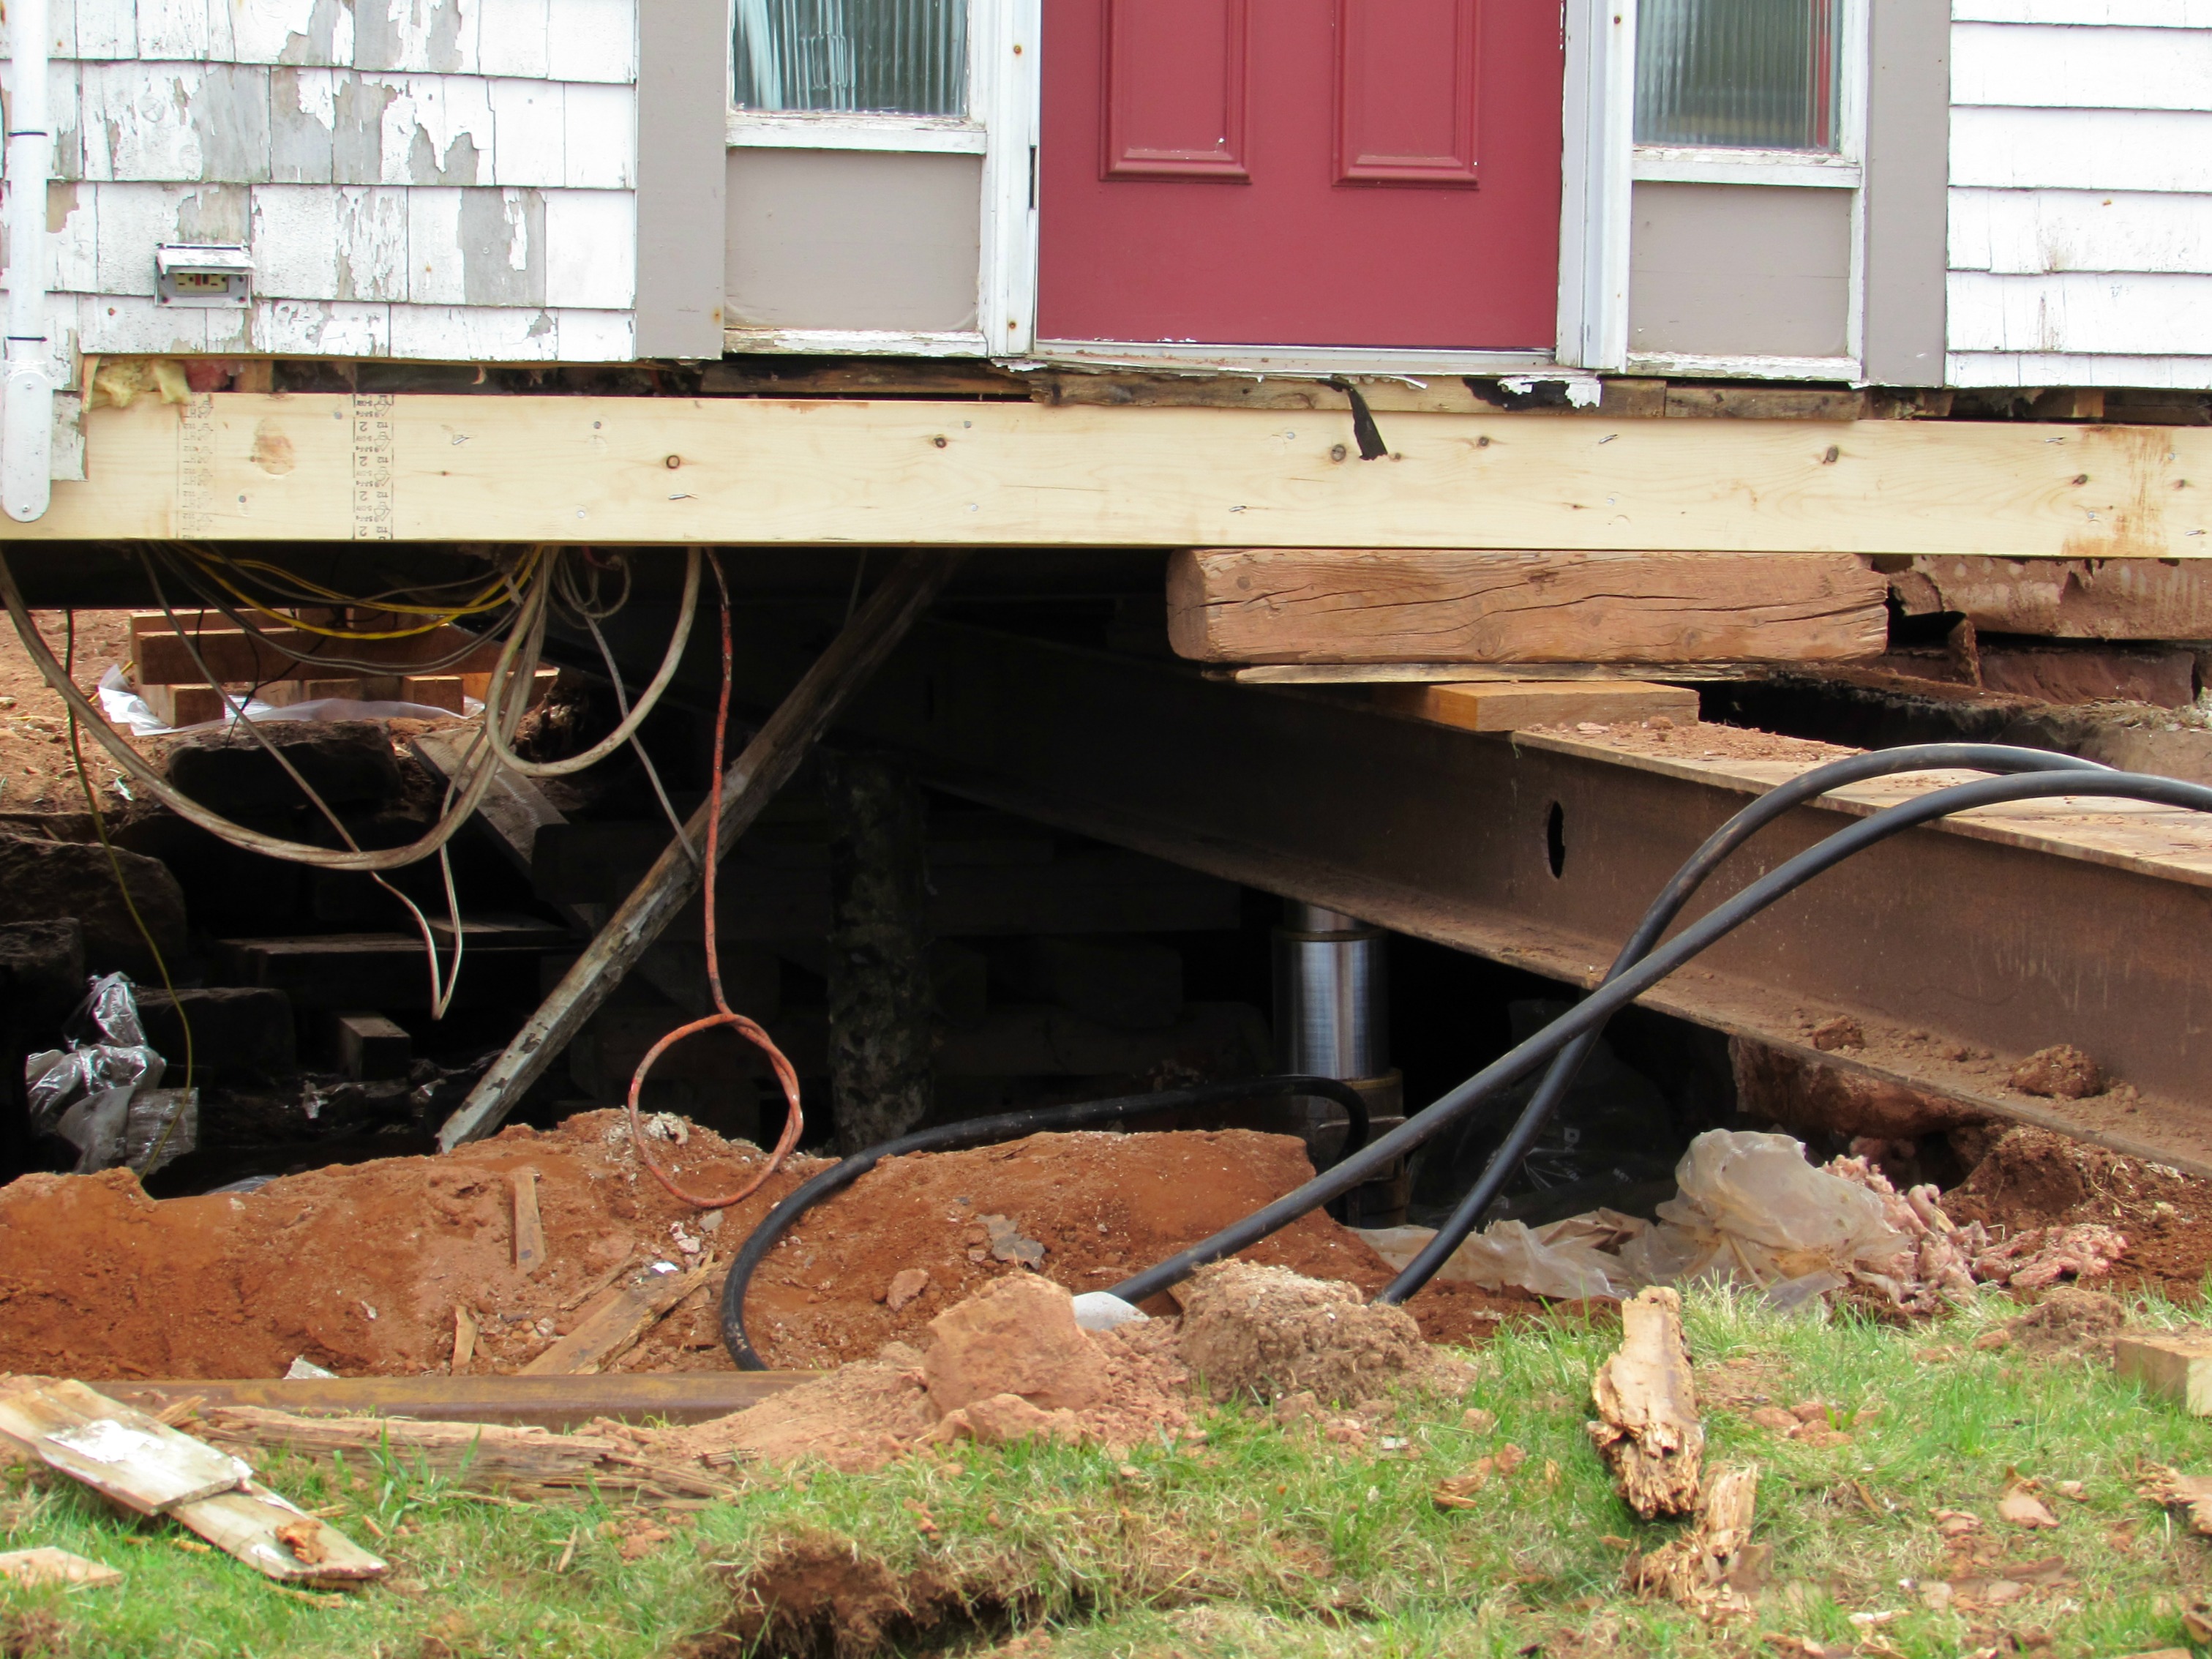
So that takes care of the main cape.  The kitchen ell has two smaller supports perpendicular to the two mains.  These will be jacked by hand.

IMG_2483

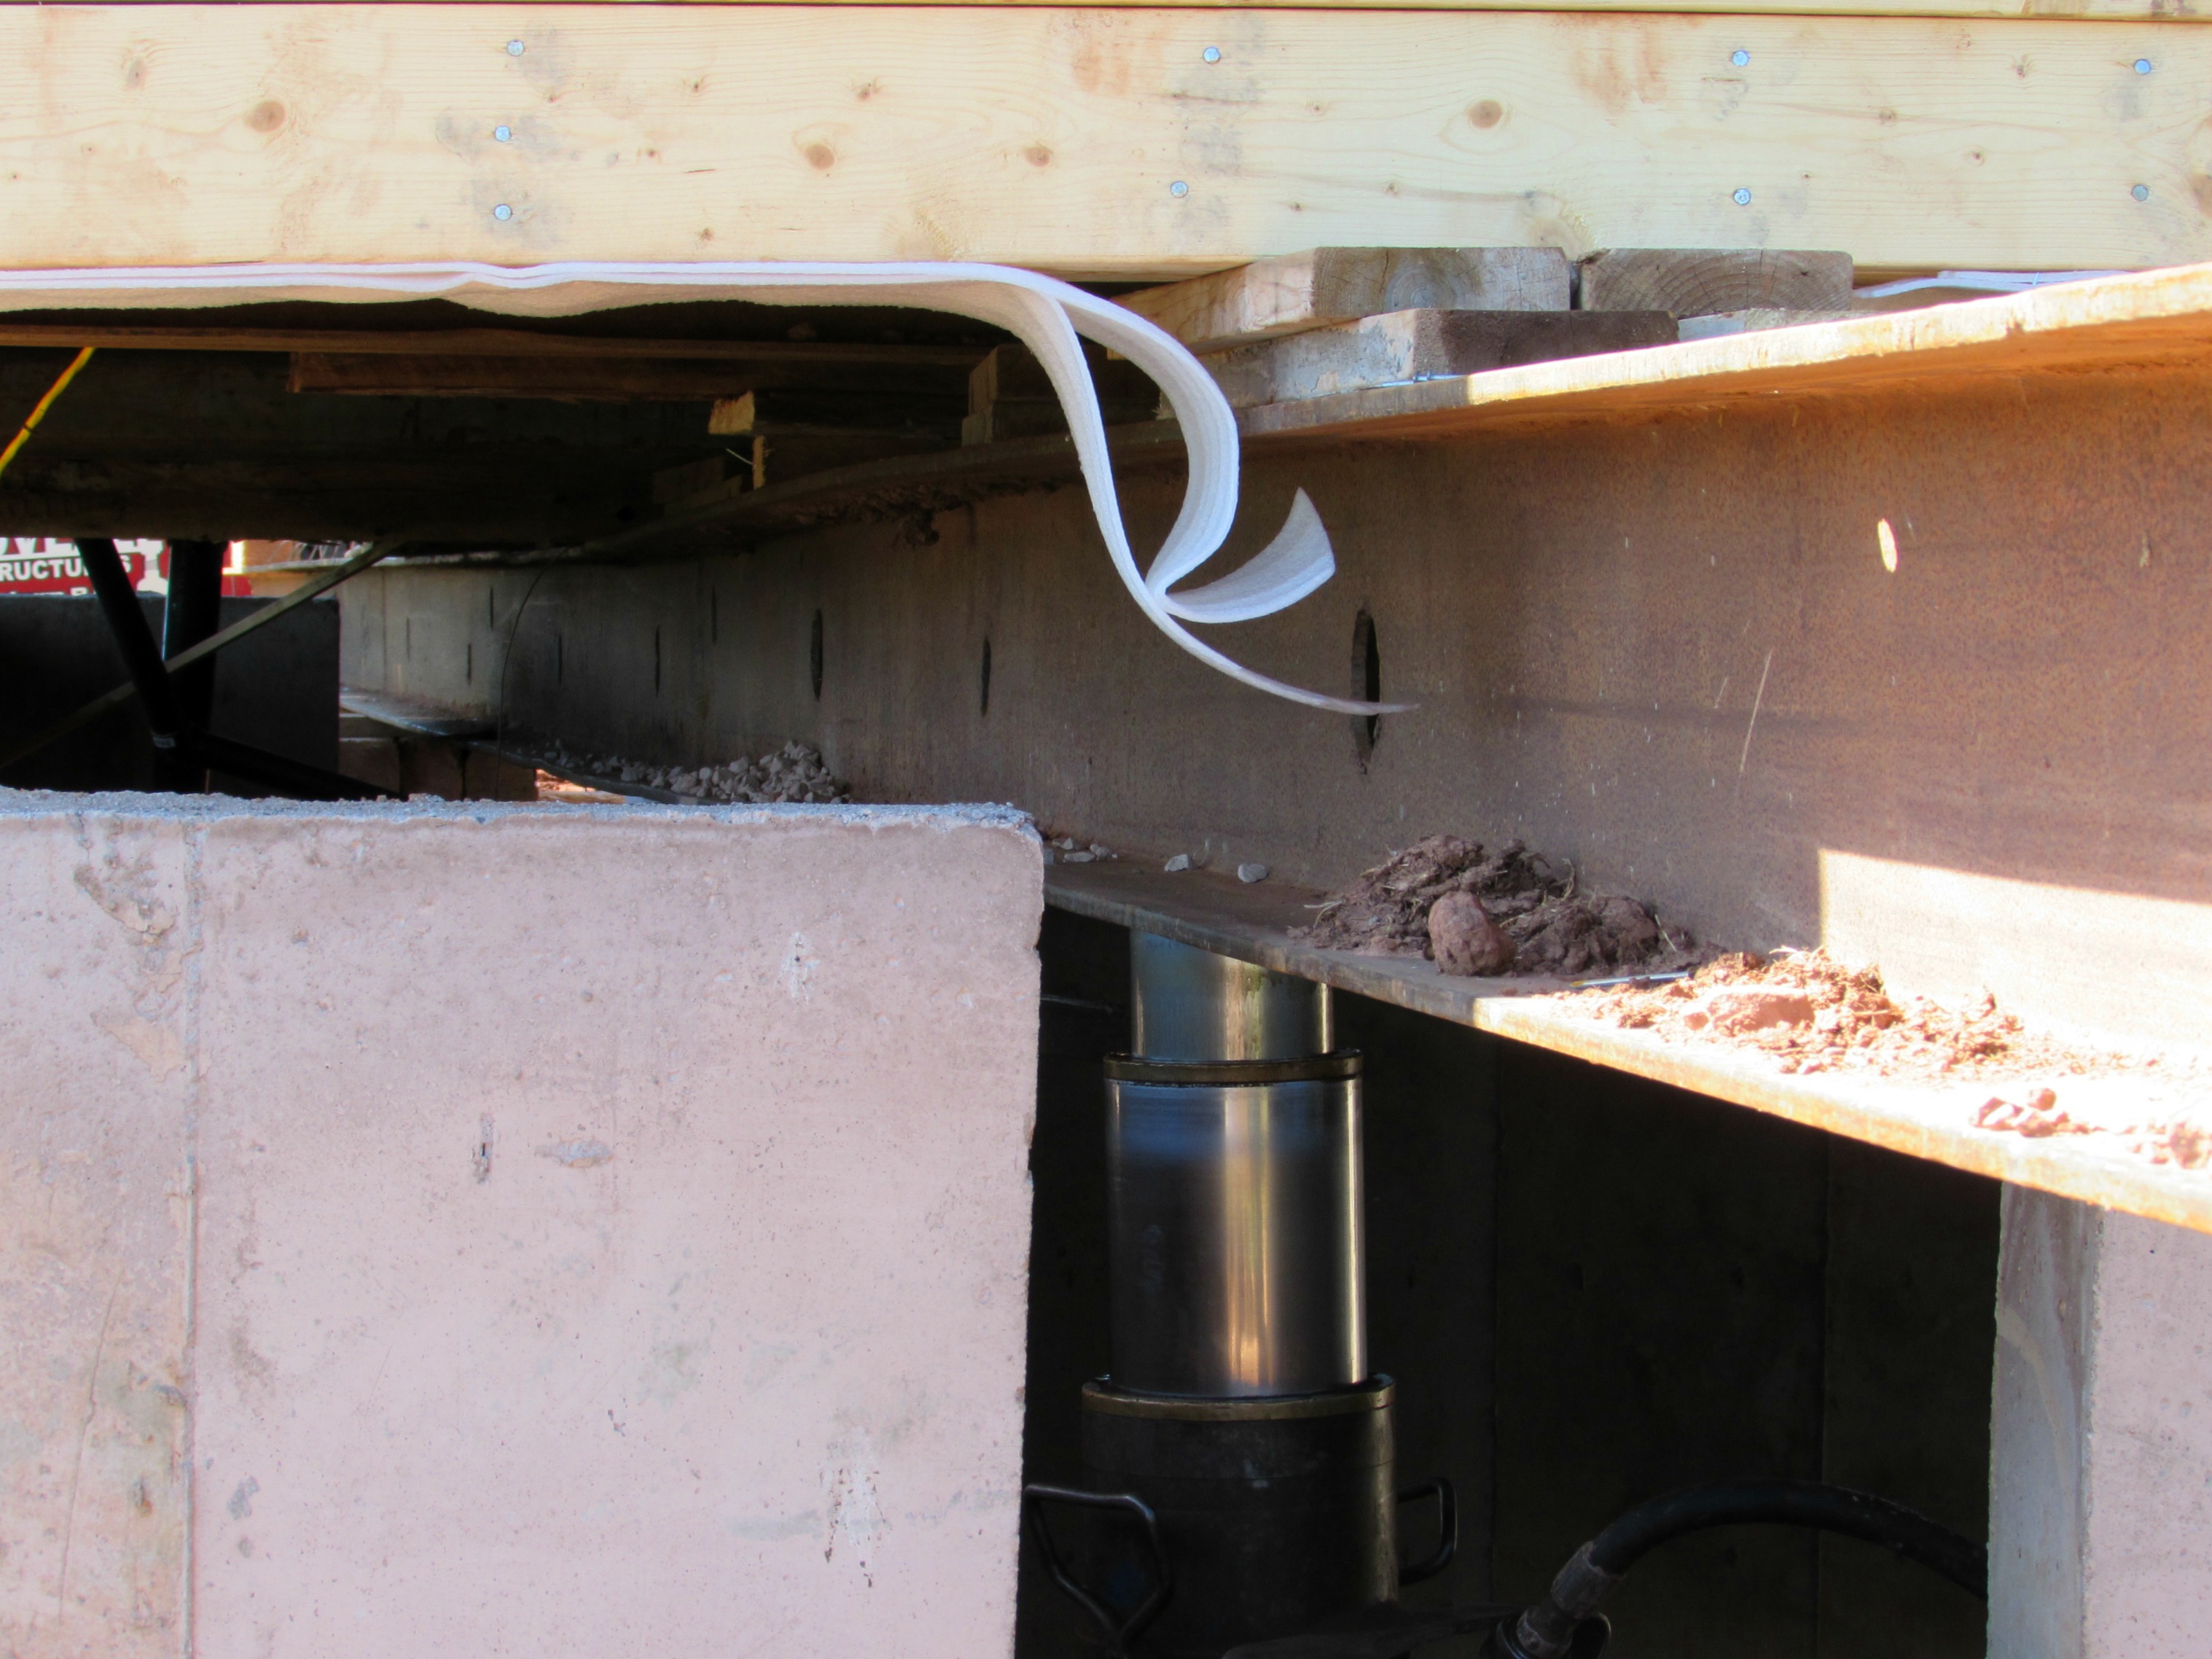
But the two main supports will be raised pneumatically.  With the cribbing and jacks in place, it’s time to start lifting.

IMG_2485

IMG_2497

There she goes!

IMG_2498

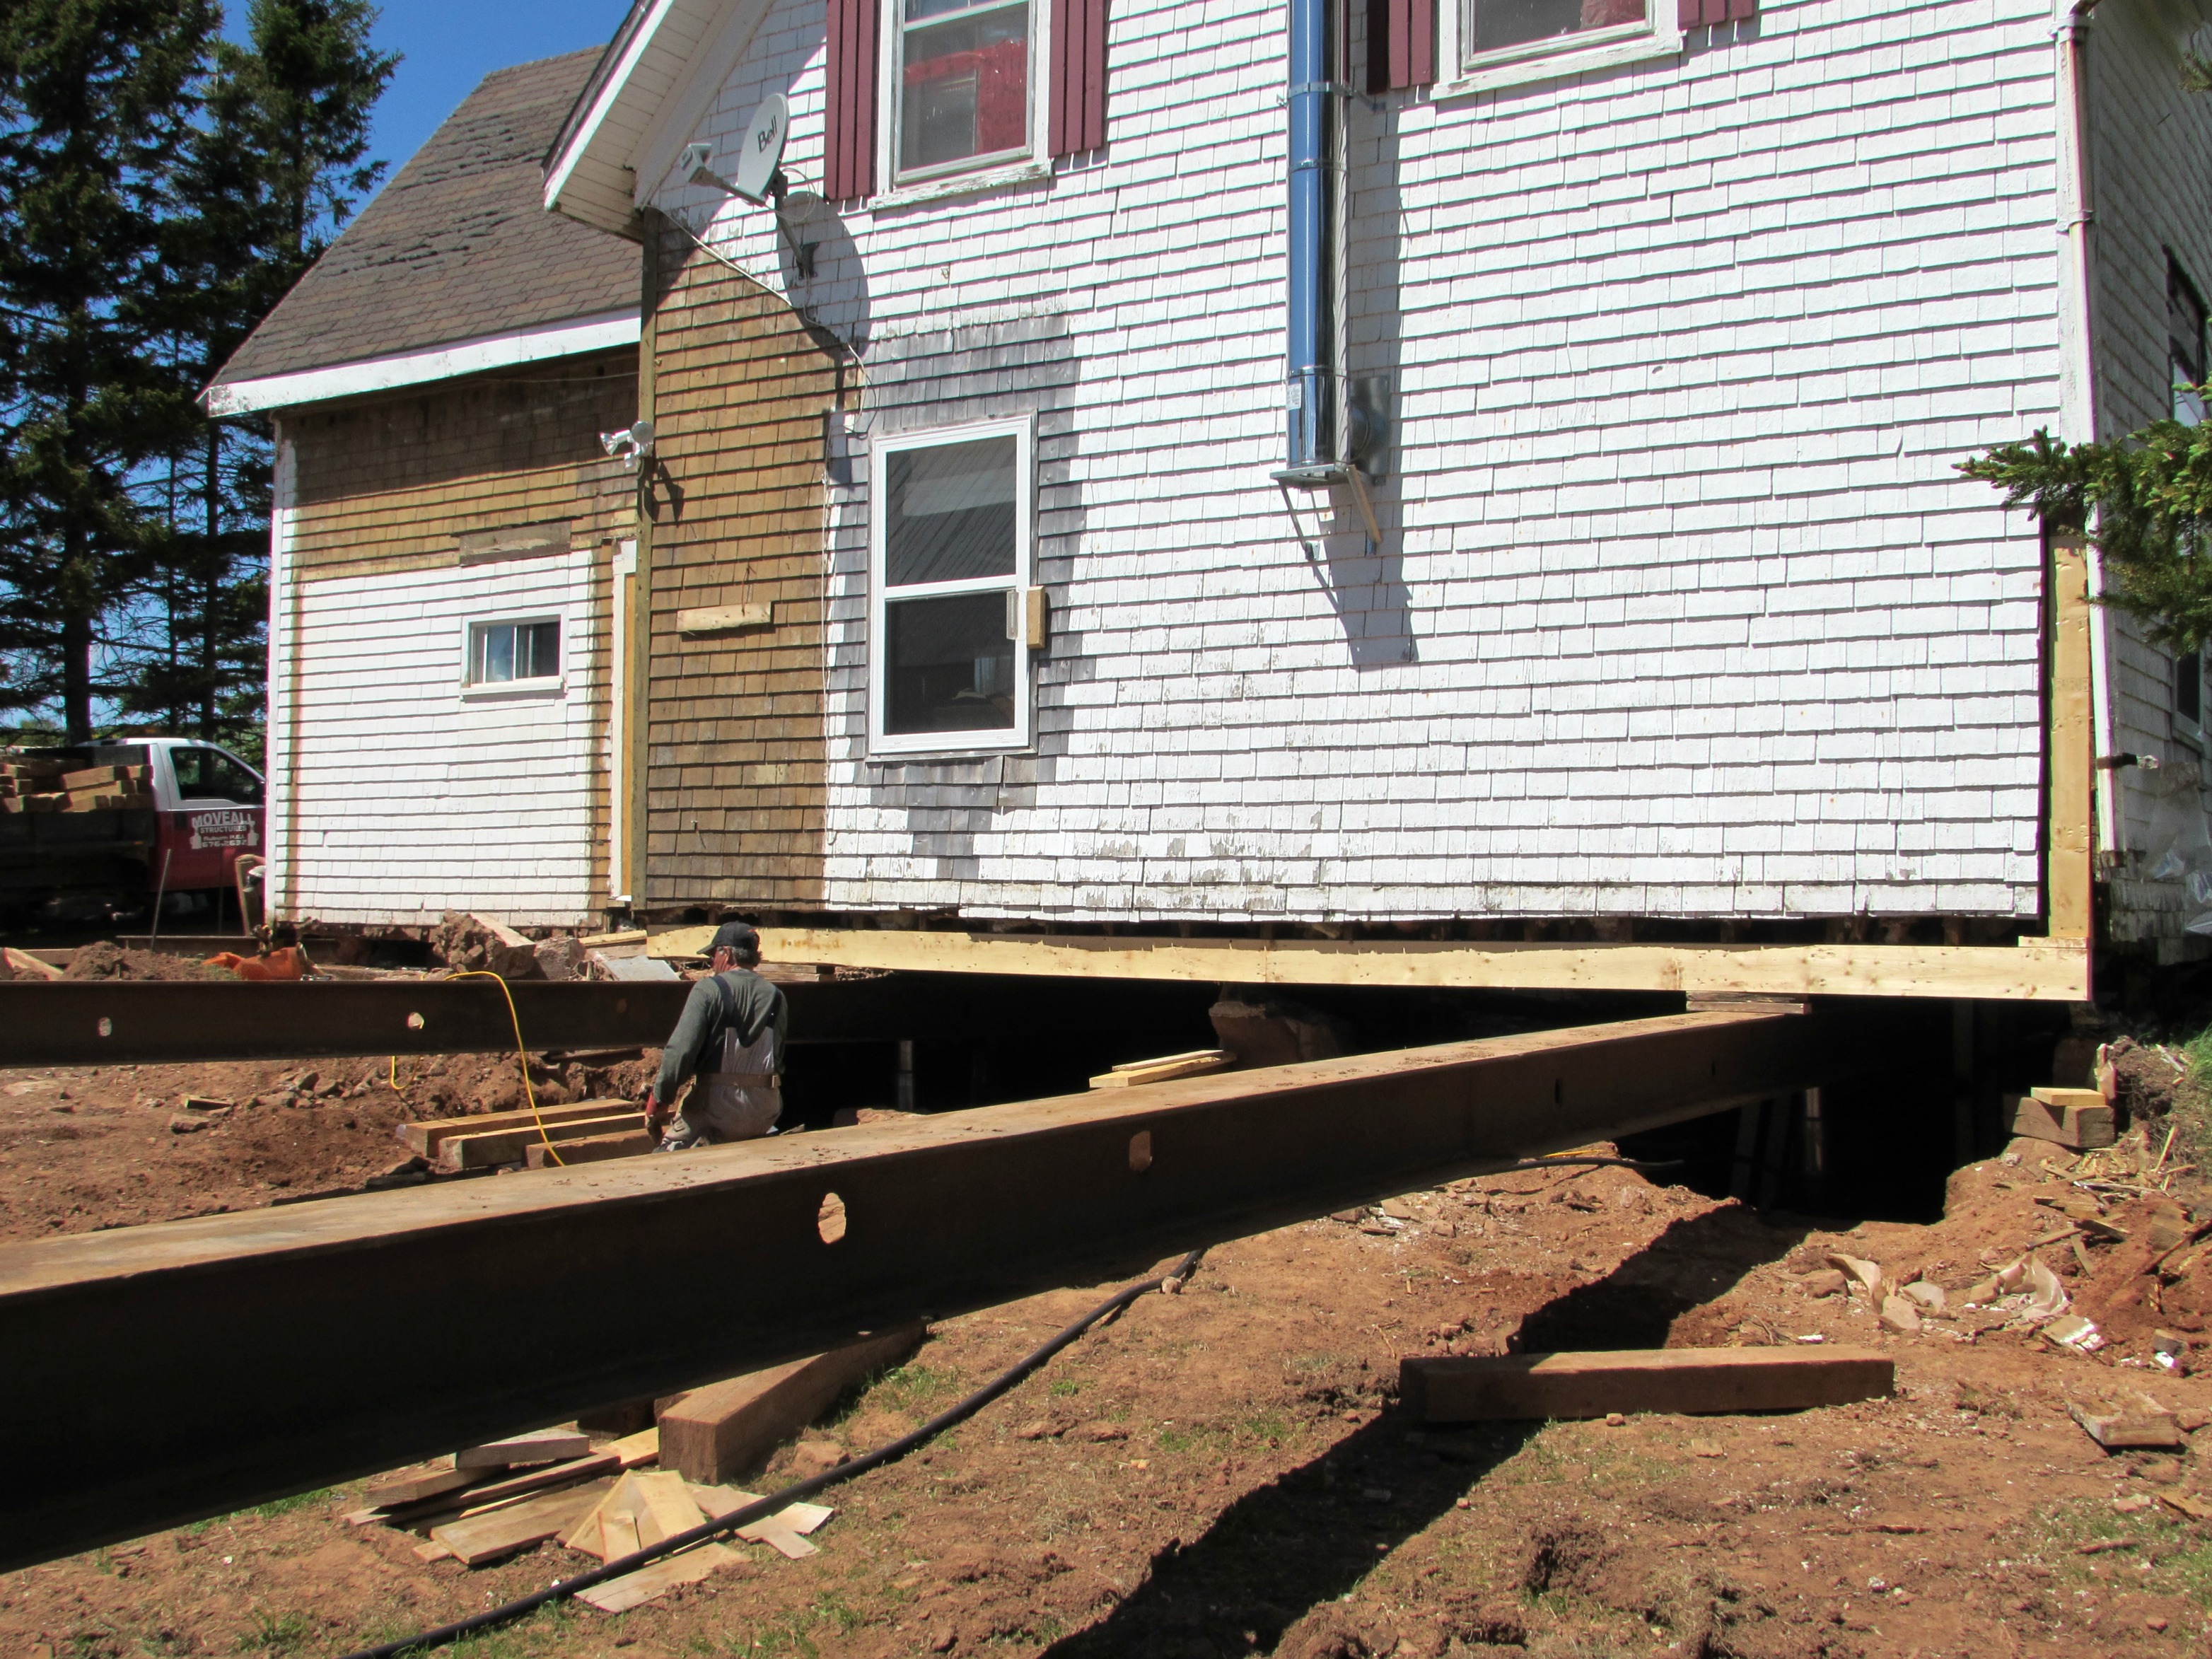
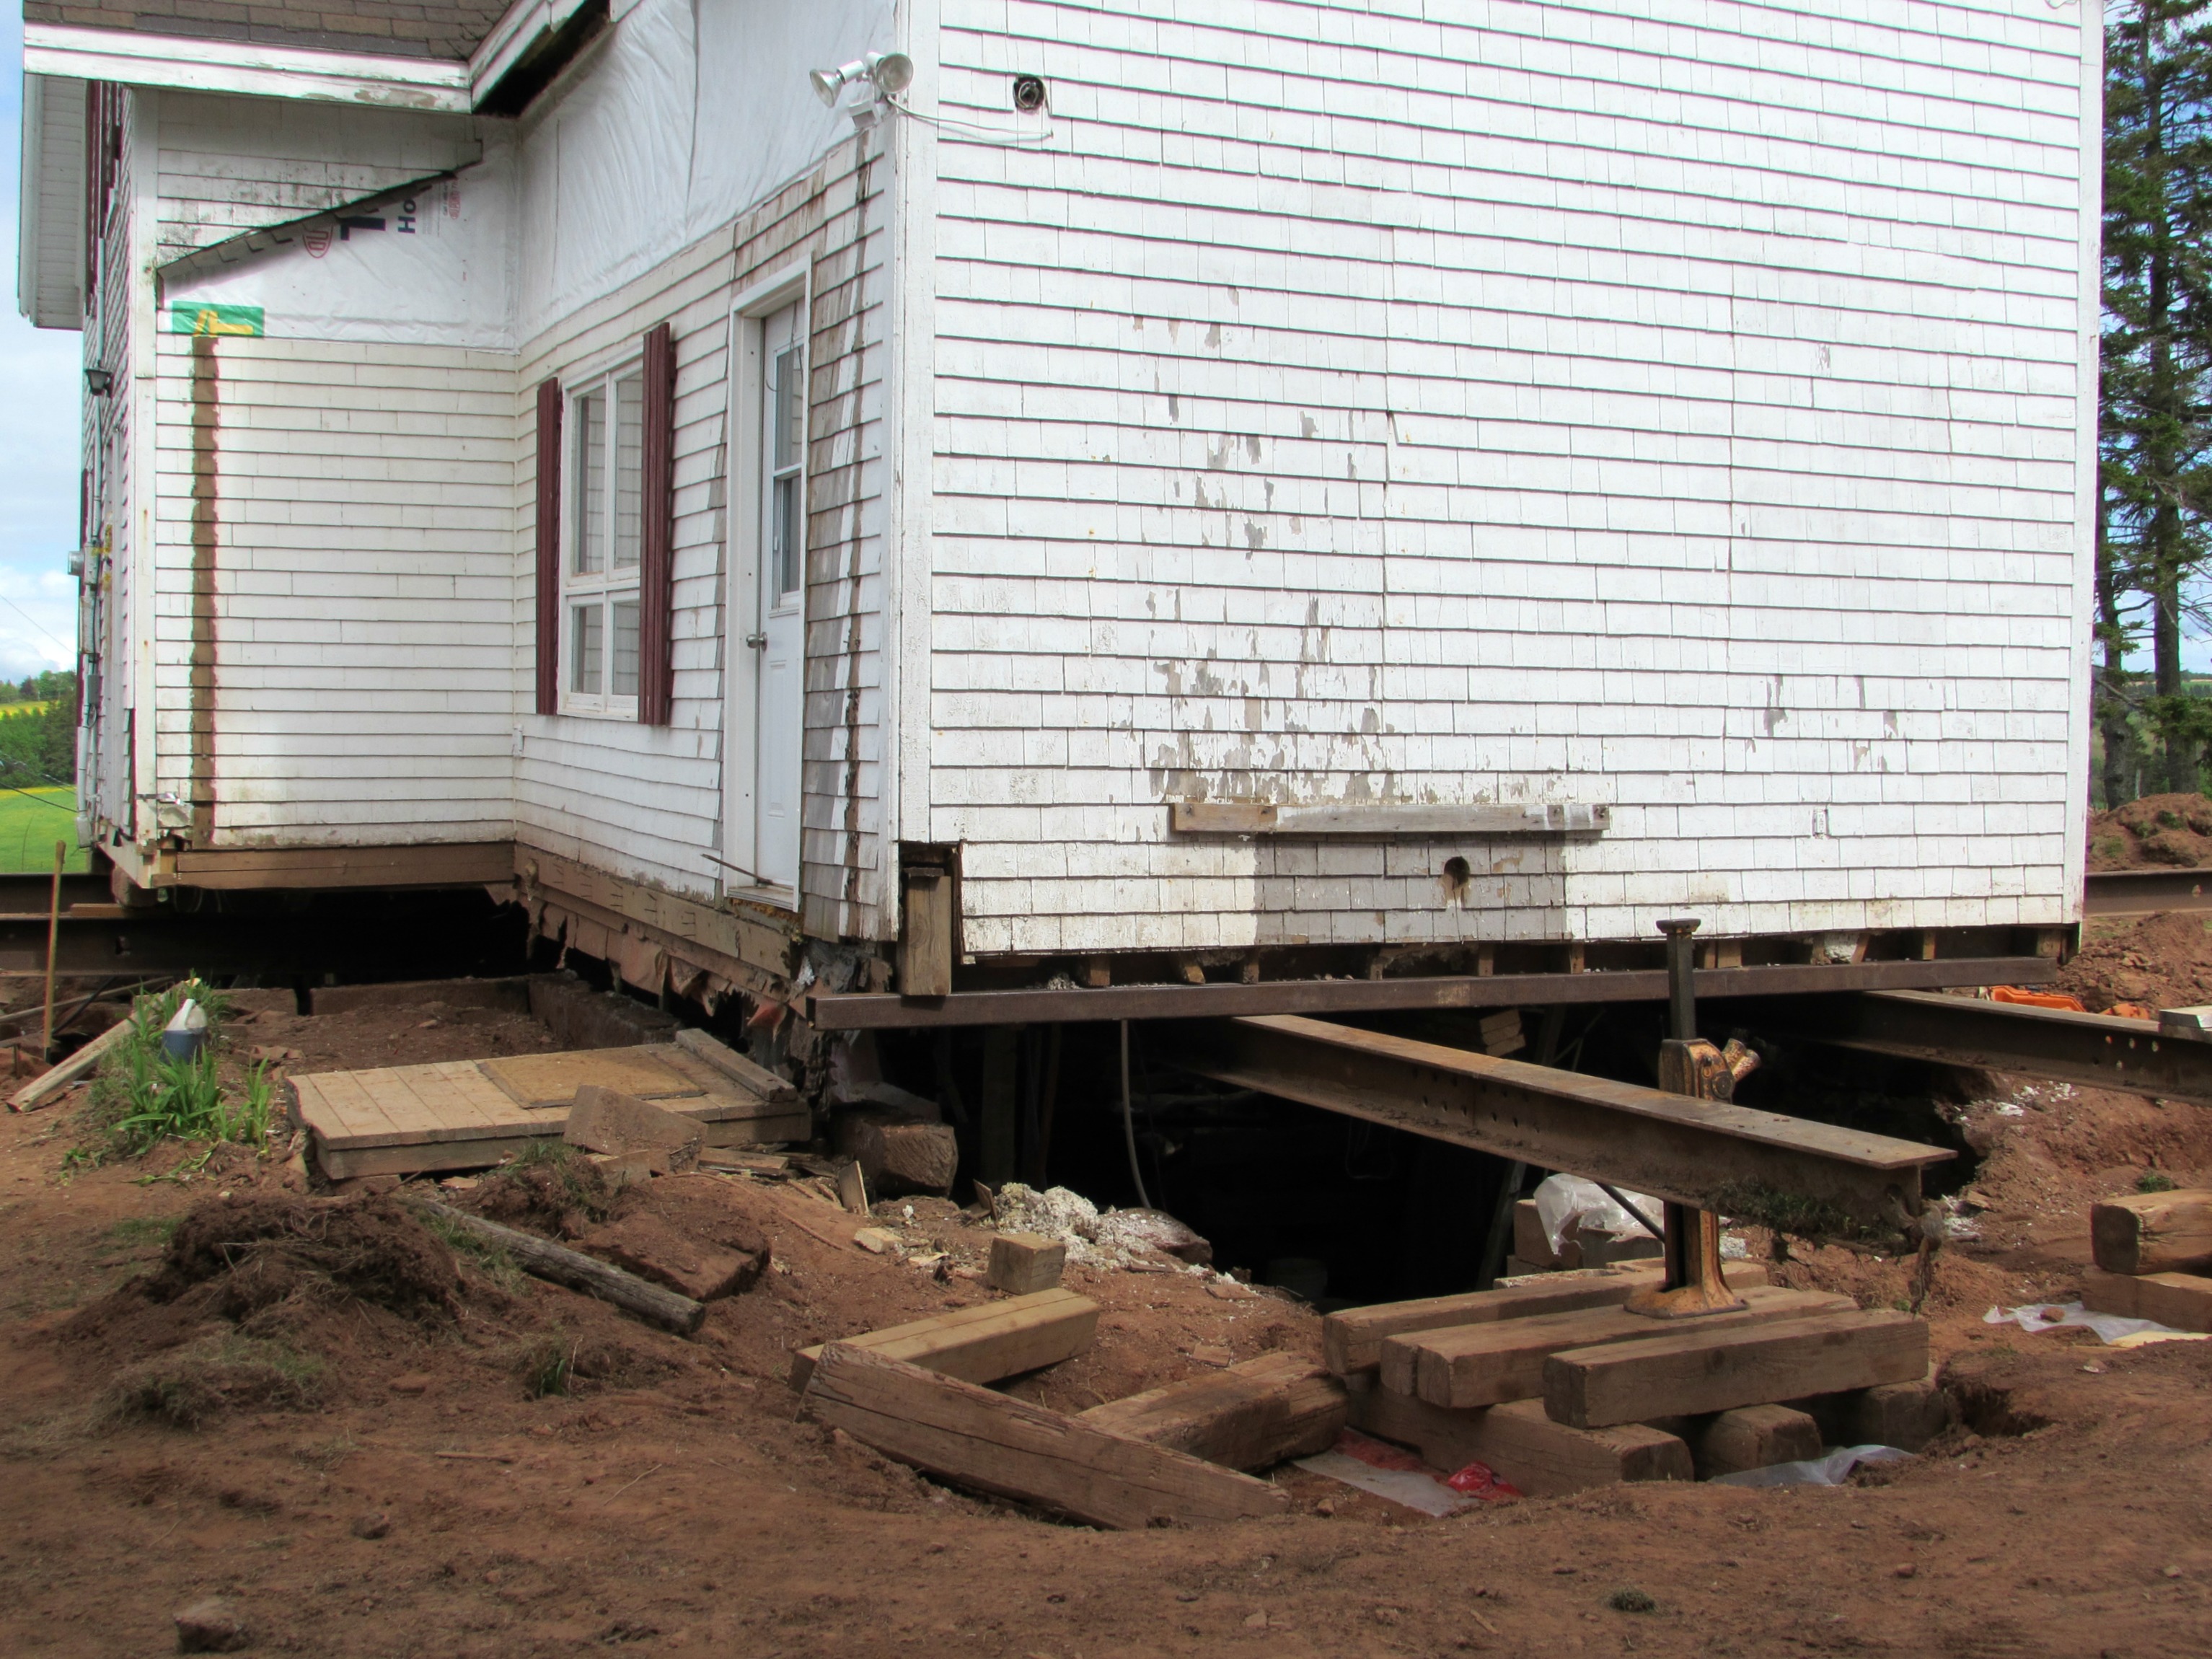
Front-to-back, the main beams are raised and the side supports are jacked manually to keep pace.

IMG_2507 IMG_2513 IMG_2515

Murdoch’s such a trooper, too.  He’s happy just to be out with us and the guys from Moveall Structures.  Of course, anytime he gets attention, he’s happy.

IMG_2525

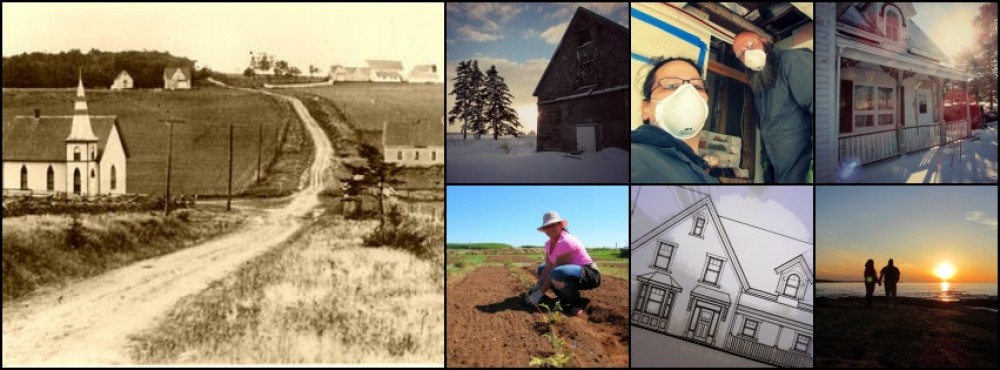
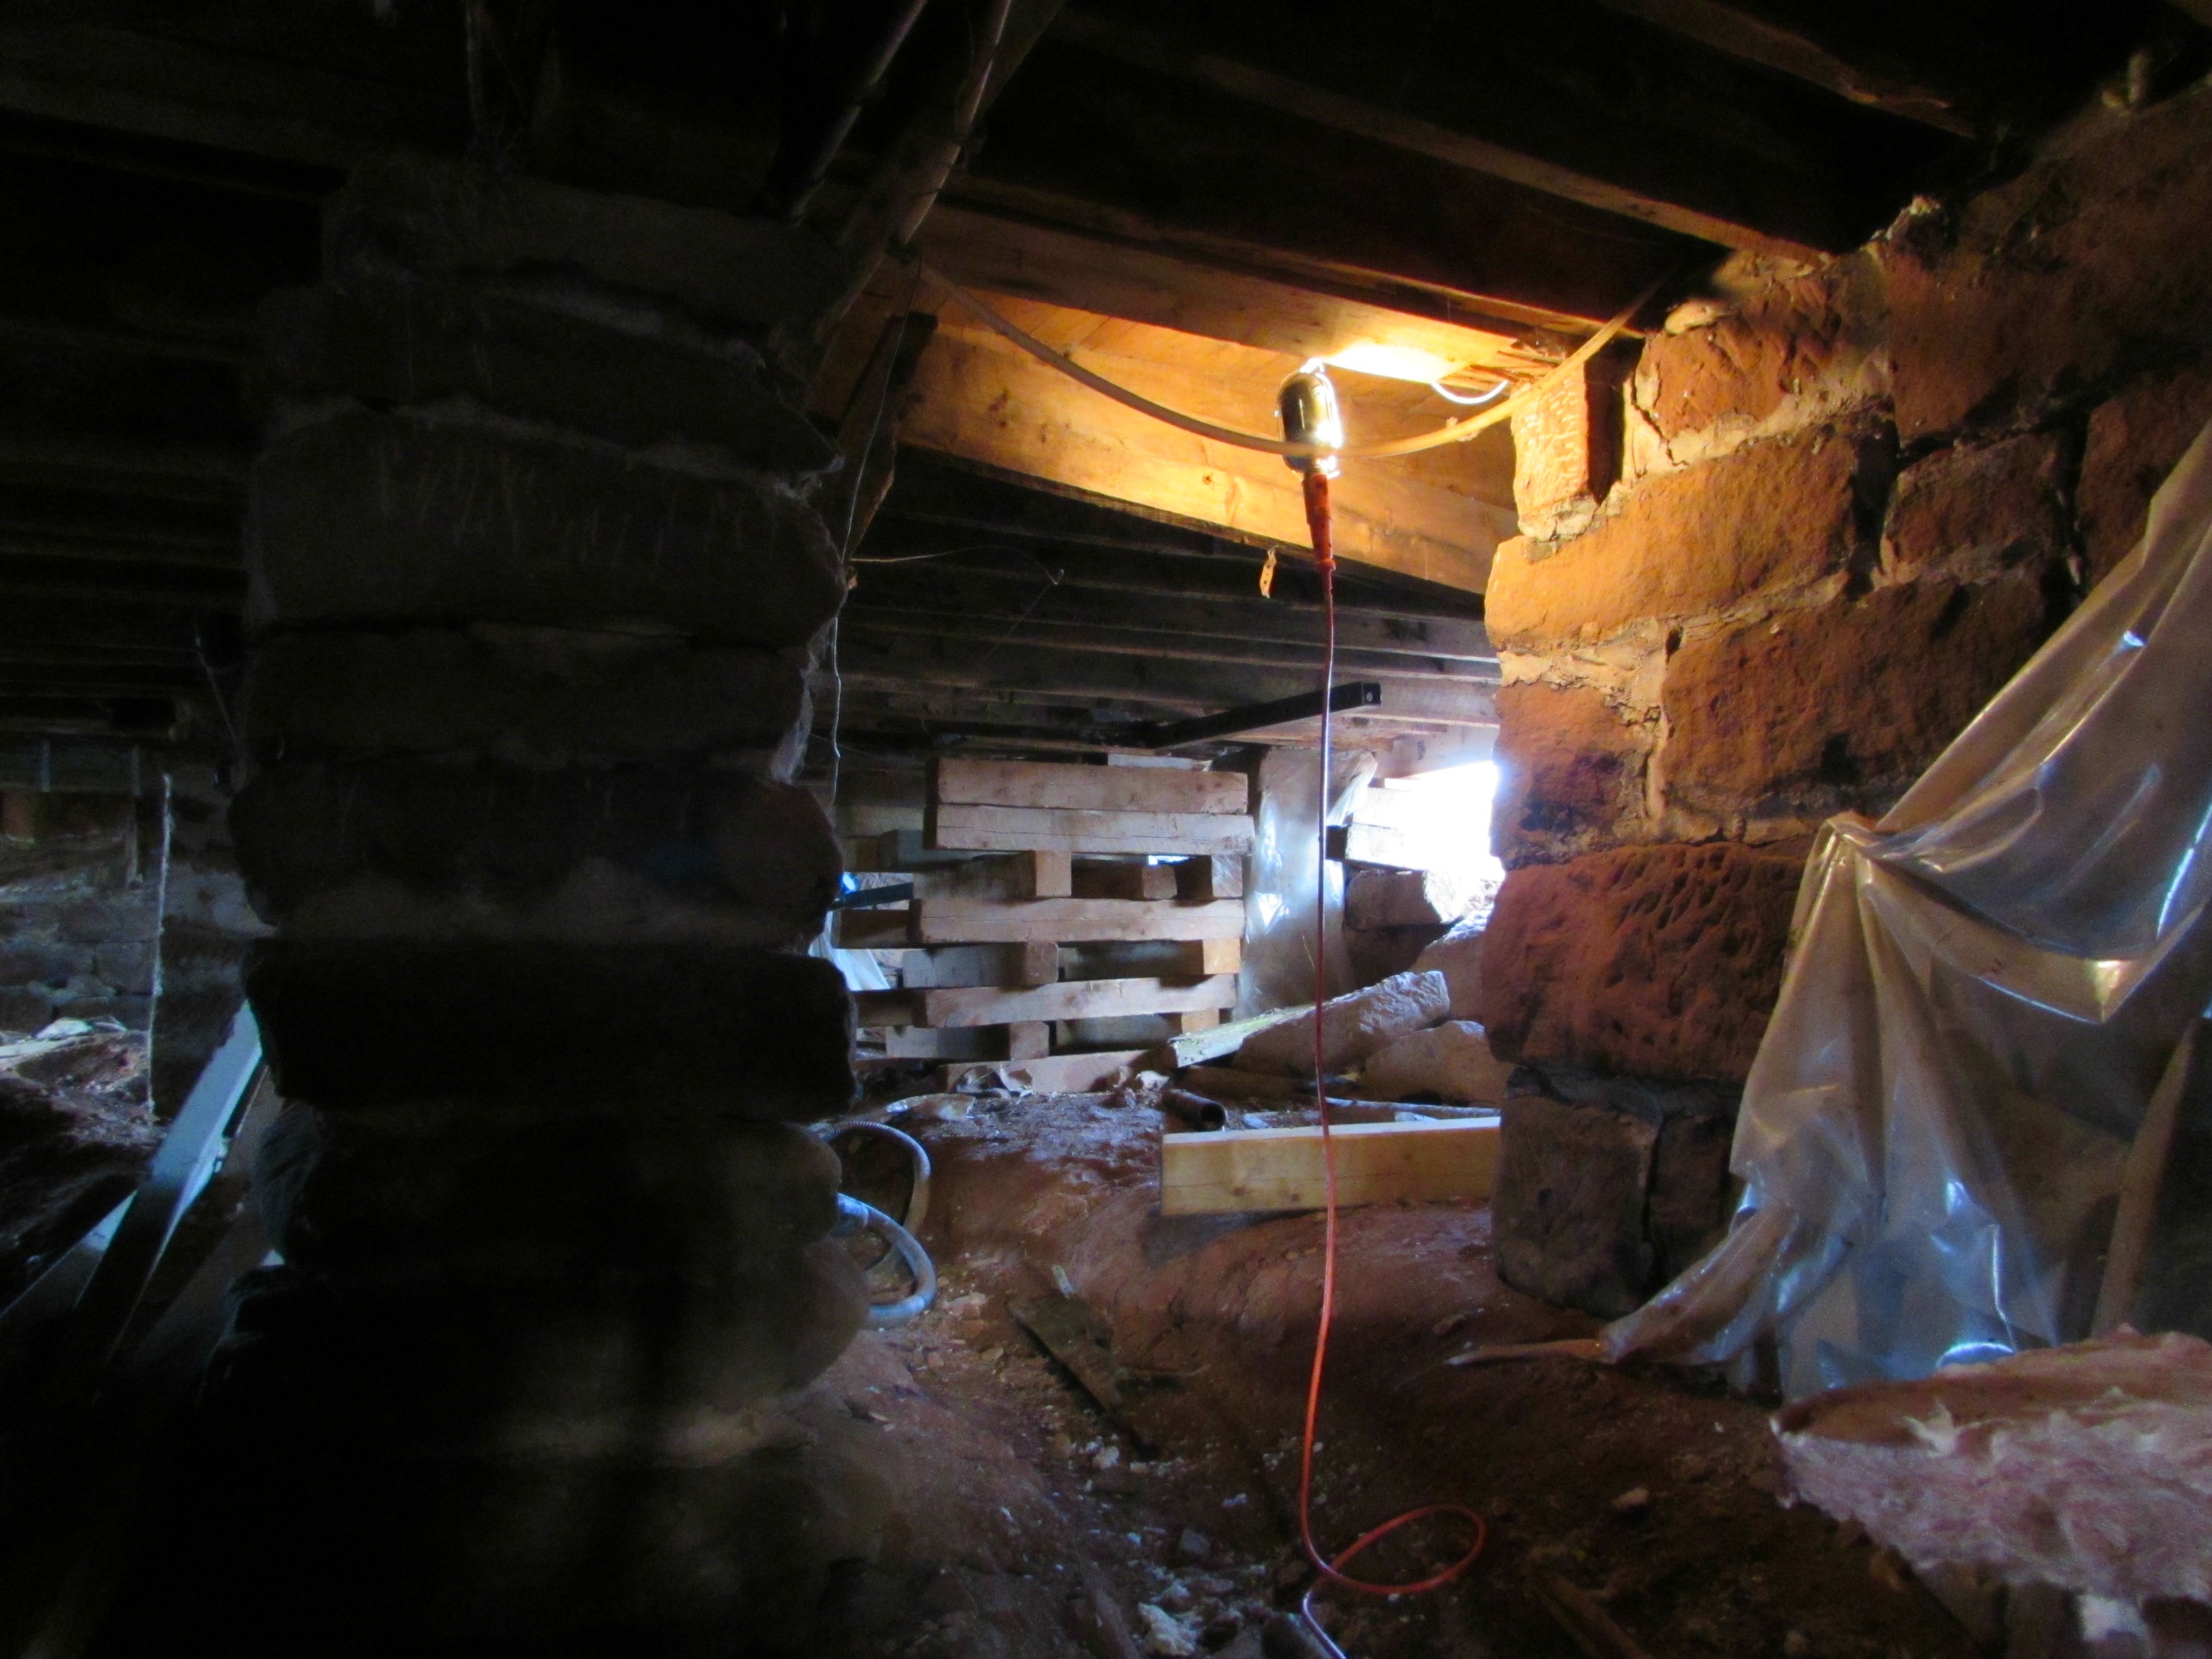
And there it is.  The house is up a couple of feet off the old foundation wall and the next step is to remove the old stone wall and excavate to a depth to accommodate the new full-height basement.

IMG_2542

Unfortunately, Thursday is where the week ended for the crew.  Rain came on Friday and the remaining excavation would have to wait until after the weekend.

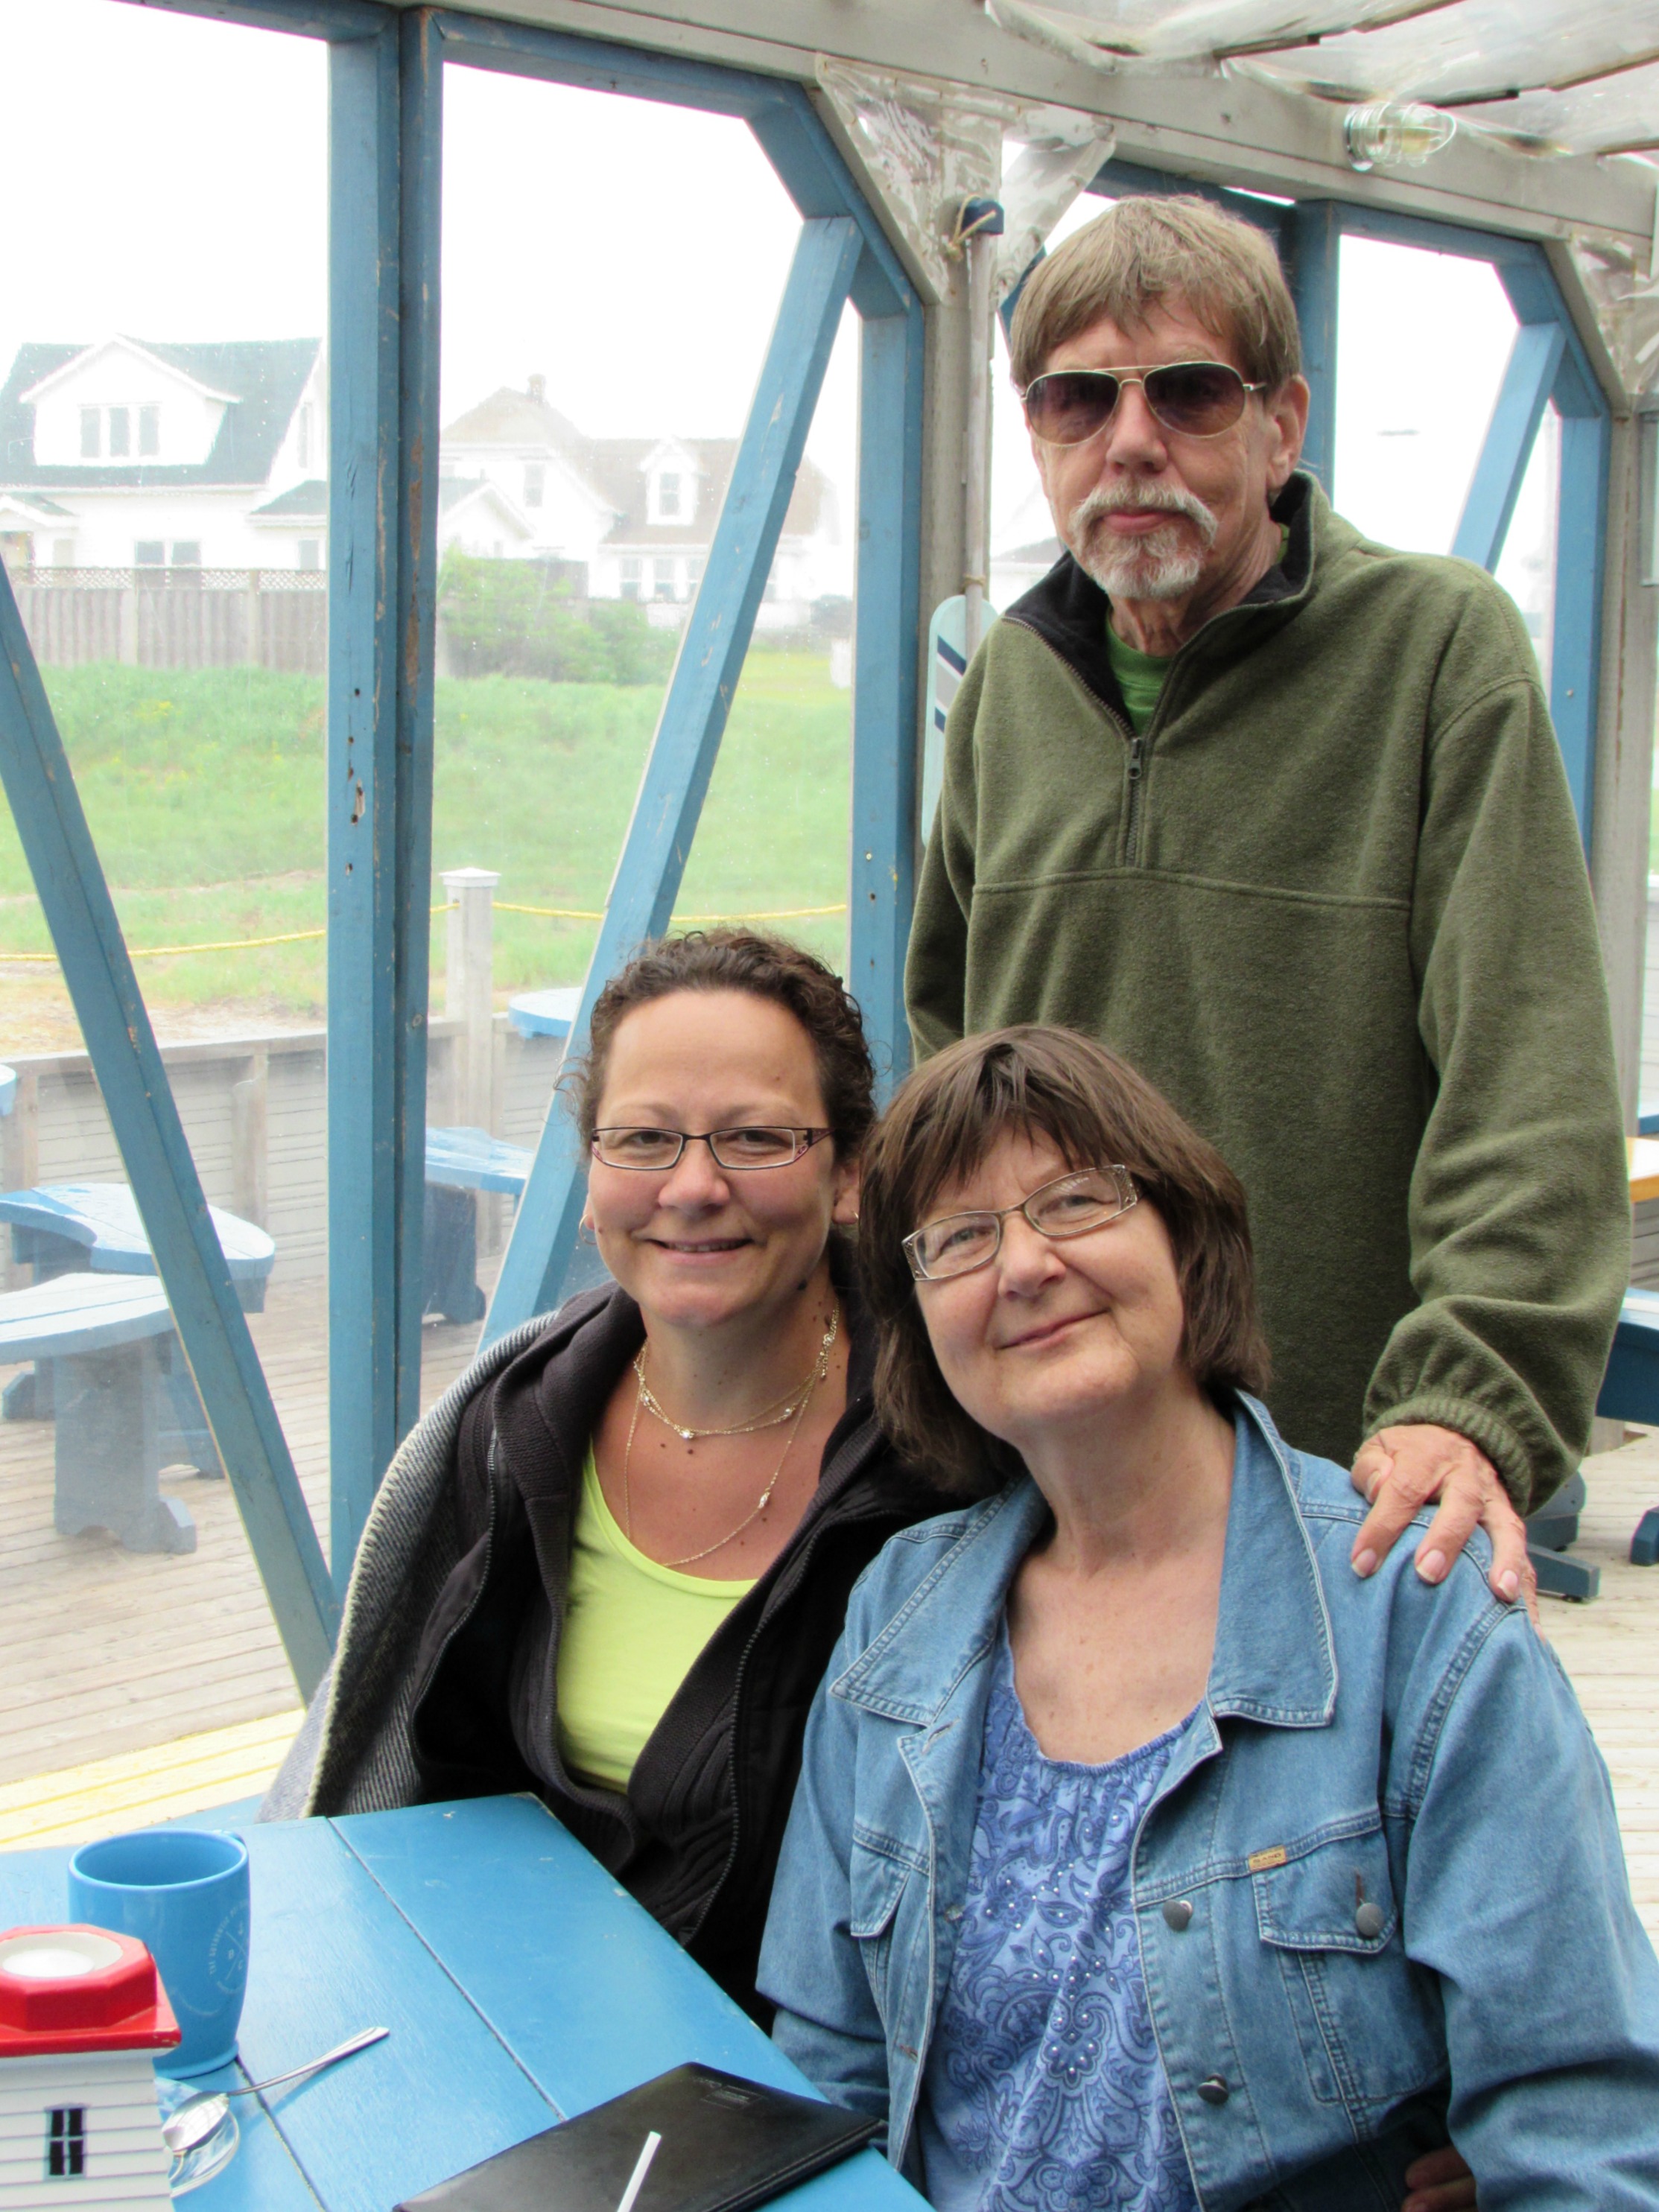
But, in spite of the rain, Friday was just what we needed.  Our good friends, Aarno and Helena were passing through the maritimes on their way back to Ontario and paid a visit.  How awesome to see old friends and familiar faces – and to share a glimpse in what we’re doing.  We went for a quick drive along Cavendish and stopped for lunch at the Blue Mussel Cafe in North Rustico.

IMG_2531

Vanessa with Helena and Aarno

It was there we met Steve, the new owner of the restaurant.  He and his wife just moved to PEI last year, looking for a change of pace and had just opened the restaurant for the season only six days earlier.  And to top it off, they were originally from Ajax – practically neighbors to us in Ontario!  If you ever find yourselves in the area, I’d certainly recommend their cafe.

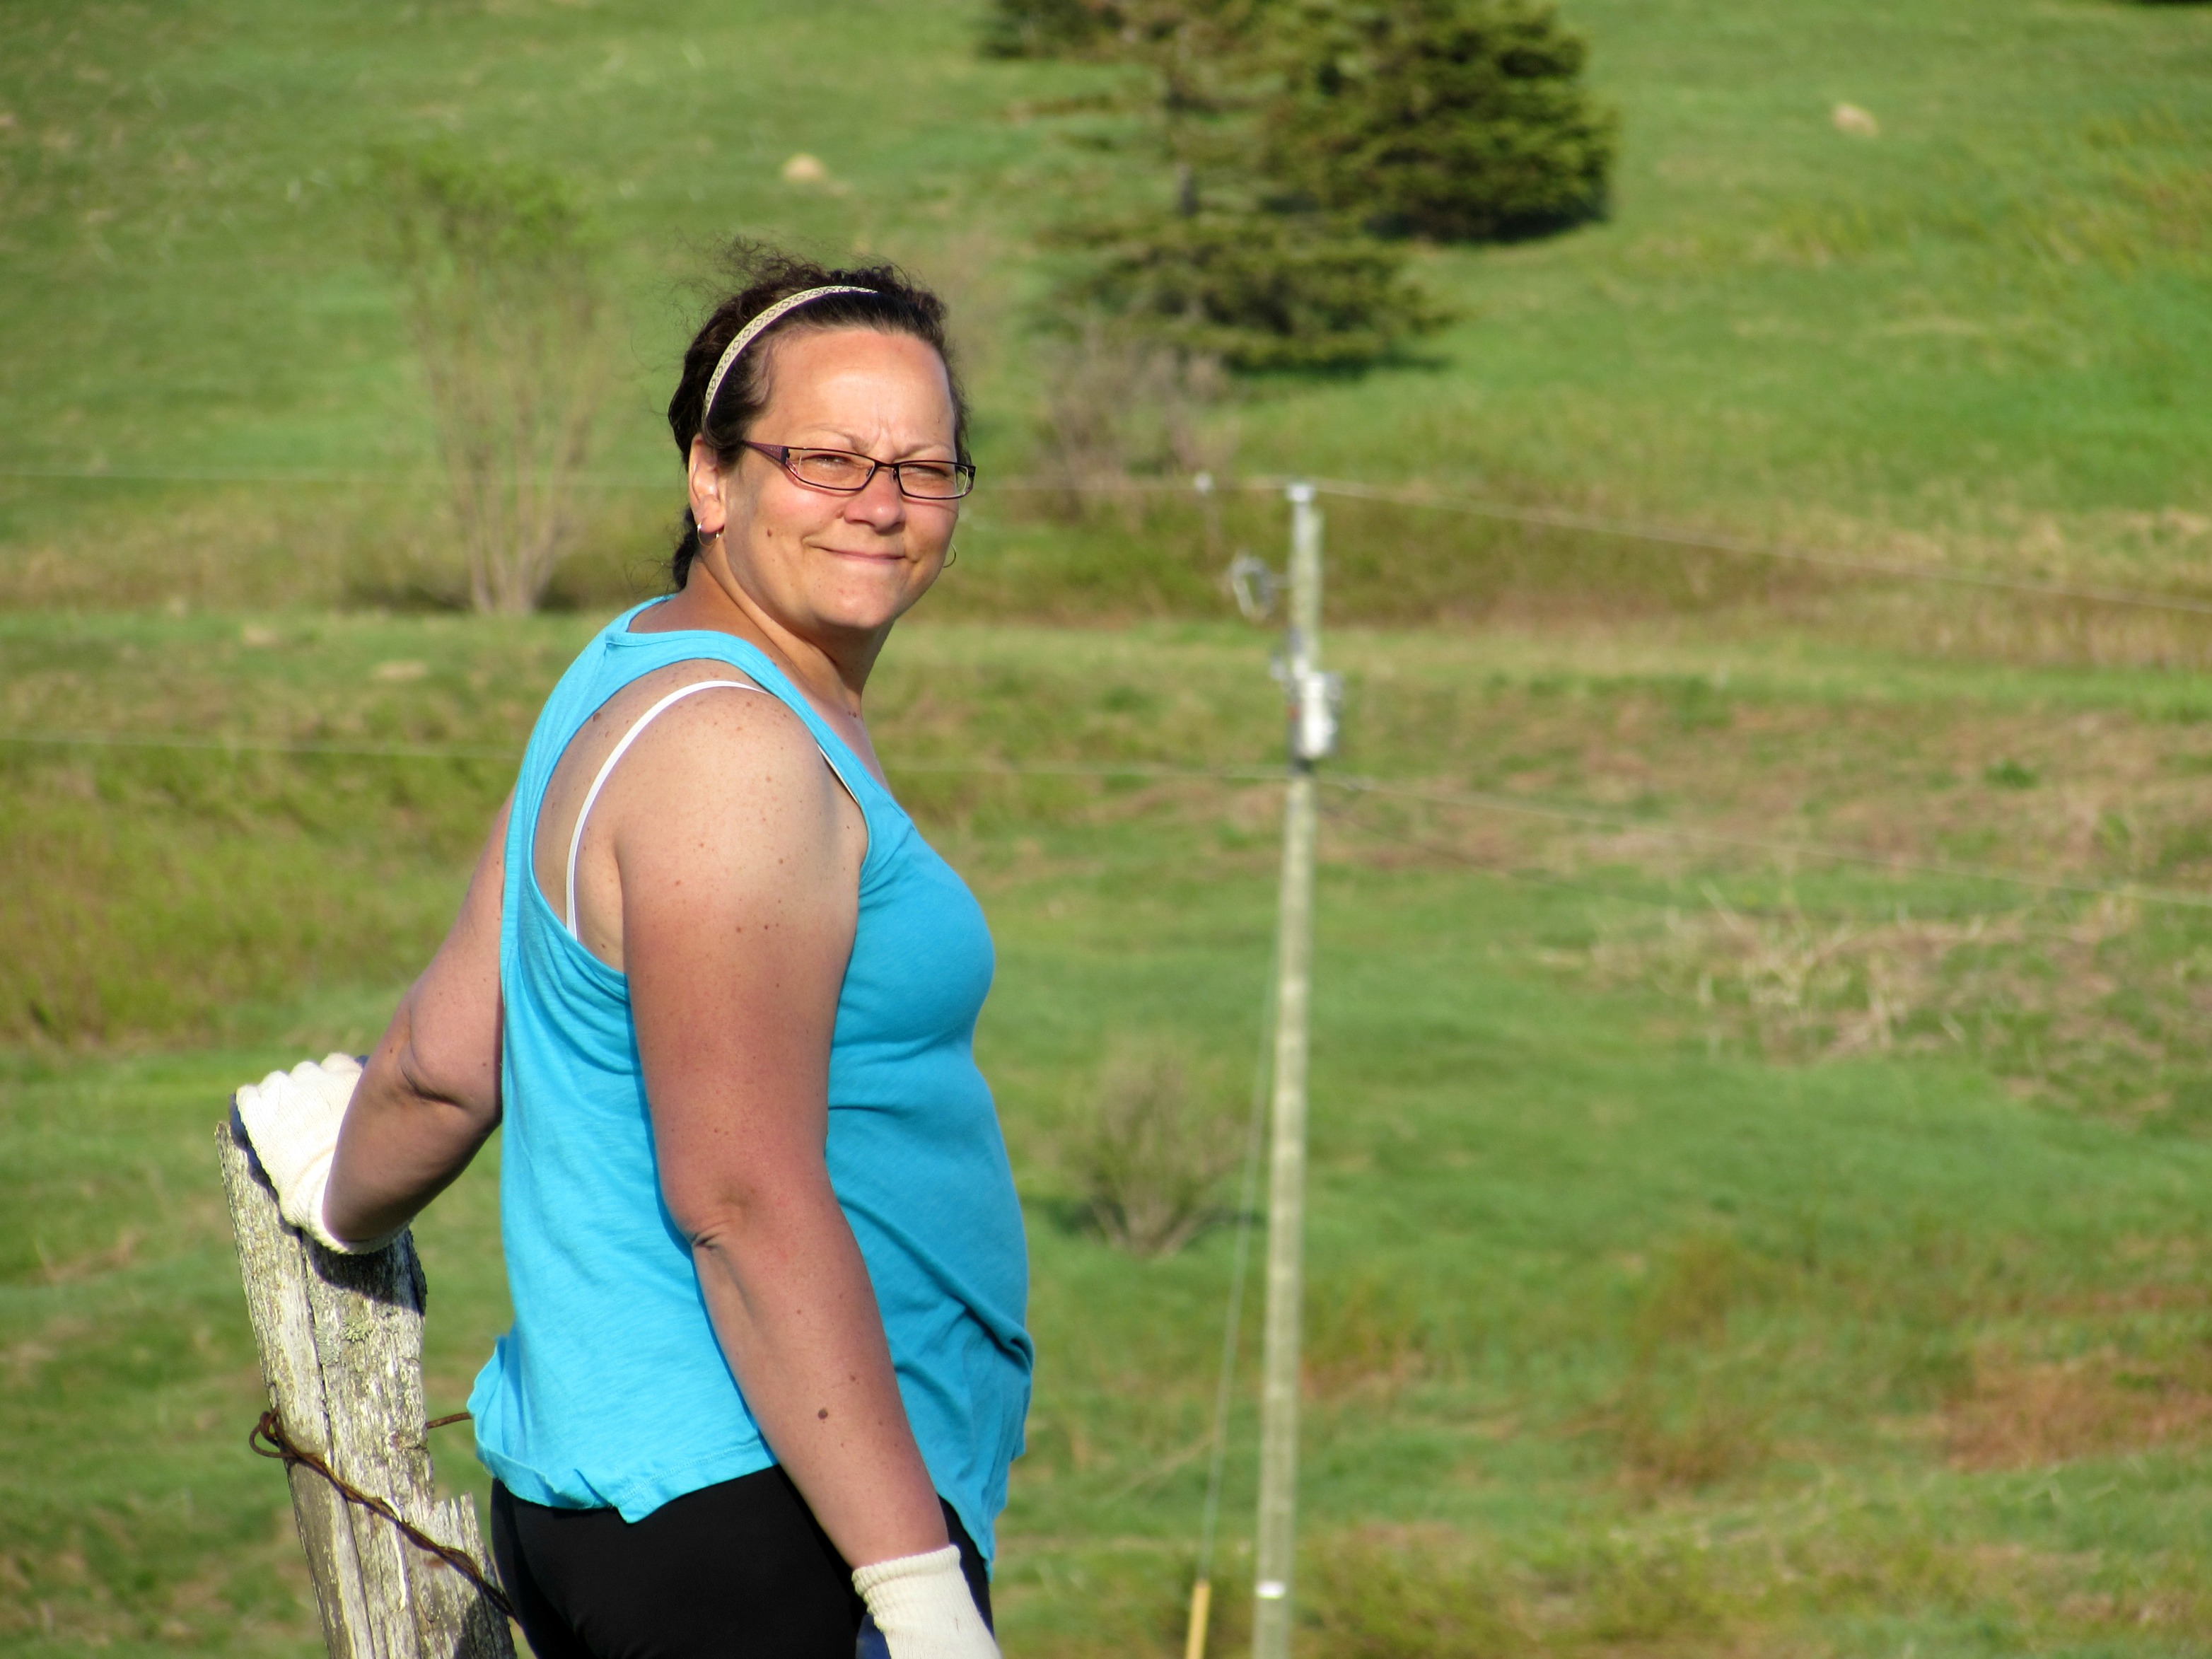
The day off was more than a welcome change.  It was entirely necessary.   During the week of the foundation work, we were digging and preparing the vegetable gardens.  Vanessa was raking and shoveling while I was getting dragged around the yard by the tiller we rented.  Needless to say, we took advantage of the rainy weekend and rested up.

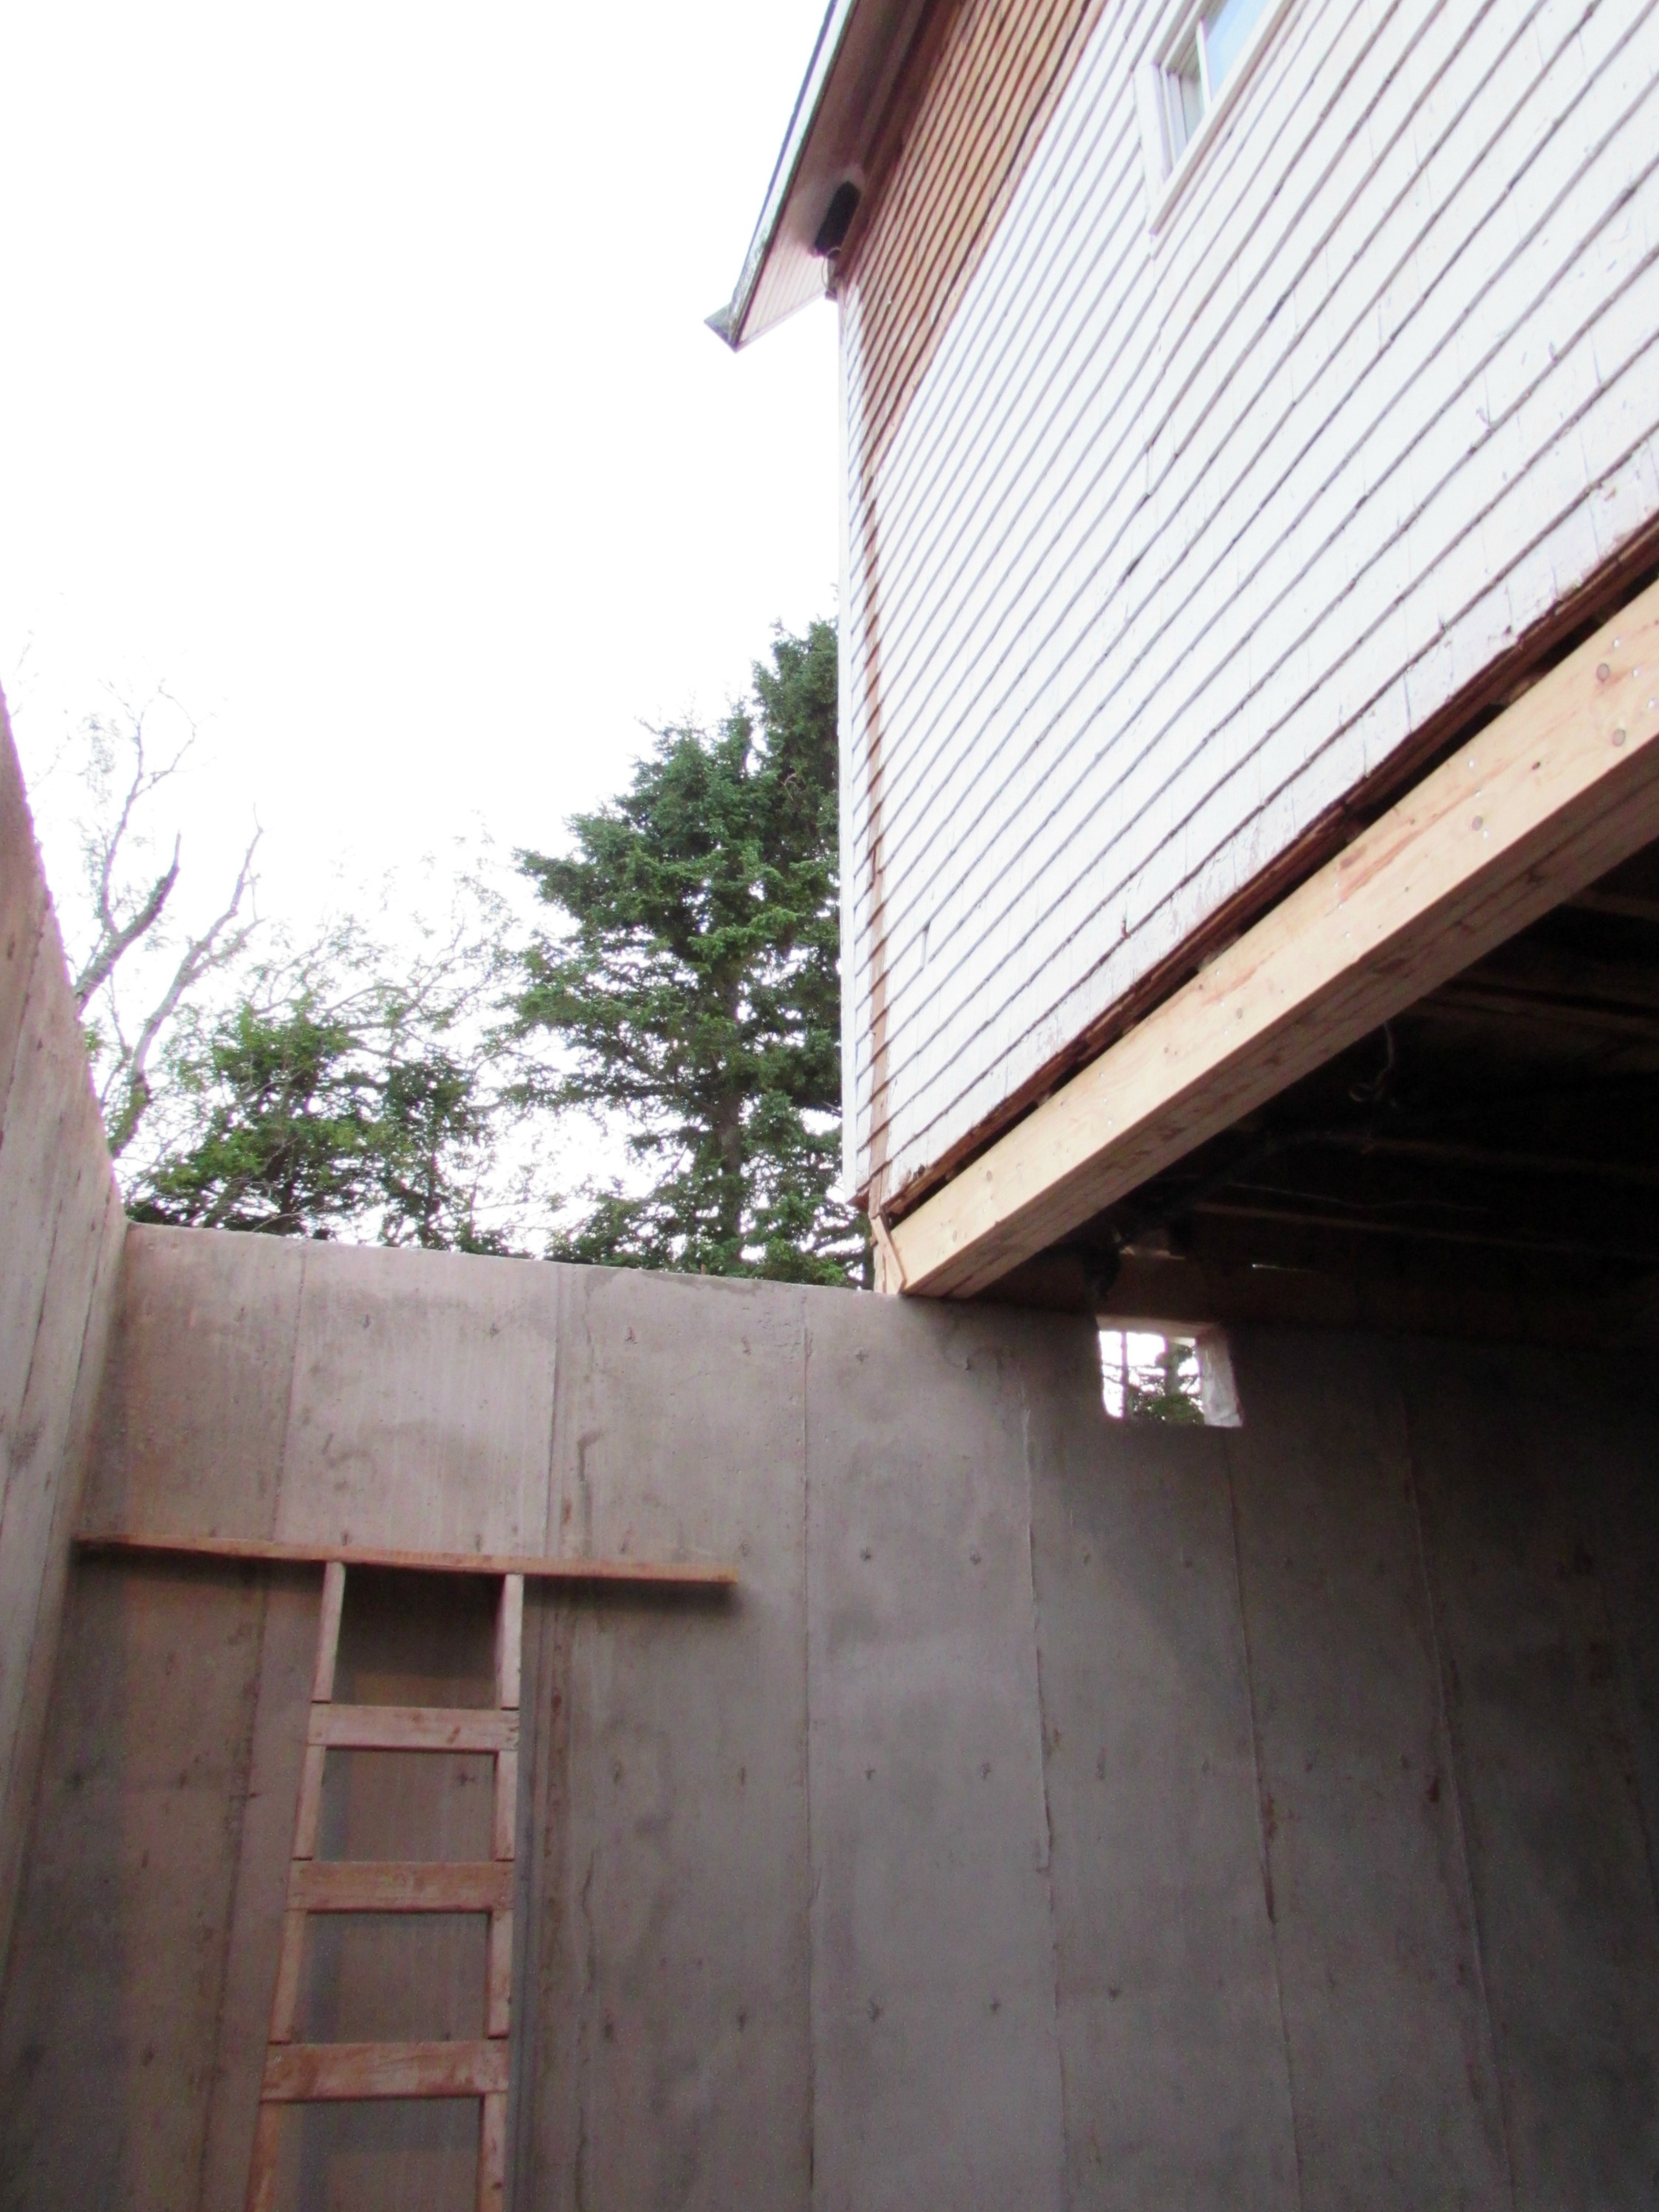
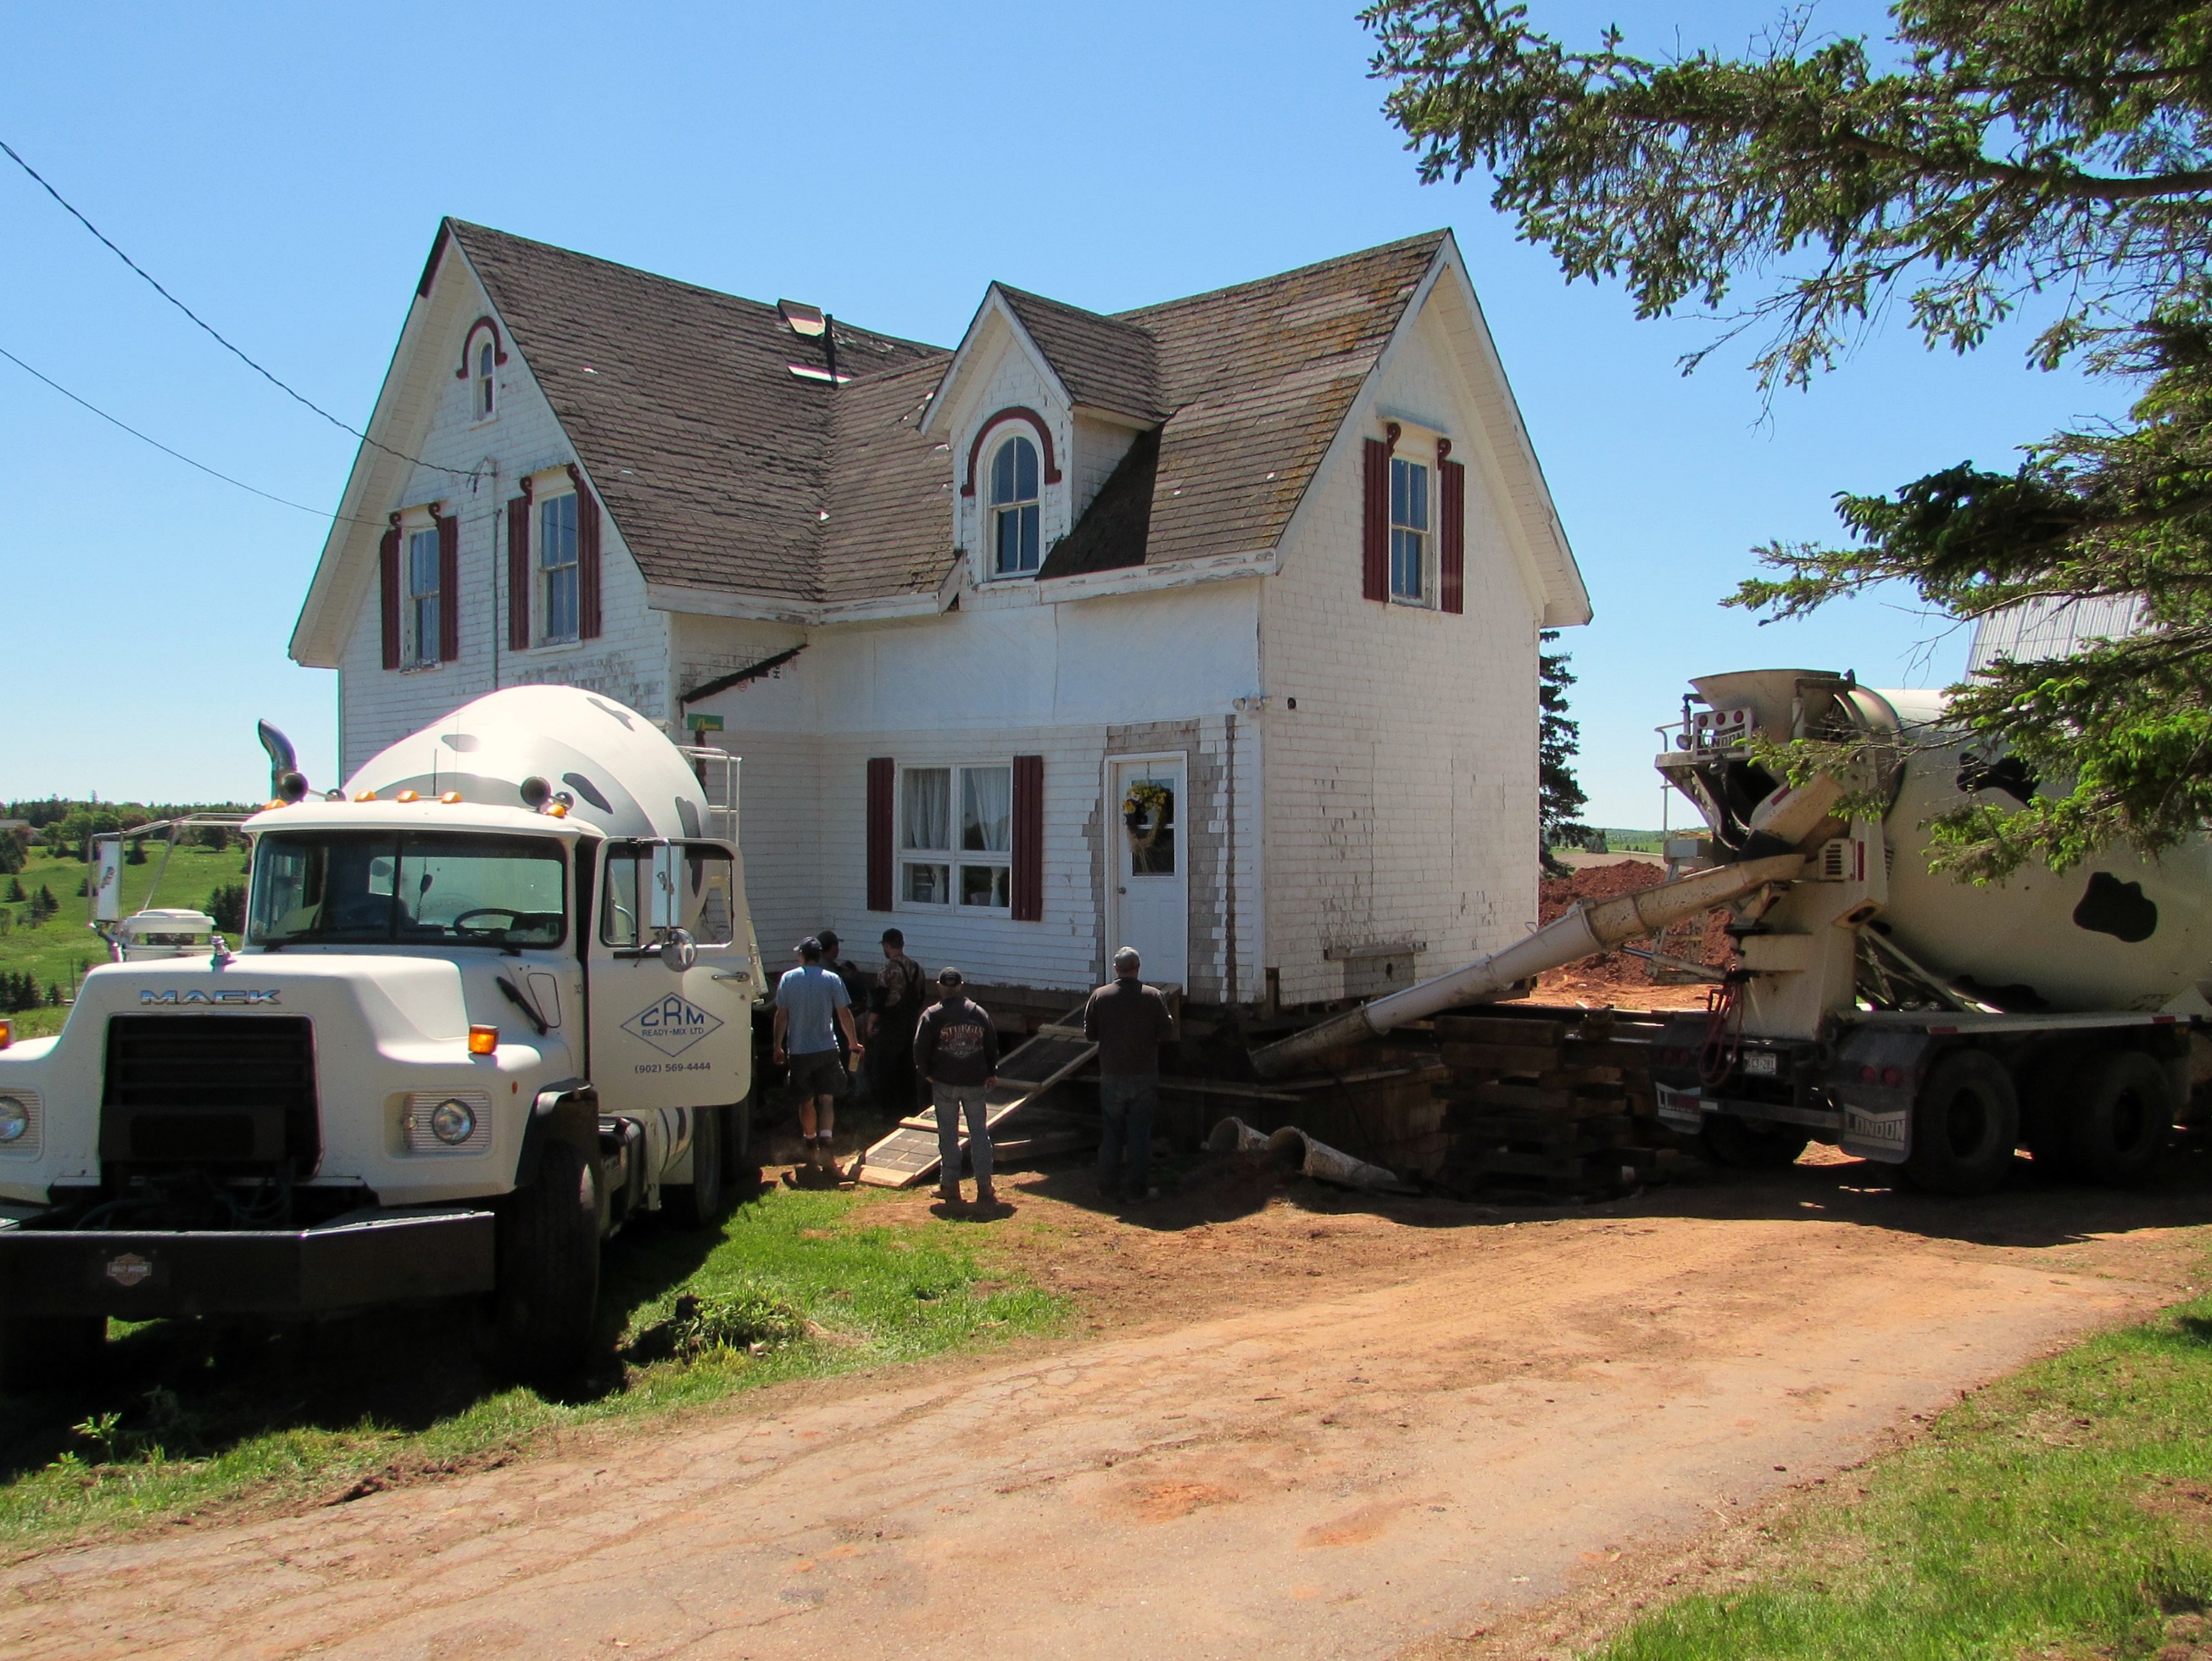
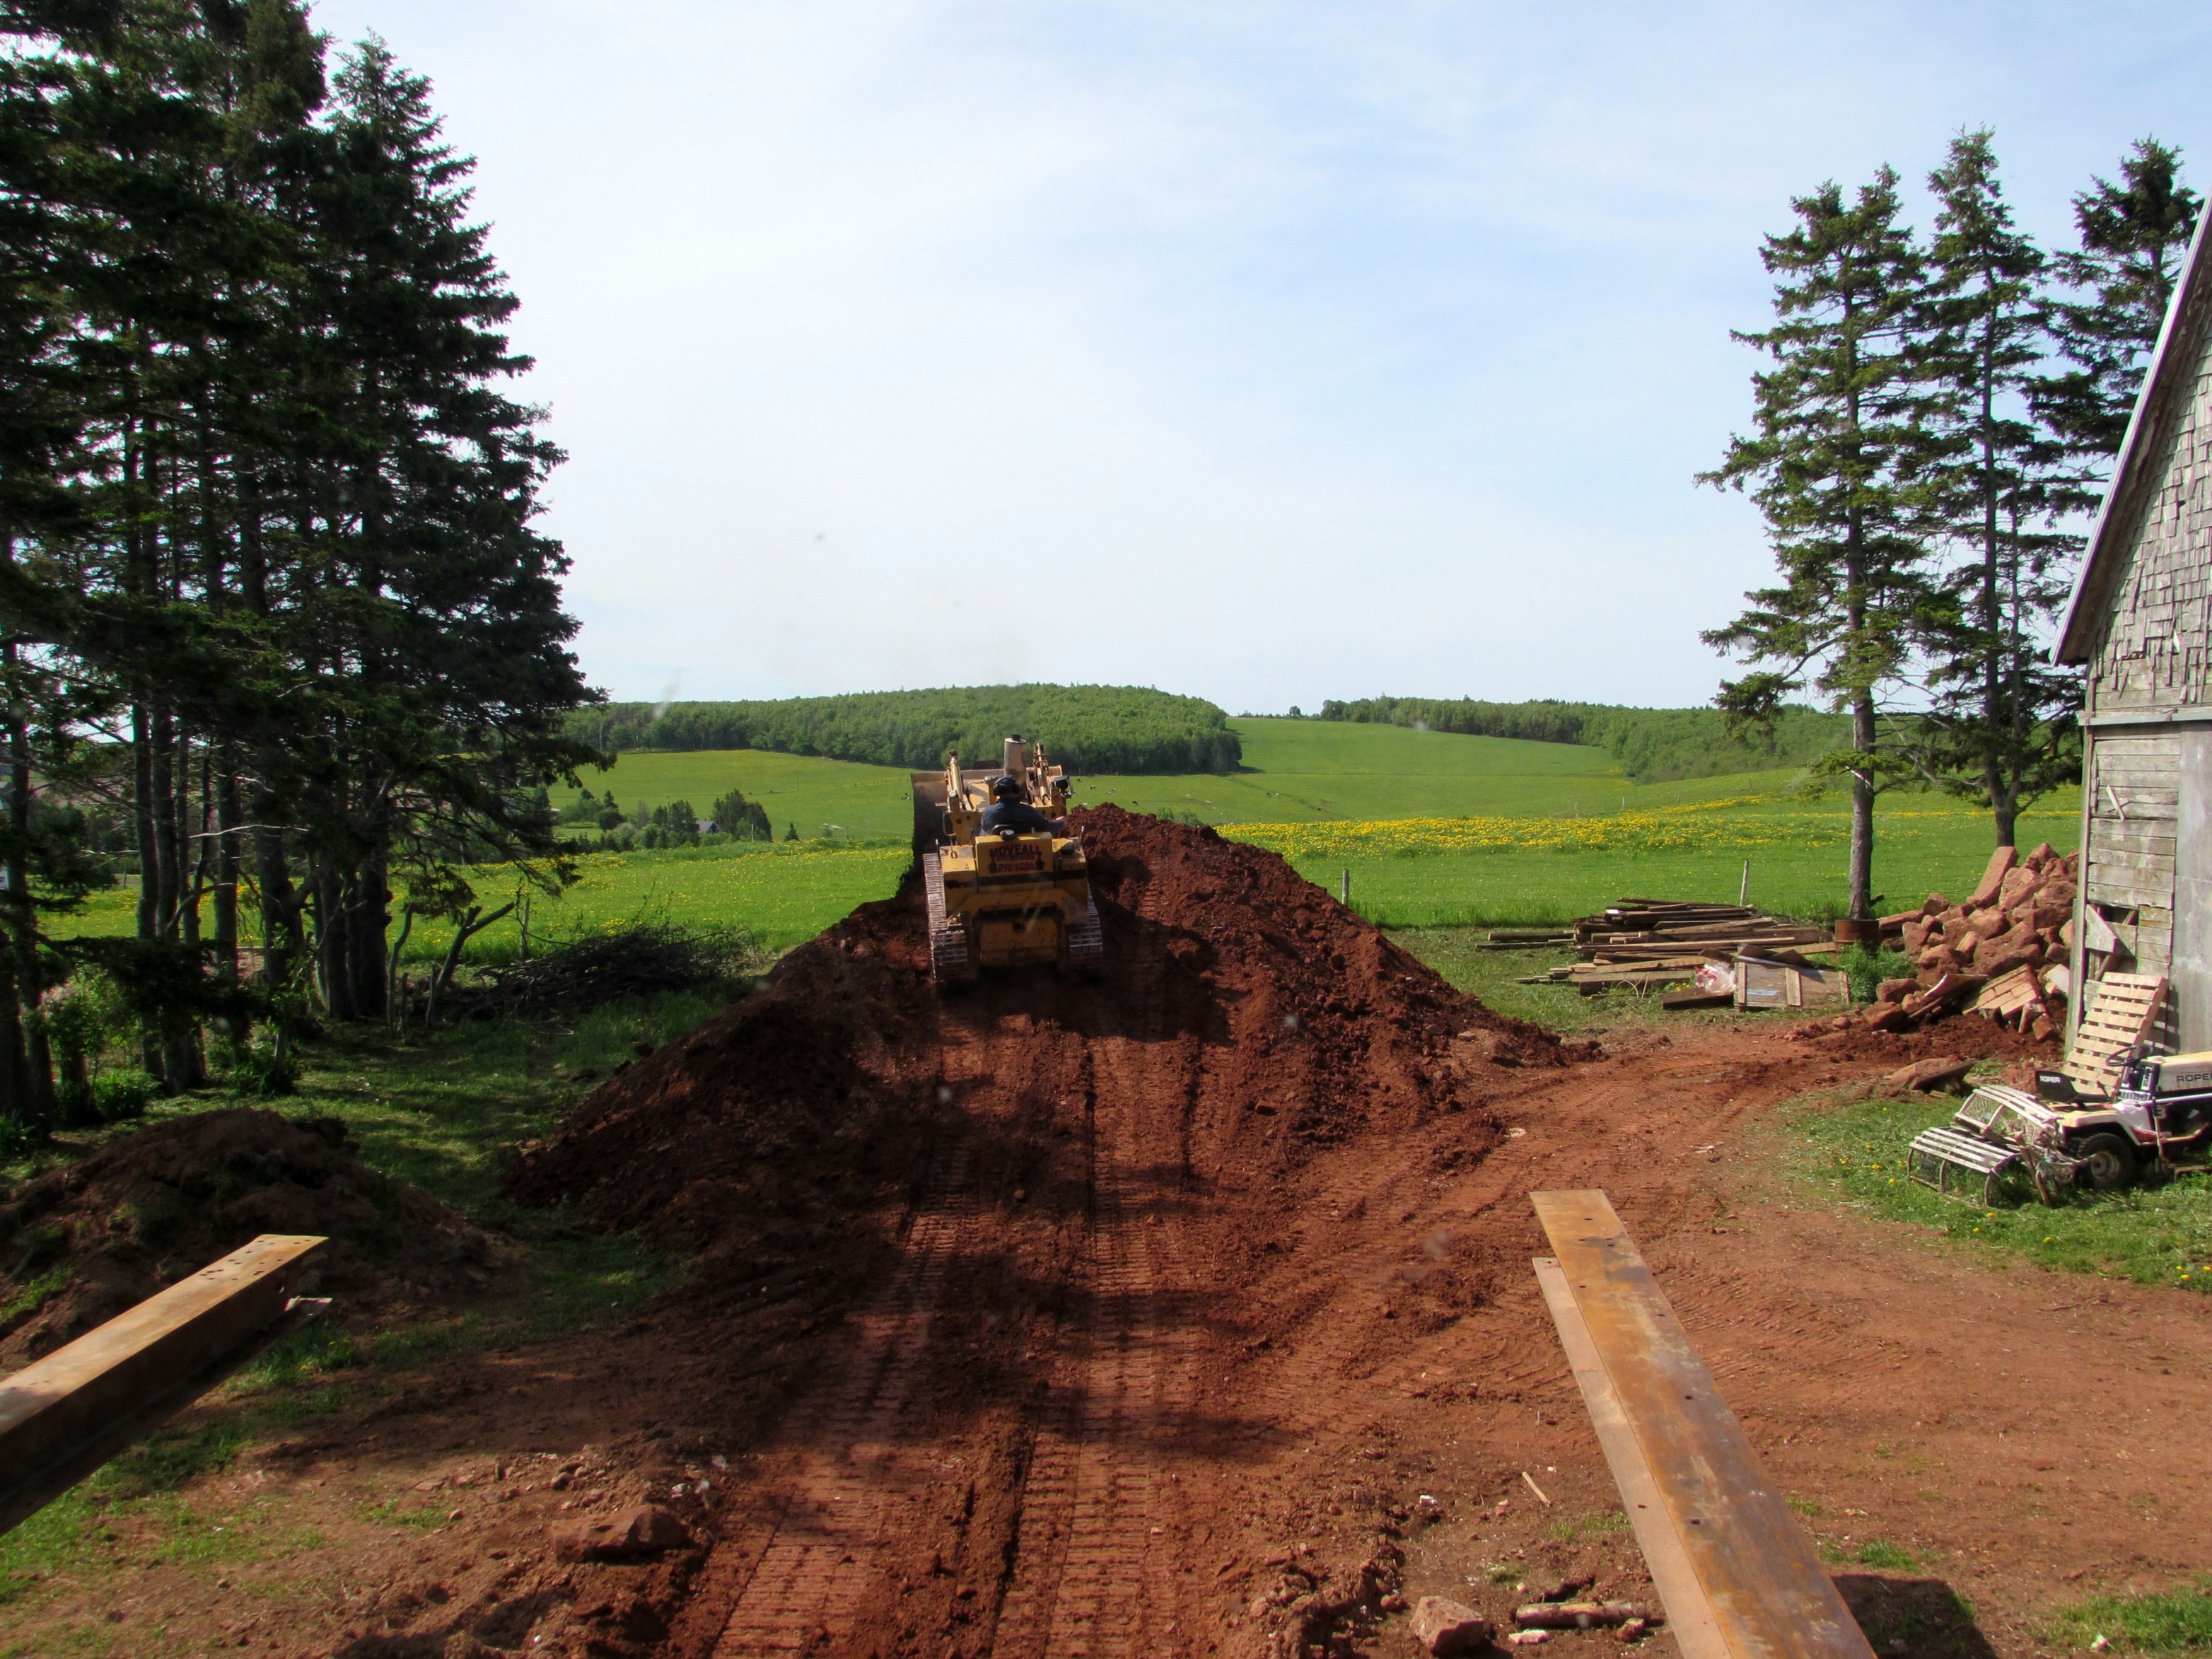
On Monday, the guys were back to complete the excavation.  The goal was to finish in time to get the footings poured.

IMG_2546 IMG_2551

IMG_2542

I’ll hand it to them: they put in a long day to get it done, and by the end of the day, the milk truck, er, concrete truck was backing in and the footings were poured.

IMG_2557 IMG_2562 IMG_2564

What an enormous undertaking, but I’m sure well worth the investment.

Like I mentioned before, it’s all happening very fast.  But in the same breath, I can’t wait until the foundation is done and we’re back on the ground.  Vanessa says it’s like living in a bouncy-castle.  Perhaps not quite that bad, but you certainly feel every wind gust and the floors spring under your feet.

I’ll keep the posts coming as quickly as I can, but remember, find Our Old Island Home on Facebook and “like” us for real-time updates.  You’ll have already known that we’ve started forming the foundation walls today.

Until next time: keep your feet on the ground!


The start of something new

At long last, the foundation work is underway.  The long, cold, wet spring has put us a little behind schedule but hopefully we’ll make up some time with the nice weather as of late.

Vanessa and I were sitting at the breakfast table last week when this hauled up outside our house.

IMG_2385

IMG_2393

We stopped traffic on Highway 2

The huge carrying beams had arrived, the excavator was already delivered – so it was time to get underway.

First, make a cut in the topsoil to provide access to the sills – the first to be replaced.  Once all of the old sills are removed and replaced and the walls are re-supported, the house can be lifted and the excavation can start.

IMG_2388

So I thought I’d take you on the grand tour of what’s under our house before it all disappears.

Go ahead....after you.

Go ahead….after you.

The original foundation is hand-cut sandstone, dry-stacked to about 5′ high.  The mortar you see in the joints was applied sometime in the past in an attempt to keep some of the moisture out.

IMG_2444

All of these stones will be removed and salvaged from the foundation and stored at the back of our property.

IMG_2435

A lot of these stones will be used in-and-around our property as part of our landscape design as garden borders, retaining walls, walkways and steps to the deck.

IMG_2434

The stones are beautiful – all hand shaped and fit precisely for the foundation – and will have a prominent place in our garden.  But still – that’s a lot of rock.

The whole process for the new basement will take a few weeks, but while that’s underway, we’ve kept busy building our gardens.  The plants we started inside need to be transplanted so our first job is to build the garden beds.

IMG_2396

The areas we’re working in have never been farmed before.  Decades of grass growing waist-high and dying back every season has made the digging difficult (to say the least) but because of this, I suspect the soil is going to be very fertile.  We’ve easily got a couple more days of digging and tilling the soil before we actually plant anything.

IMG_2403

There are some vegetables that should have been planted by now, but with the disagreeable weather and the house demolition monopolizing our time, we will just have to make do.

Fortunately, out seedlings have been thriving inside our grow-op.  We’ve slowly acclimated the plants to living outdoors by daily increasing their outside exposure.

IMG_2398

Hopefully by this time next week, the veggies will be all planted and we’ll be starting on the new shed/chicken coop.

So, things are looking up.  We’re turning that corner that we’ve been waiting for – restoration instead of demolition.  We still have a lot ahead of us, but it’s a nice feeling that we’re into a new stage.  Until then, though, we continue working in the garden and getting our beds planted.  That in itself is like therapy.

Vanessa says: "ever feel like you're being watched?"

Vanessa says: “ever feel like you’re being watched?”

"No idea what you're talking about."

“No idea what you’re talking about.”