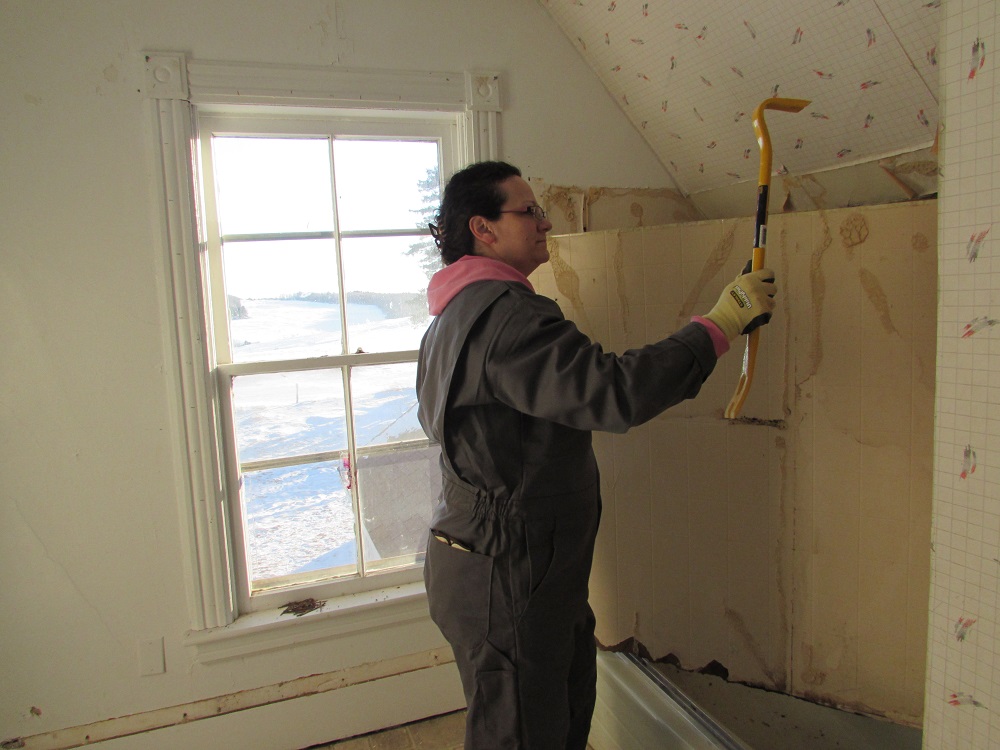
So at the risk of sounding redundant, demolition continues on the second floor. For the next short while, our life will consist of: smash, toss, cleanup, repeat.
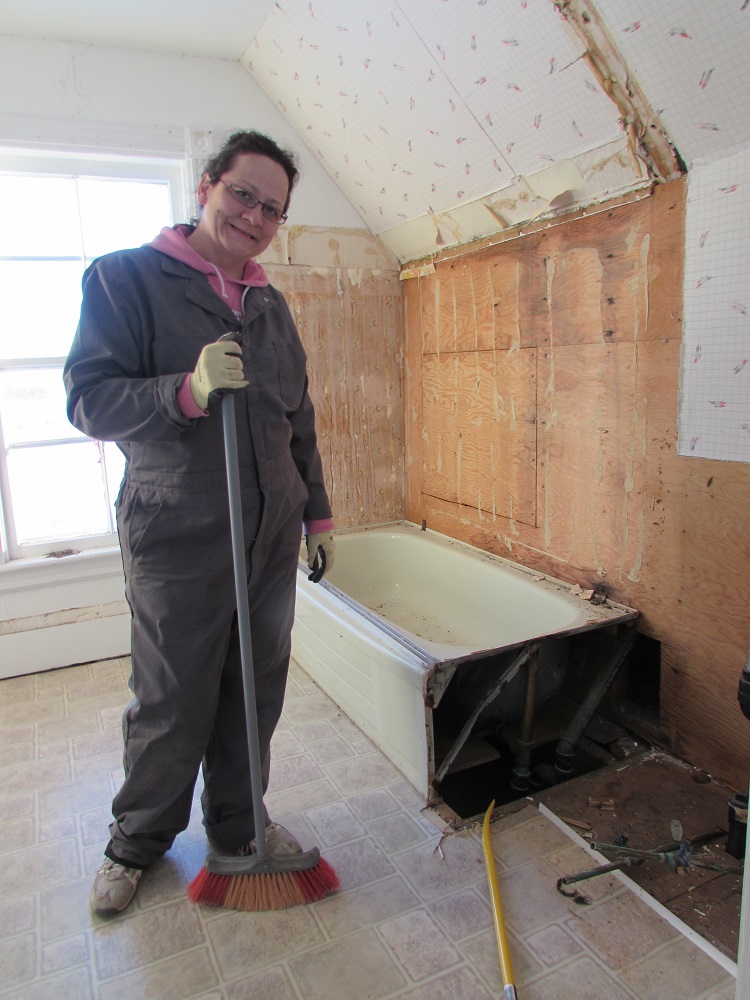
Looking better already
But I have to say, demolition is fun. There’s something therapeutic about putting a crowbar through a wall.

Hulk smash!
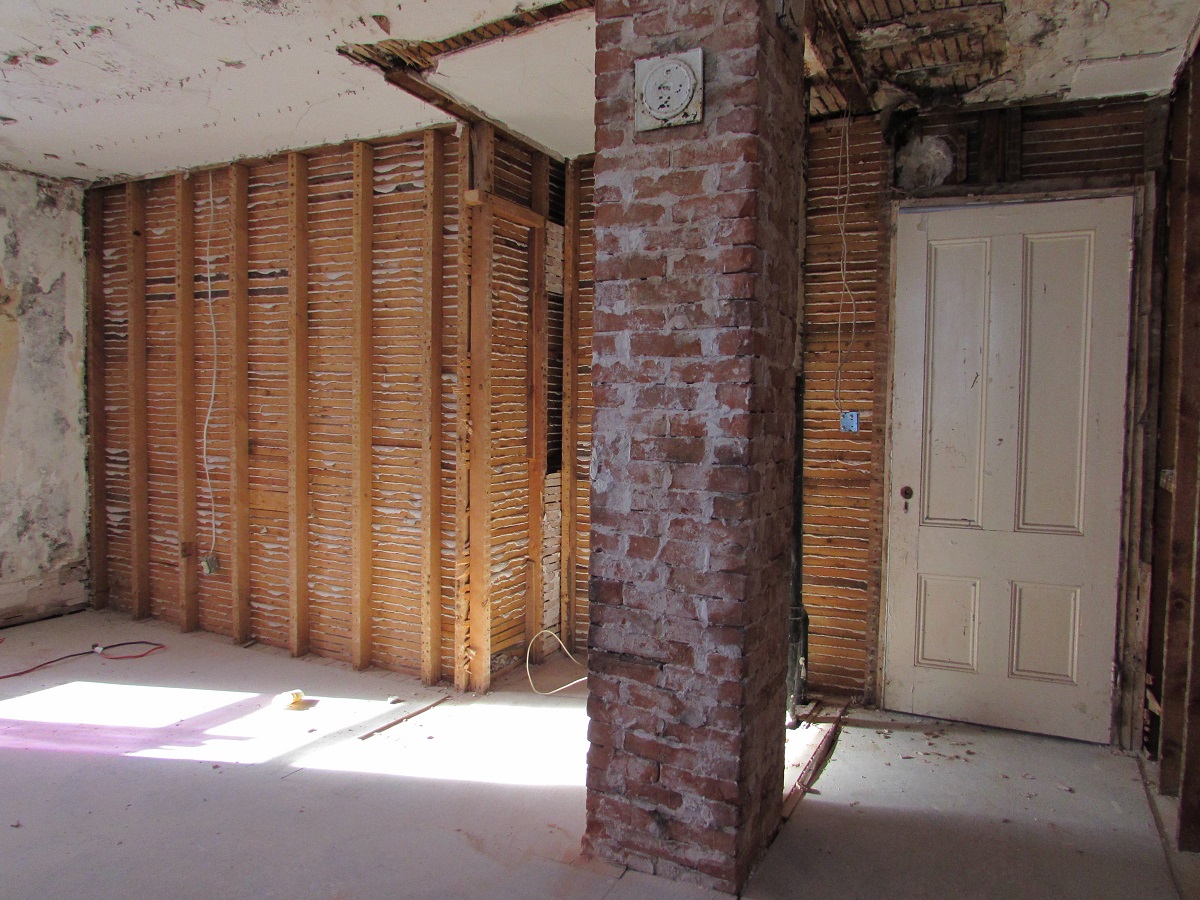
Still, there’s a part of me that is somewhat apologetic about destroying a previous generation’s hard work. I’m not overly nostalgic, mind you, but now that the “tarnish” is slowly being removed, the craftsmanship of the homebuilder is rising to the surface. Behind those seven layers of wallpaper and who-knows-how-many coats of paint, the original lath and plaster is still present, albeit deteriorating. And as we tear through each layer, I imagine the builder – cutting and fastening the lumber framing, installing the thousands of lath boards and applying the coats of plaster – all by hand, no less.

To be honest, I think we saved this house from the brink of destruction. After a couple years of sitting vacant, a house can quickly fall into disrepair. Our old stone foundation will be replaced this spring – which will likely be our single-most expensive repair in this whole process. With the sagging foundation, the old plaster walls and ceilings are cracking and loosening. That, along with some water intrusion from the roof, makes localized plaster repair impractical. While it would be nice to save the old finishes, a complete gut now affords us opportunity to address some insulation issues and upgrade the wiring. And that’s the direction we’re taking.

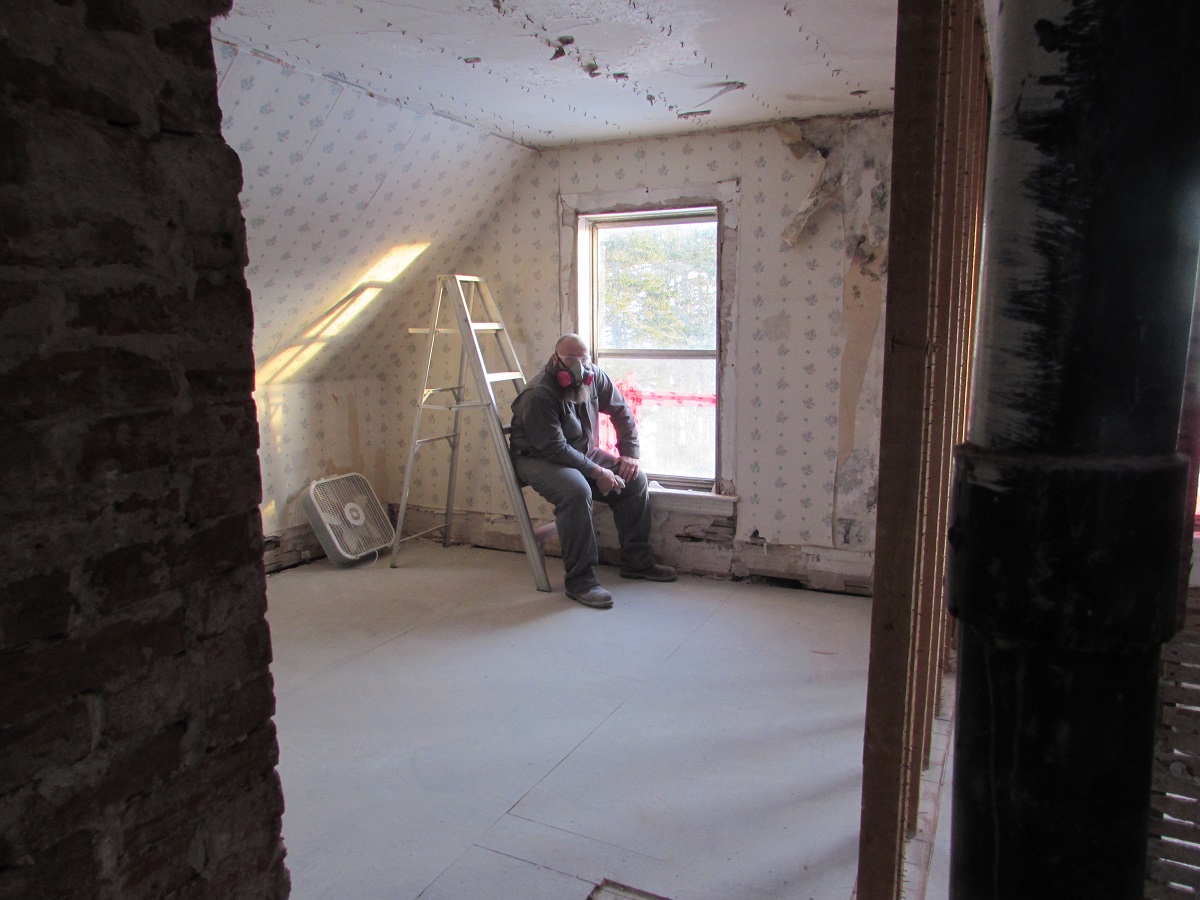
Starting with the spare bedroom and bathroom, we detach the trim, strip away the old plaster and remove the underlying lath. No rocket-science here – just grip and rip.

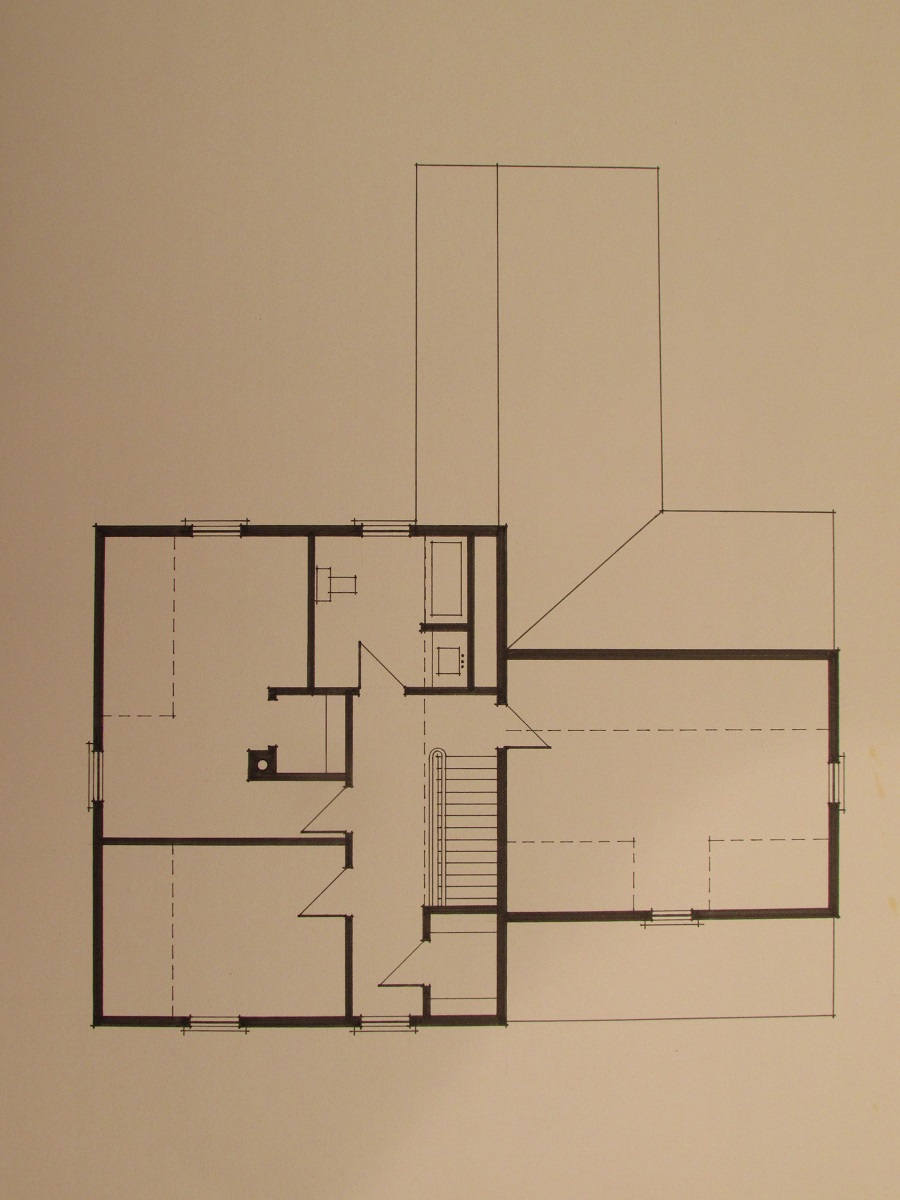
We’ve completed the interior partition walls. The ceilings and exterior walls are next. I’ll have to get into the attic to remove a few things left behind from the previous owner before we drop the ceilings, however.

What have we here?
During the demolition of the bathroom, we also removed the knee-wall installed in a previous 1970’s renovation. How do I know the bathroom was renovated in the 70’s, you ask? Because this was behind the wall.
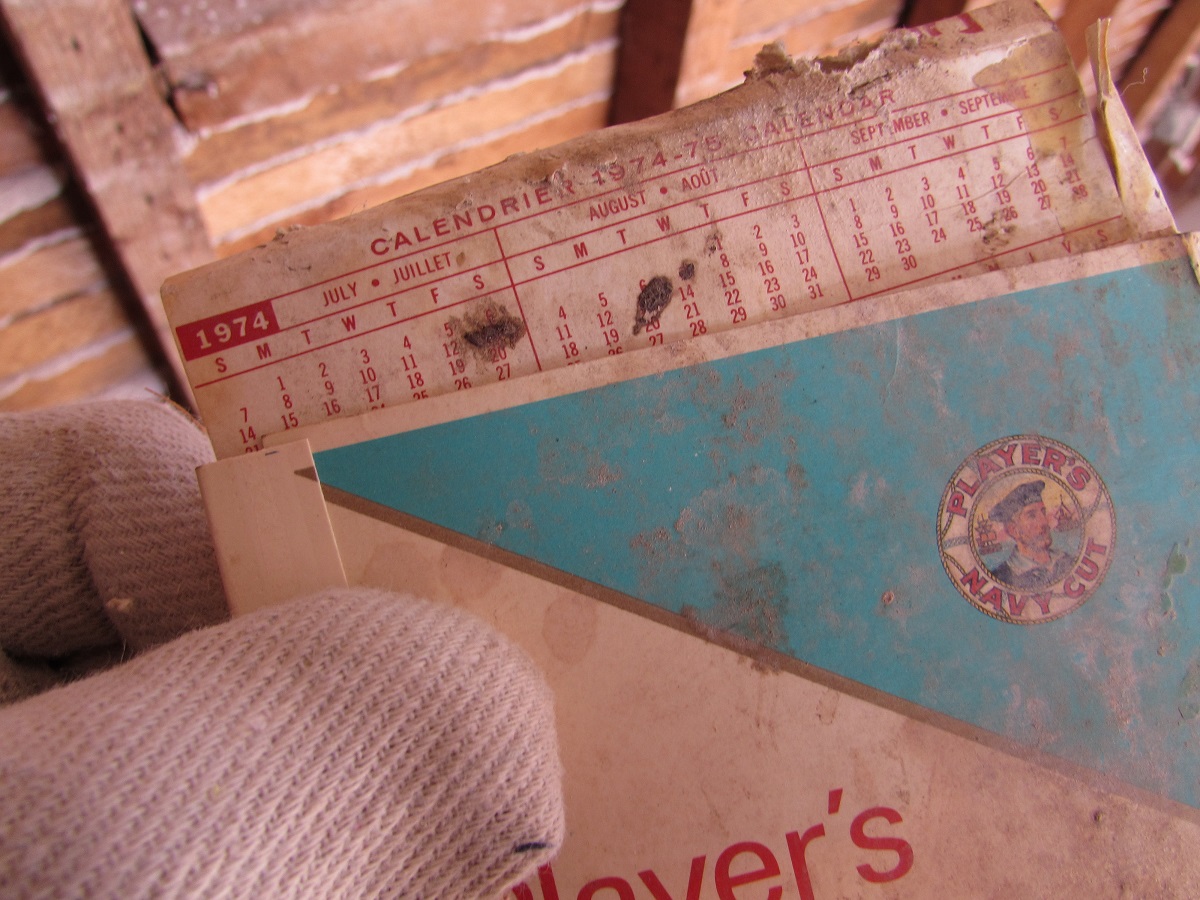
1974 to be exact
I’m still not sure if this room was always a bathroom or if the room had another use previously. Either way, the space hidden behind the knee-wall was part of the room previously and by opening it up, we gain almost twenty additional square feet in the bathroom. I’ll take that.

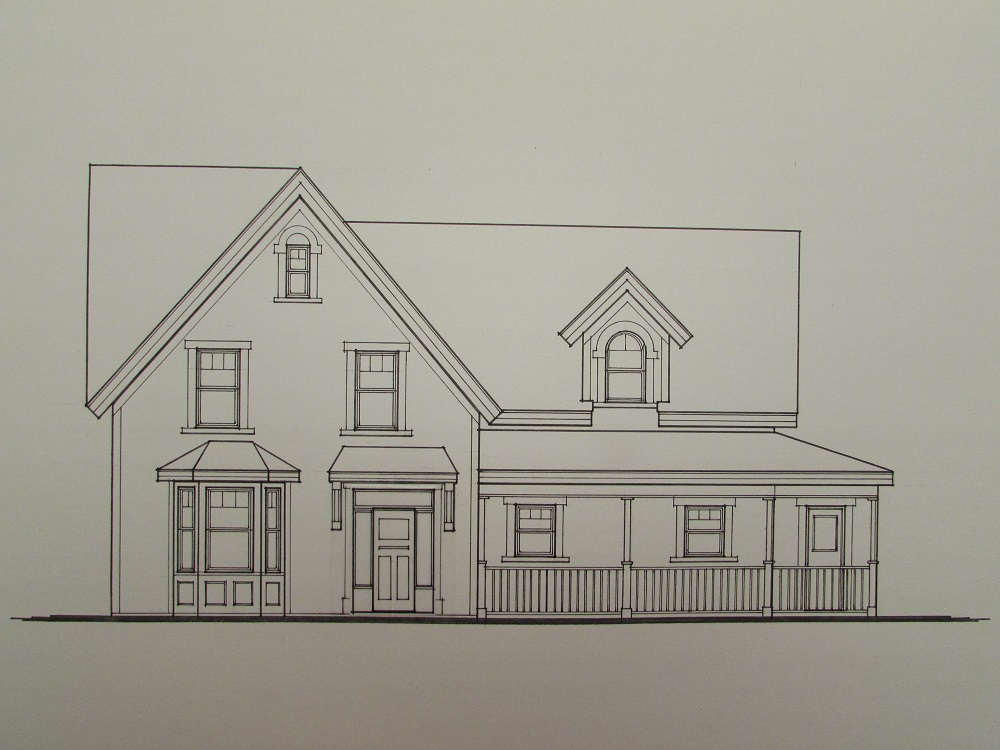
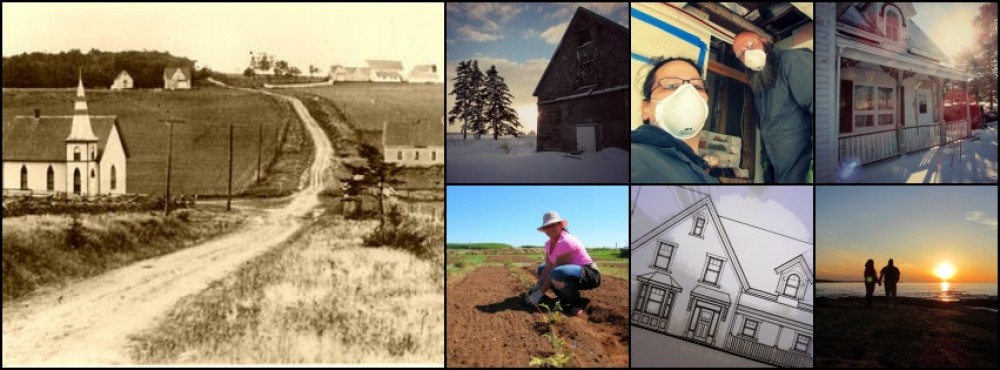
While we could date the bathroom renovation, we haven’t been able to accurately date our house yet. We know that the house once served as the manse to the local Methodist church, which was built around 1878. A local historian also provided a picture from 1920 of Pleasant Valley in which you can see our house in the distance.

So, for now, it’s safe to say our home is somewhere around 100-135 years old. I’m still waiting to find that special “something” left behind from the original homebuilder, giving us a link to the past showing the true age of this old island home.
My elbows are telling their true age