Whew!
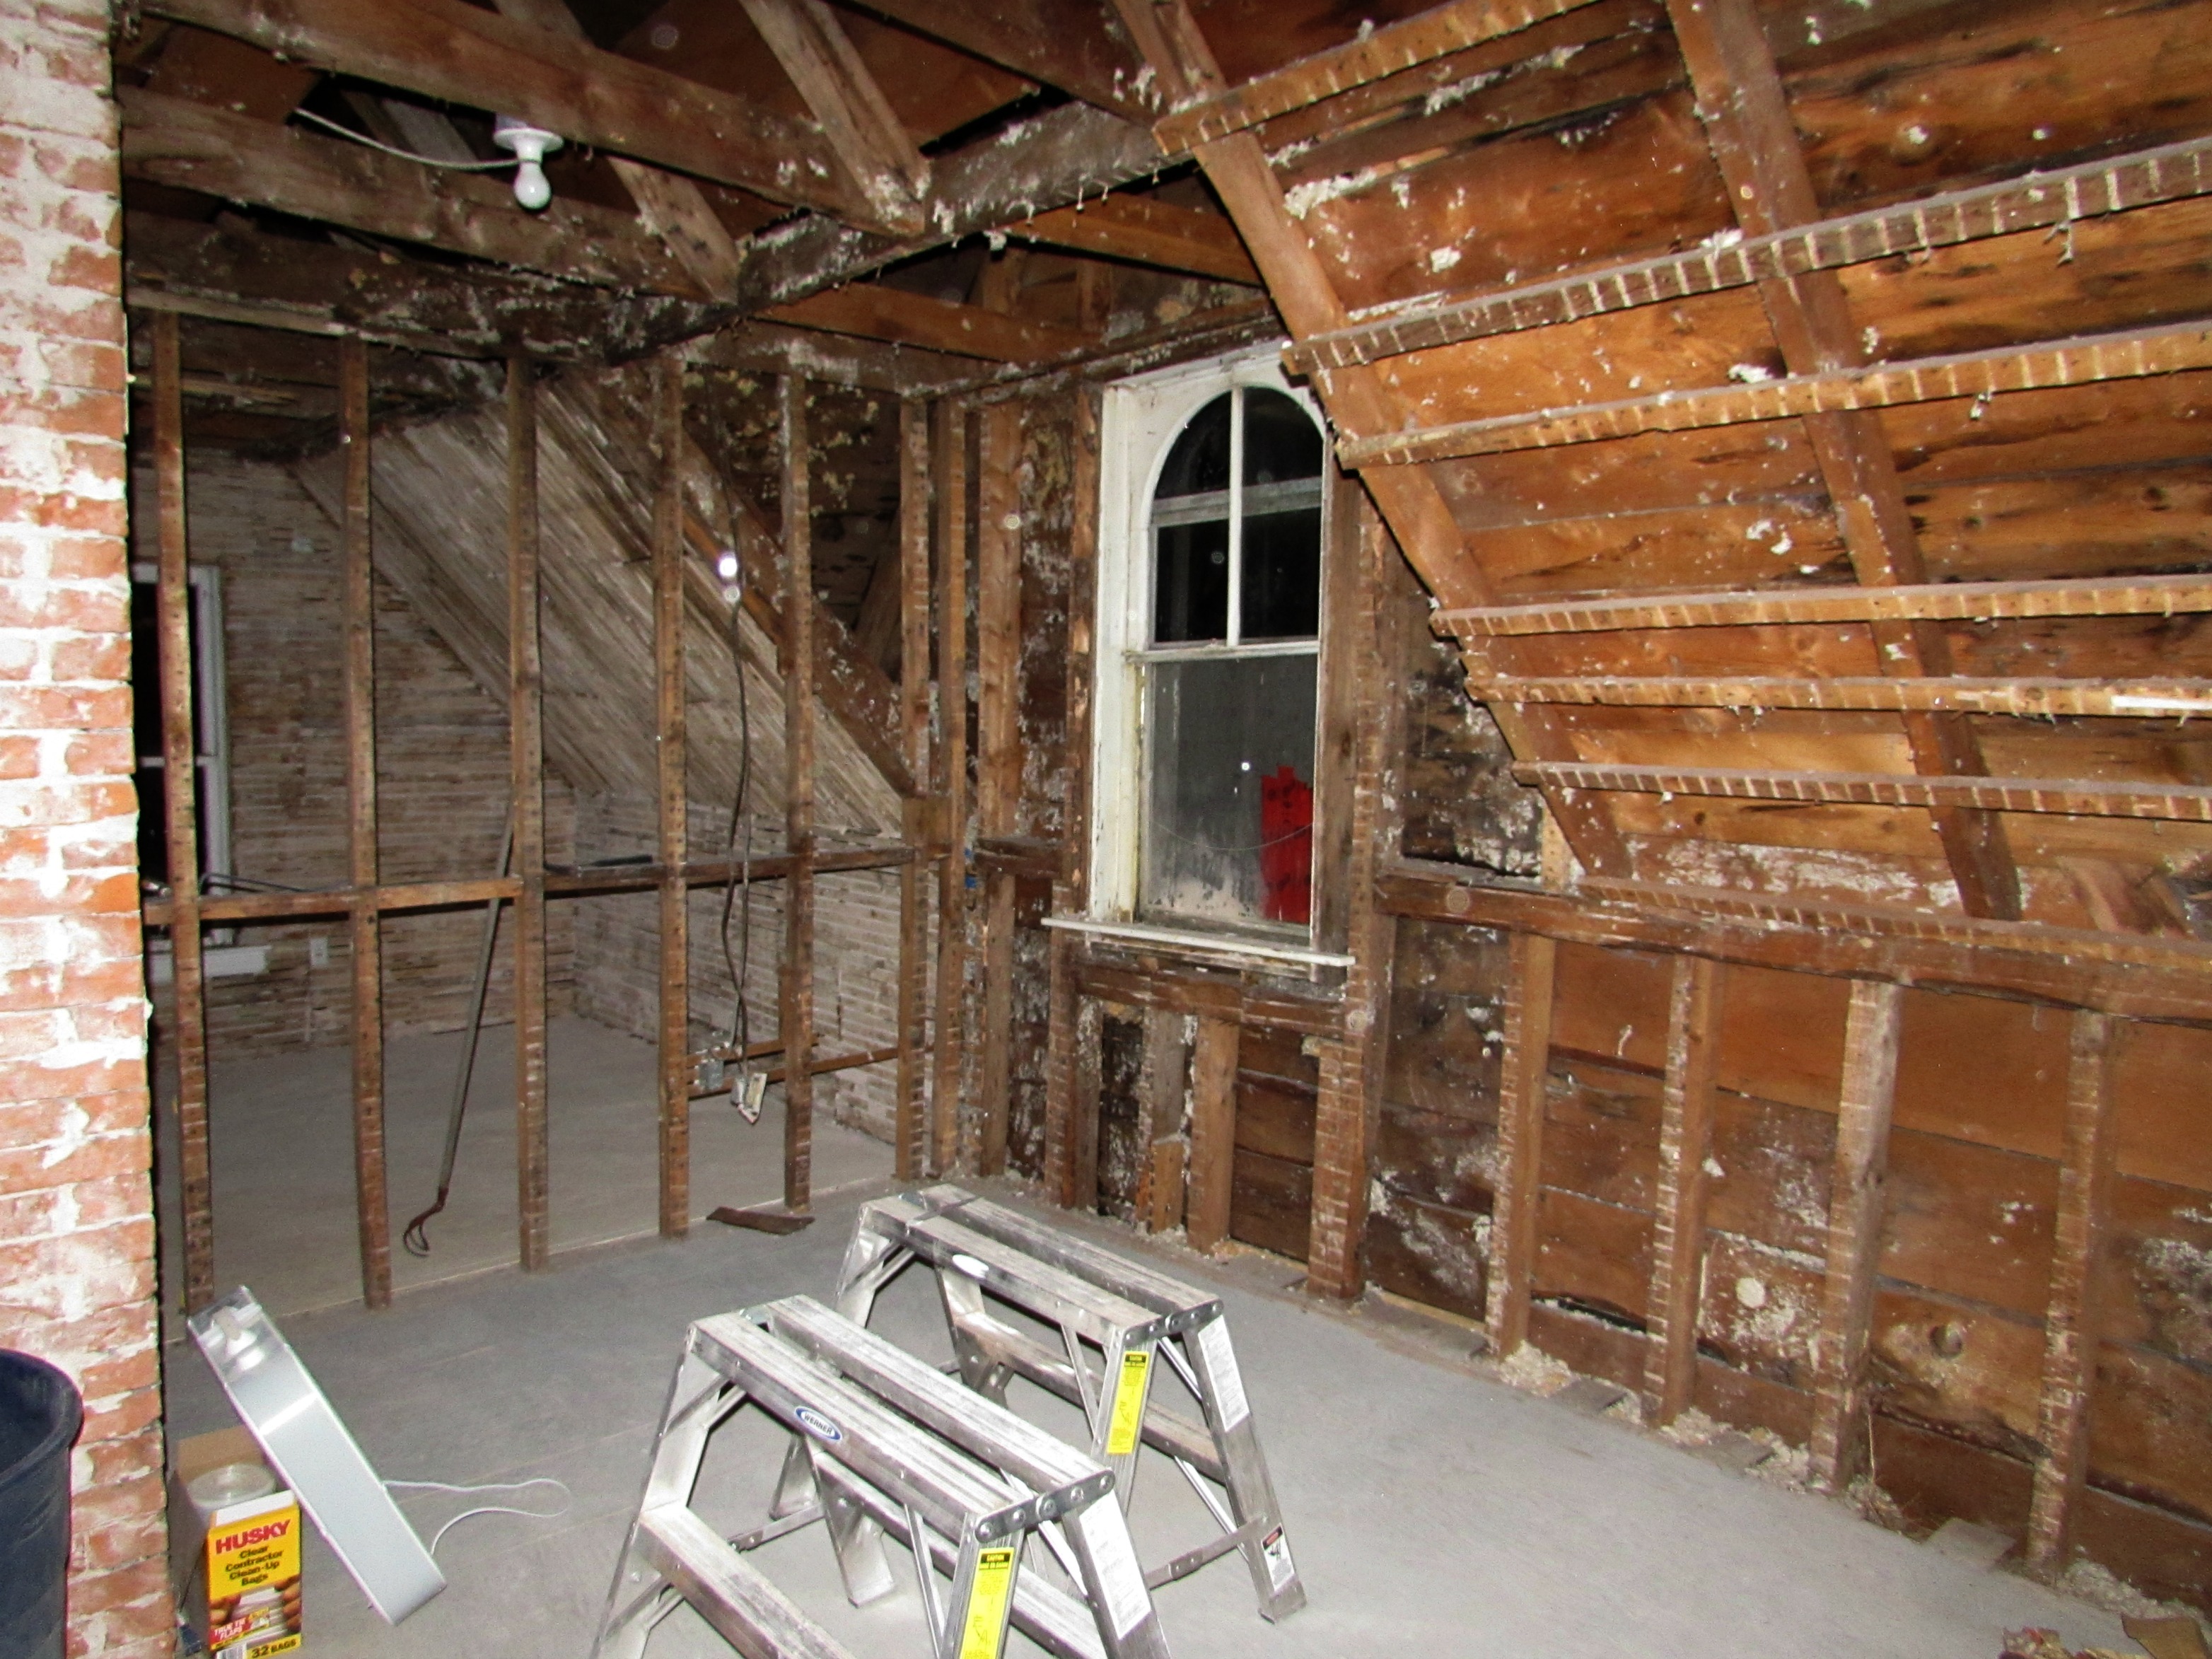
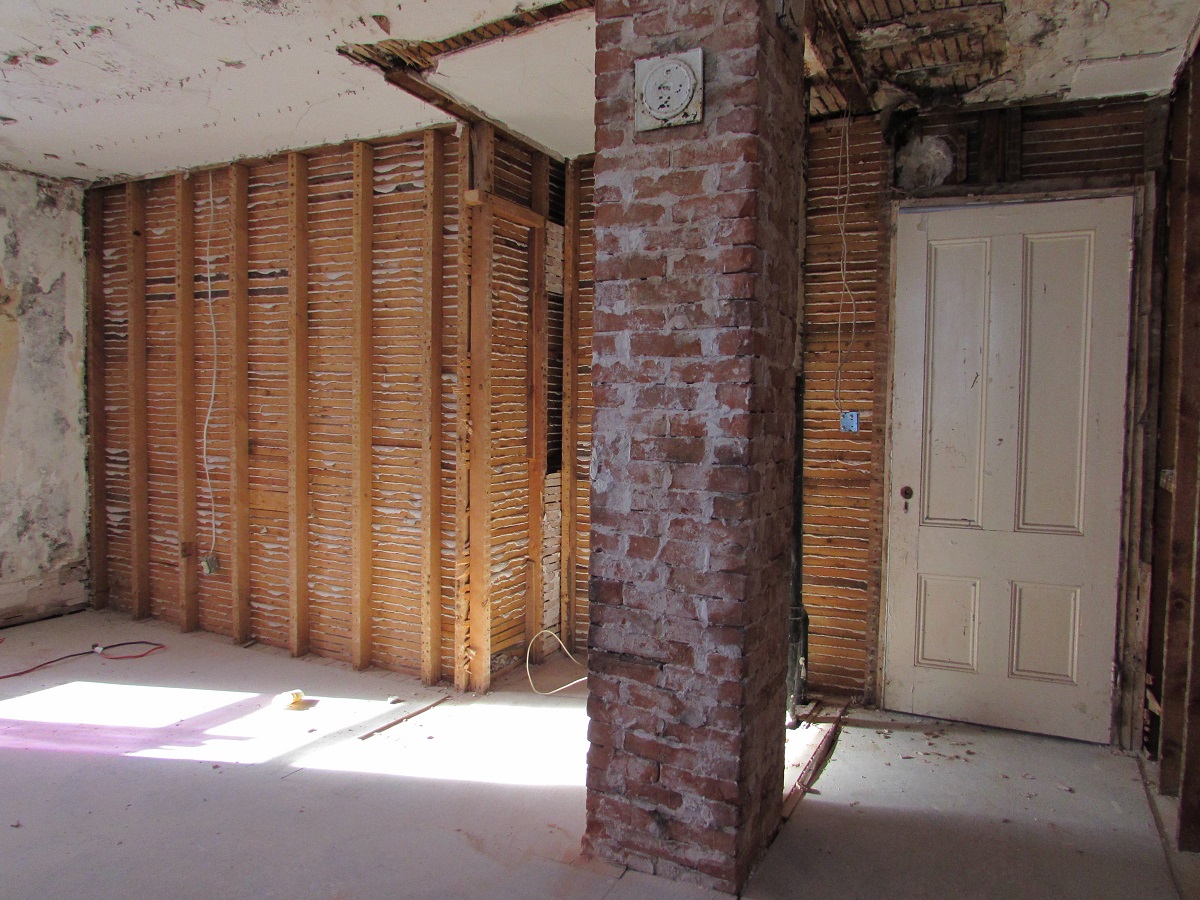
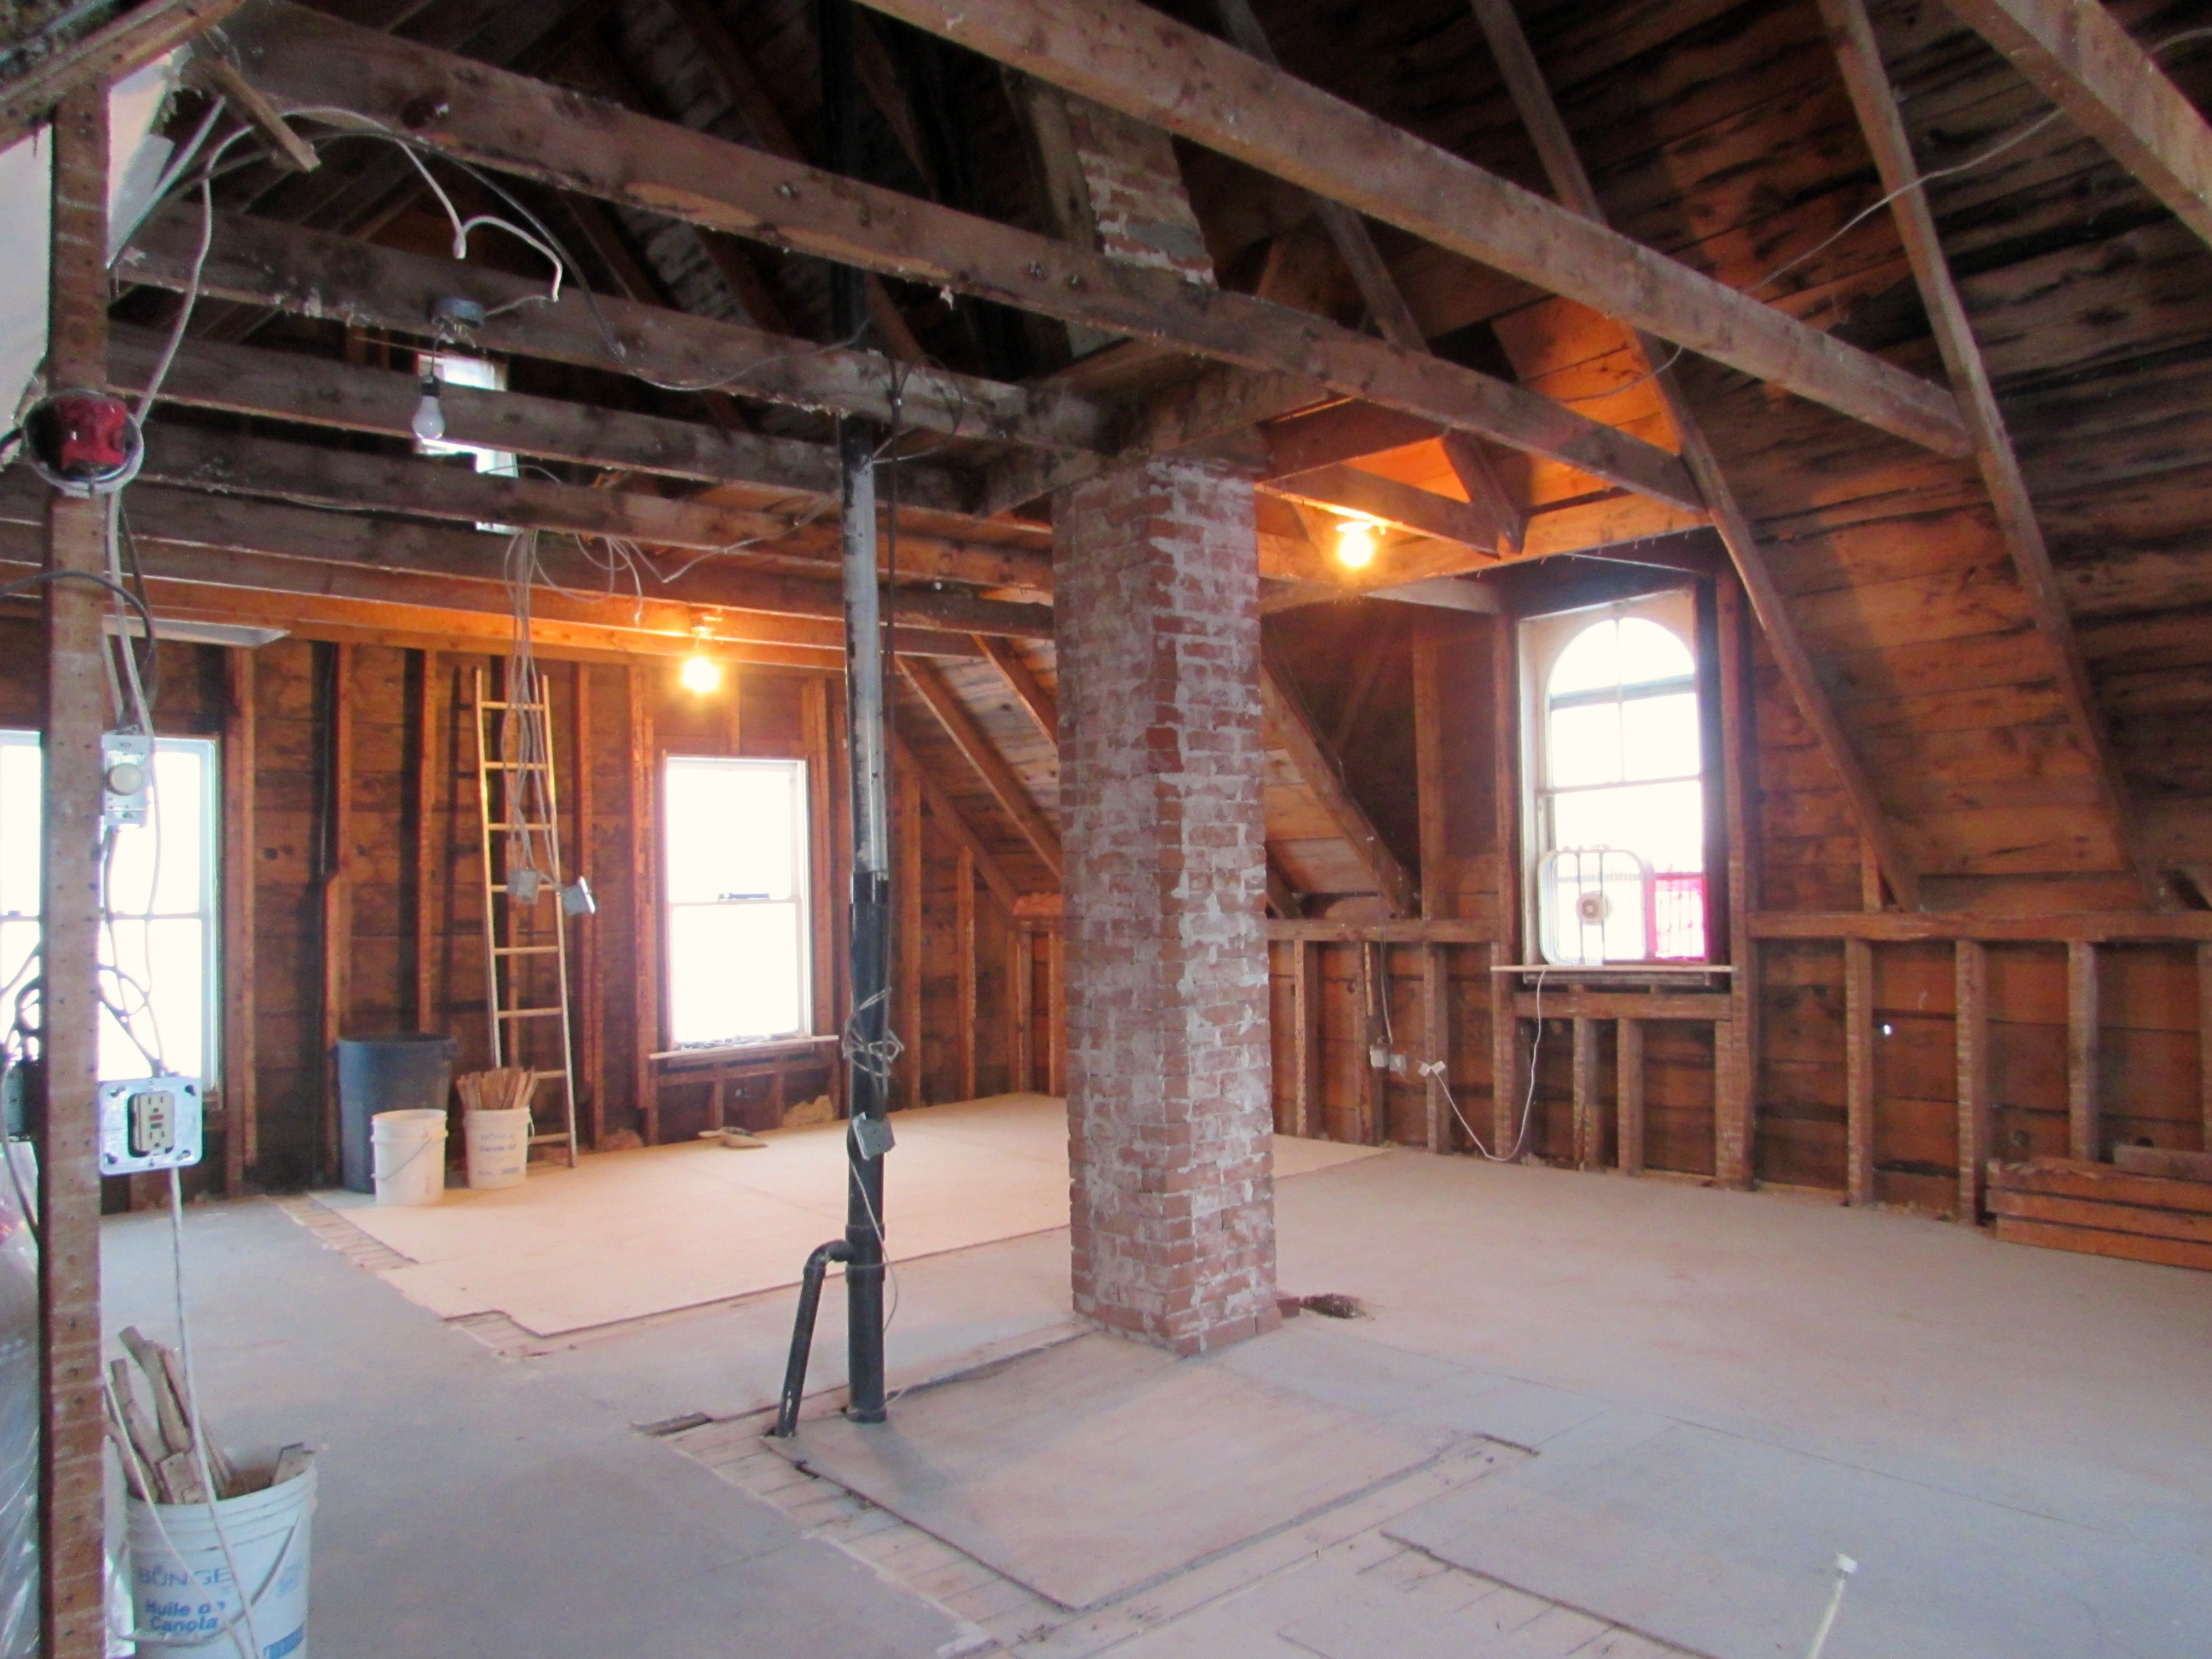
I mentioned briefly in my last post that we’ve finished gutting the second floor of the main cape. I can’t tell you how good it feels to get that completed.
At times it felt like the demo-that-wouldn’t-end (much like our winter) and frankly, it’s been very tiring – and extremely rewarding at the same time.
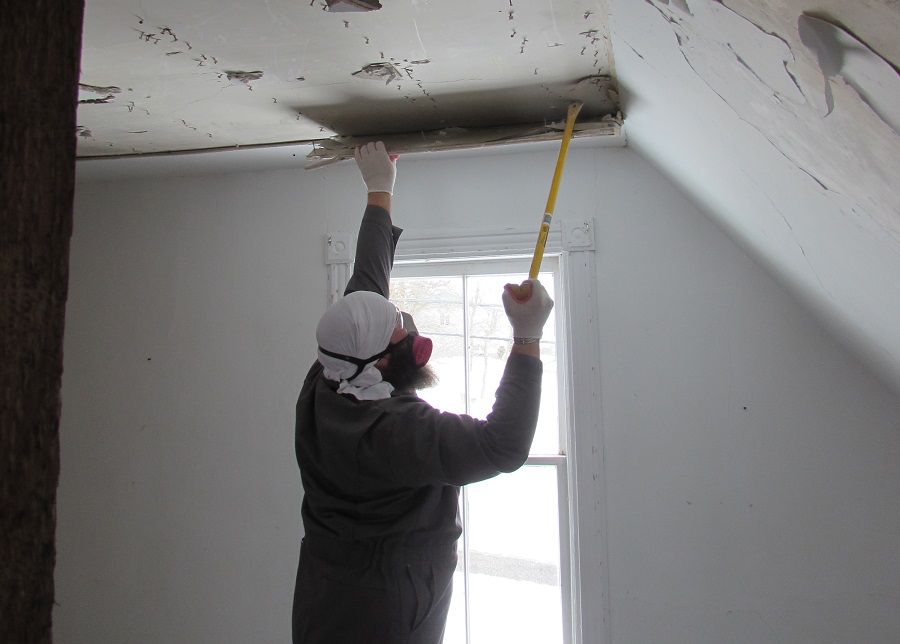
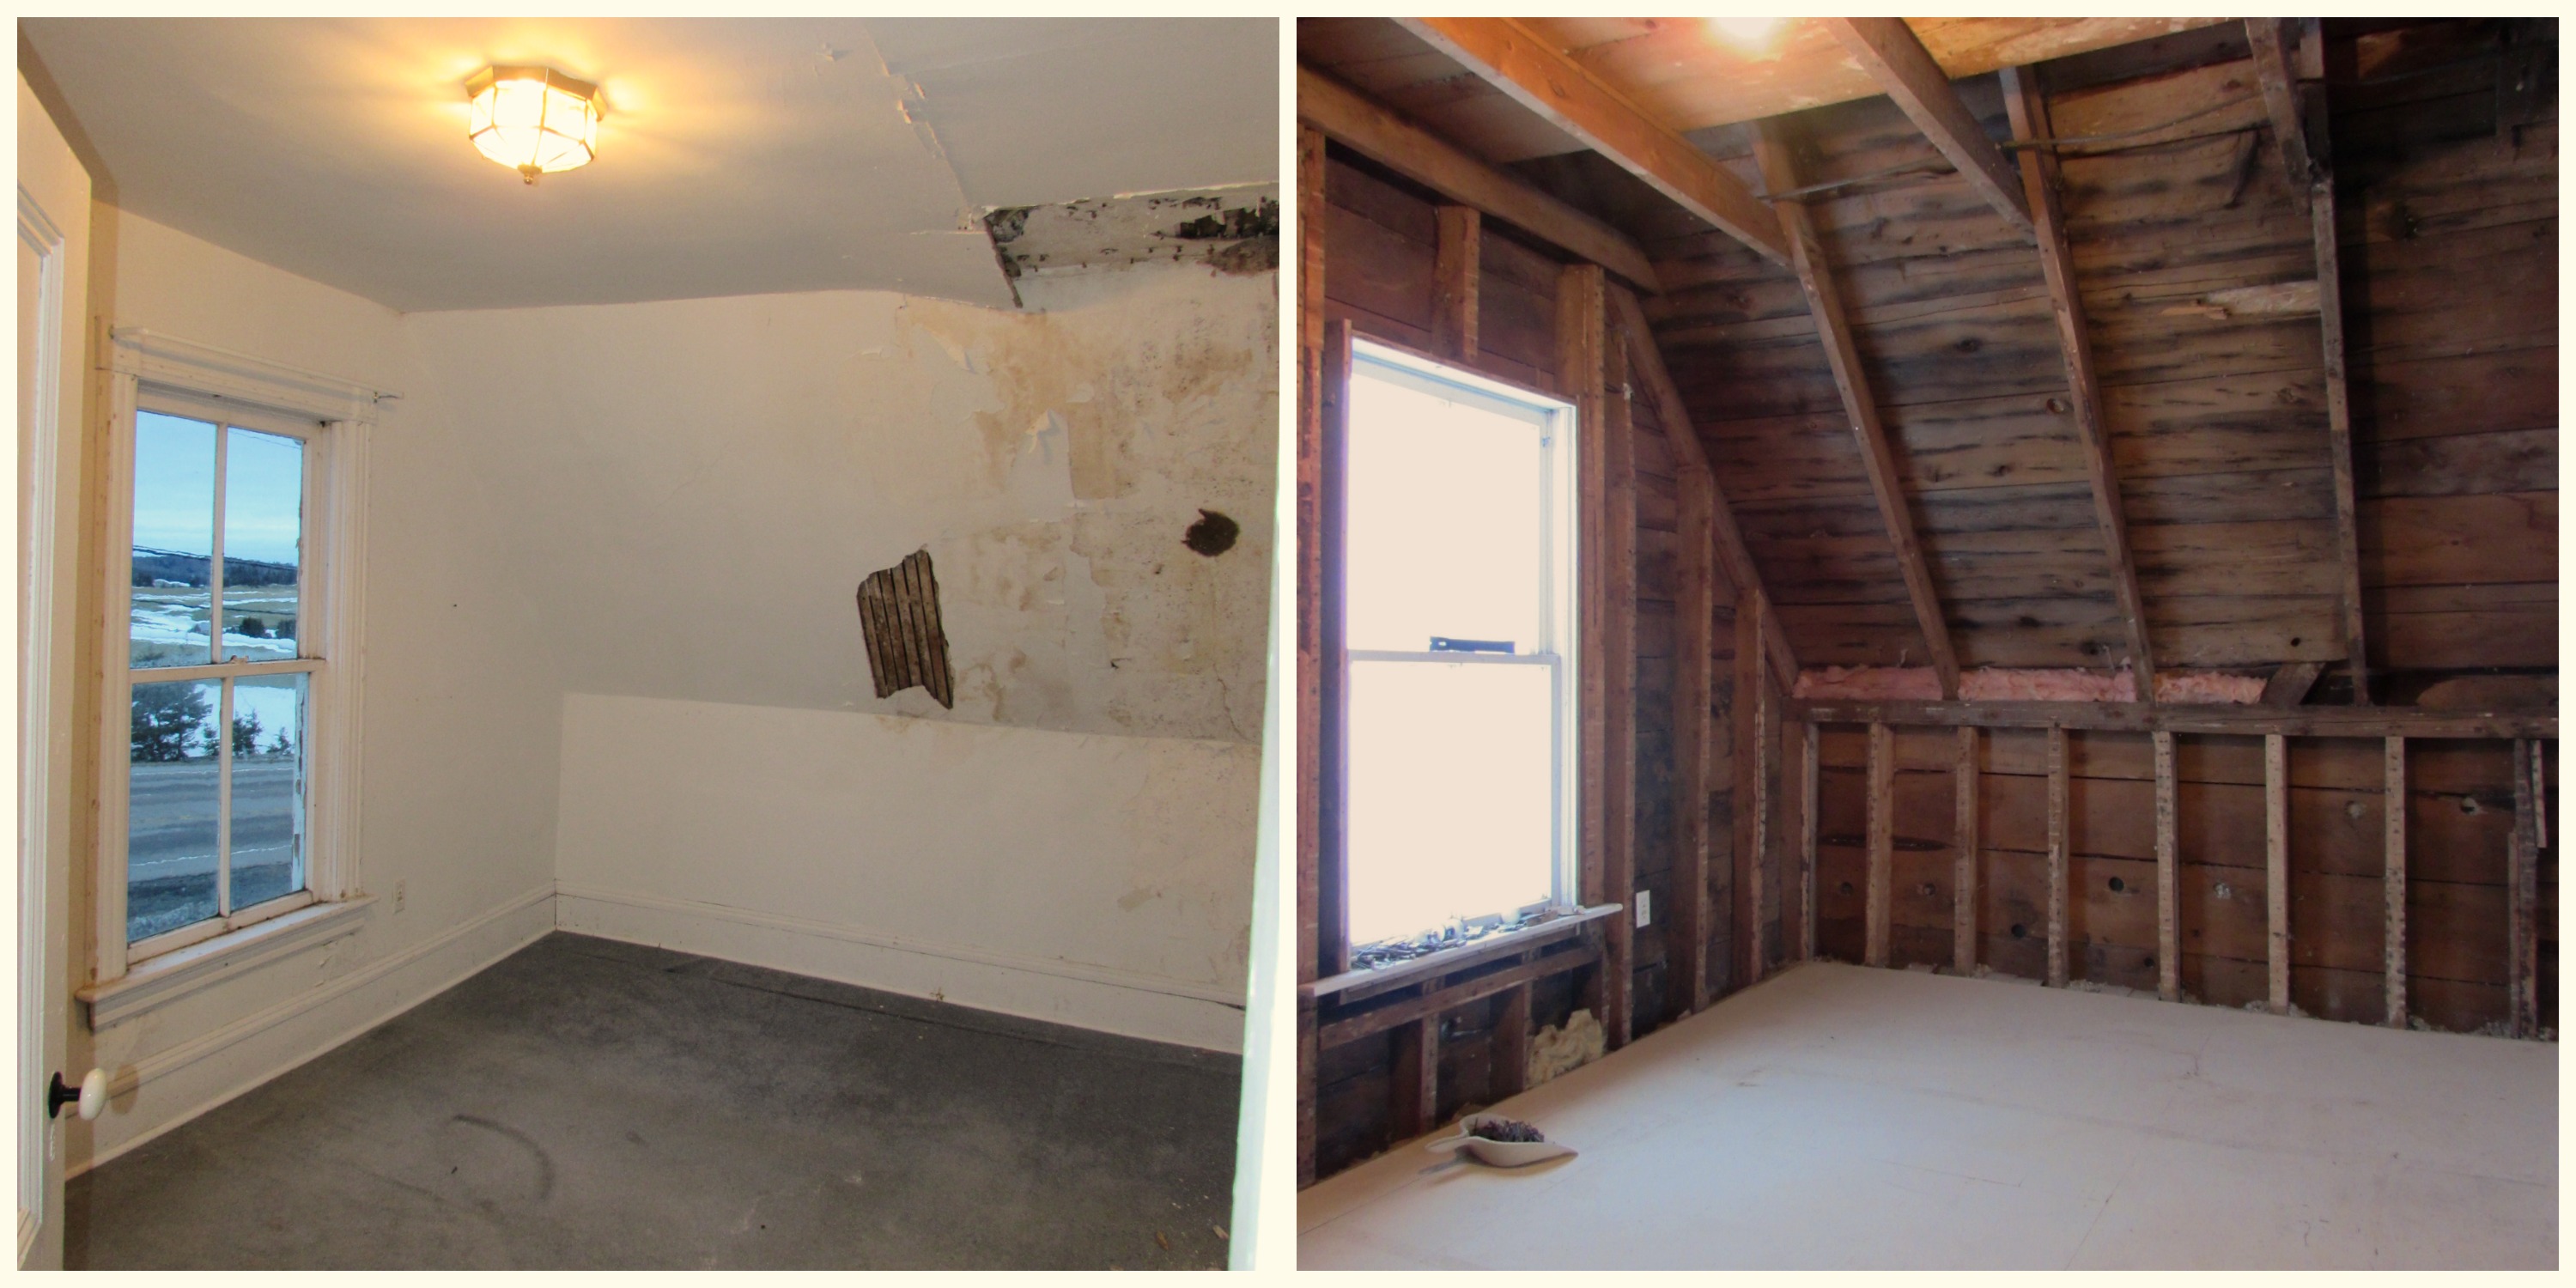
We started in the Spare Bedroom. The ceilings were already falling down, so it seemed like the obvious place to start.

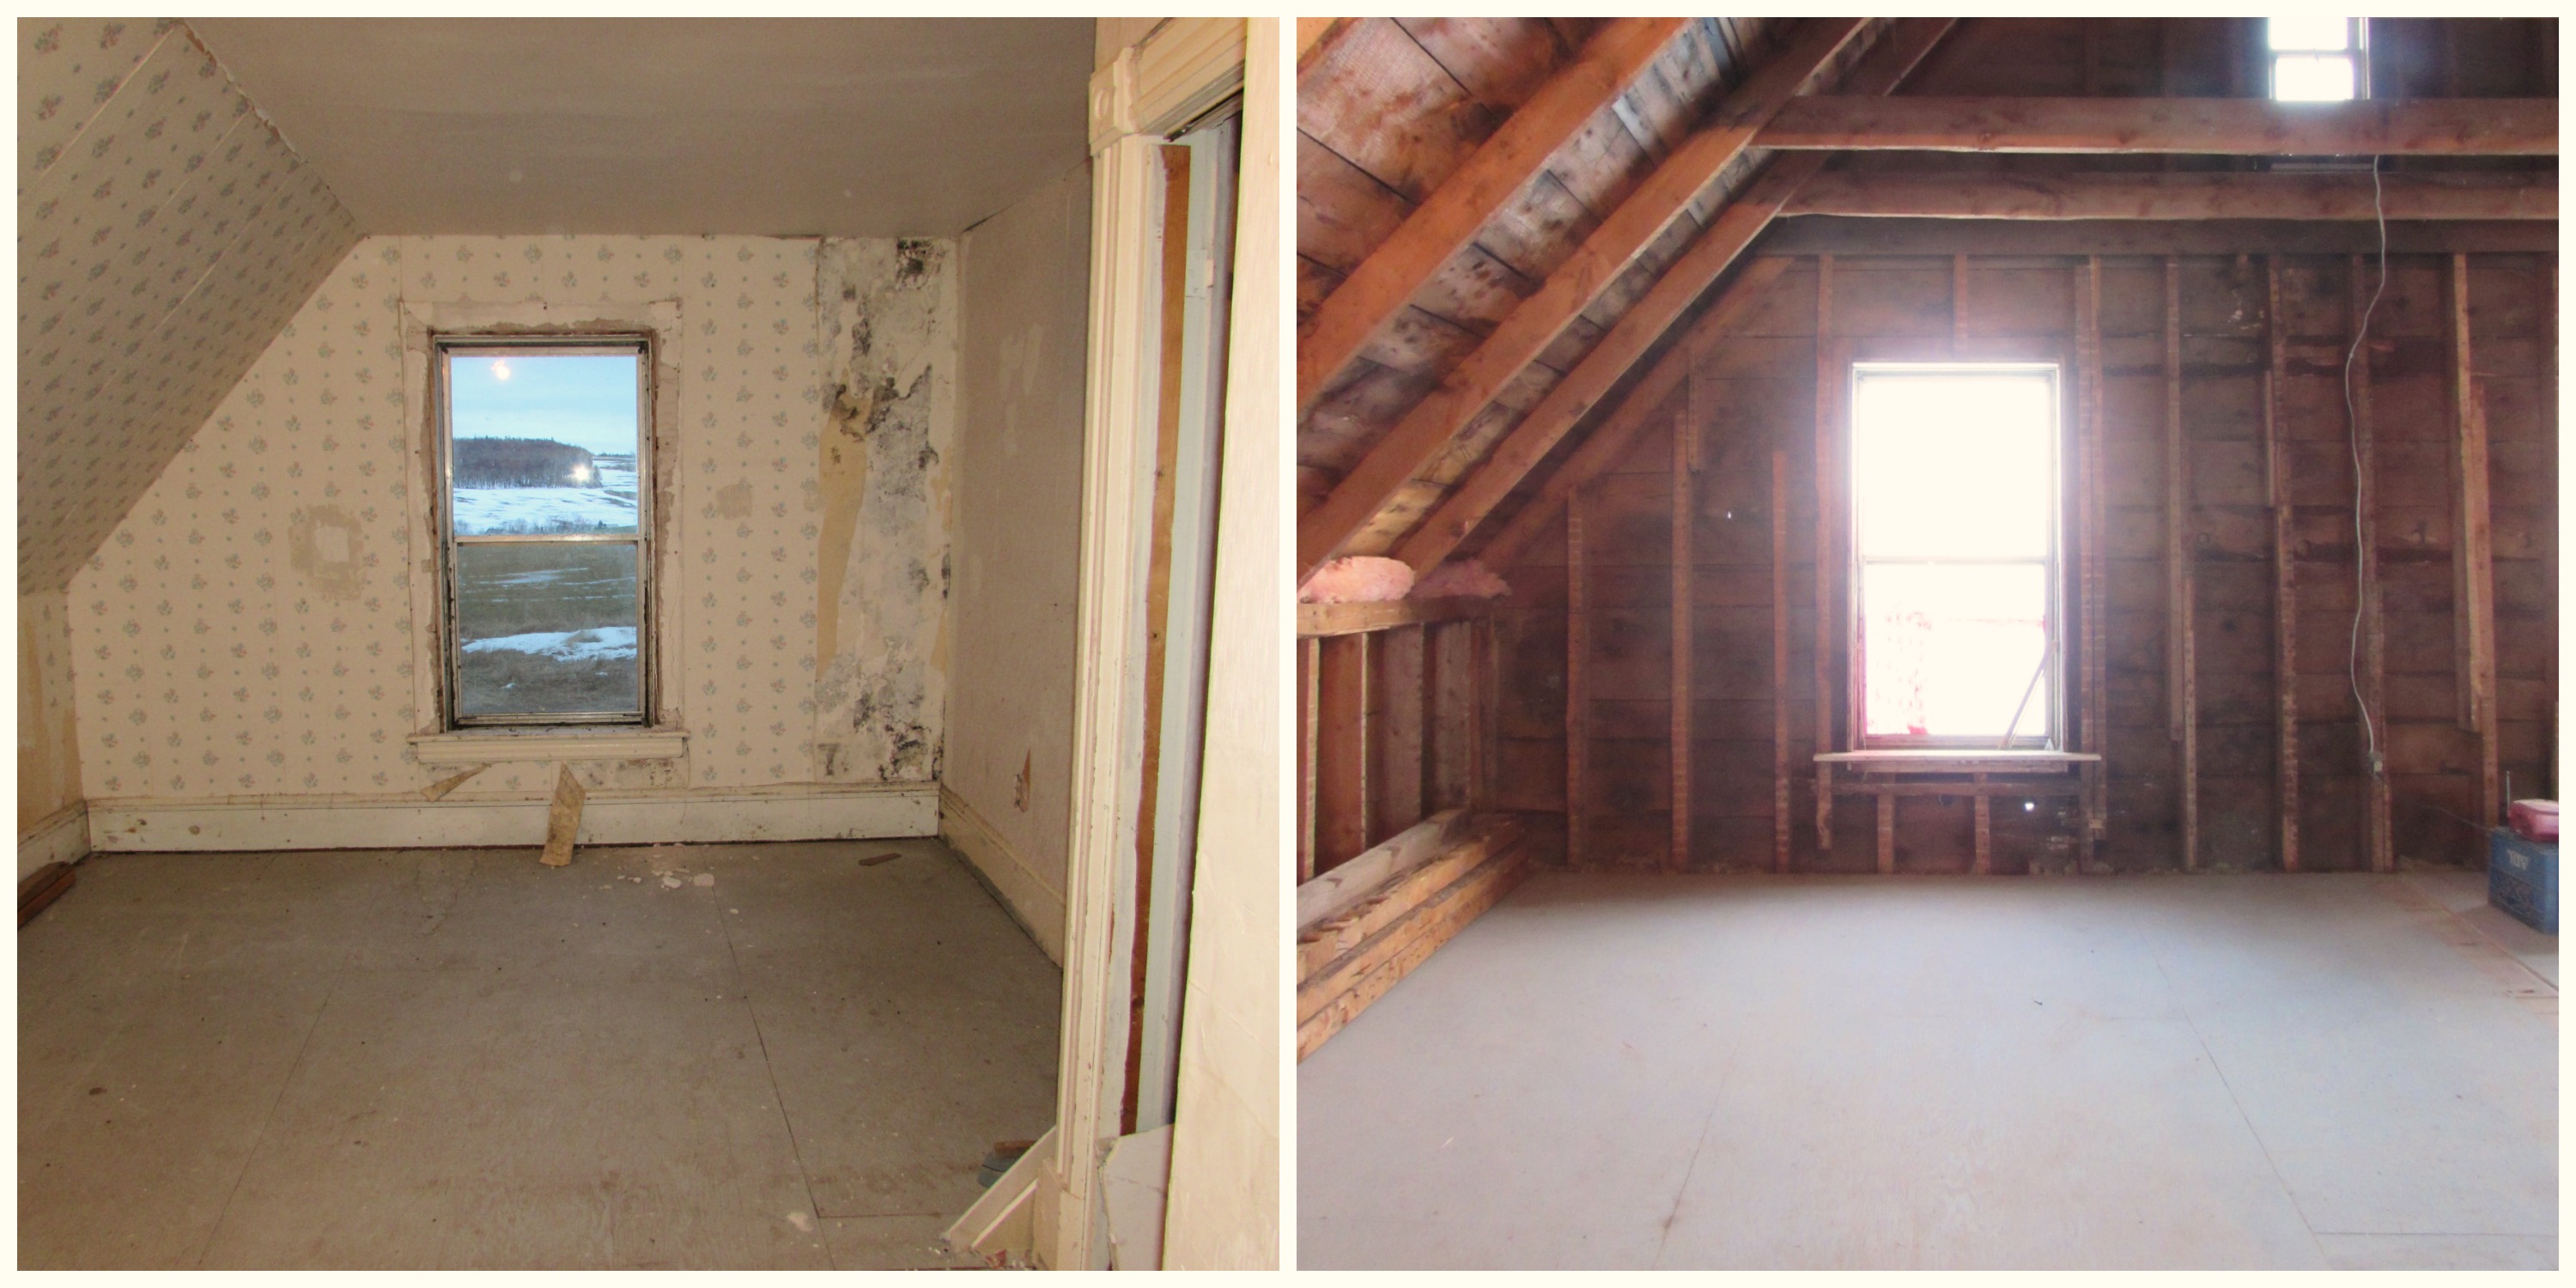
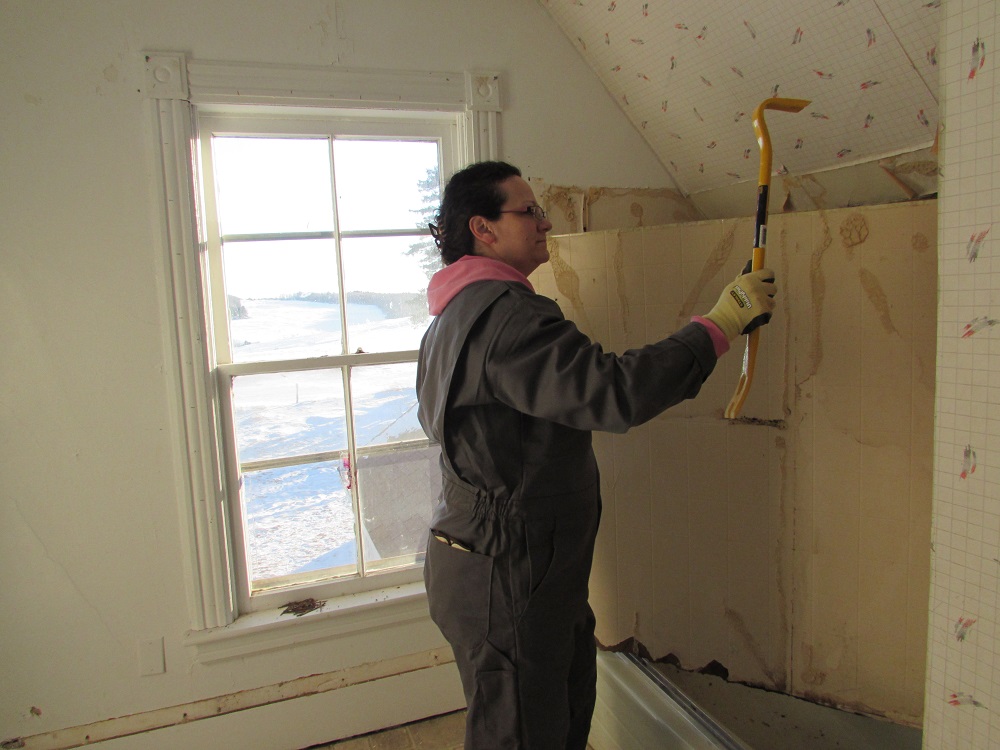
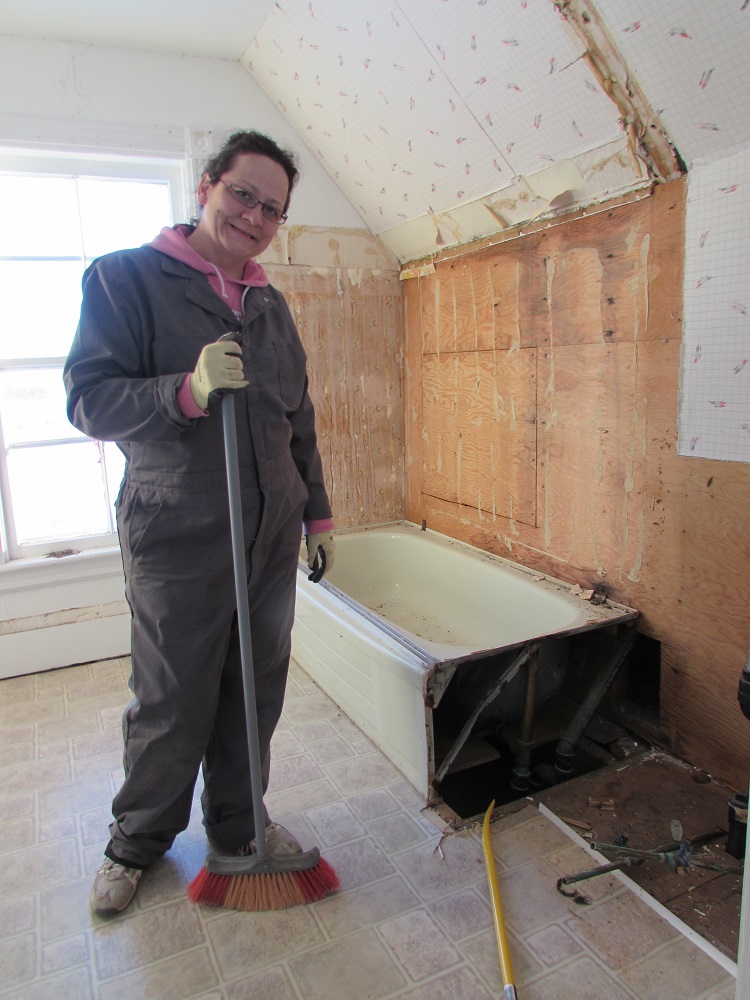
From there we went into the Bathroom….

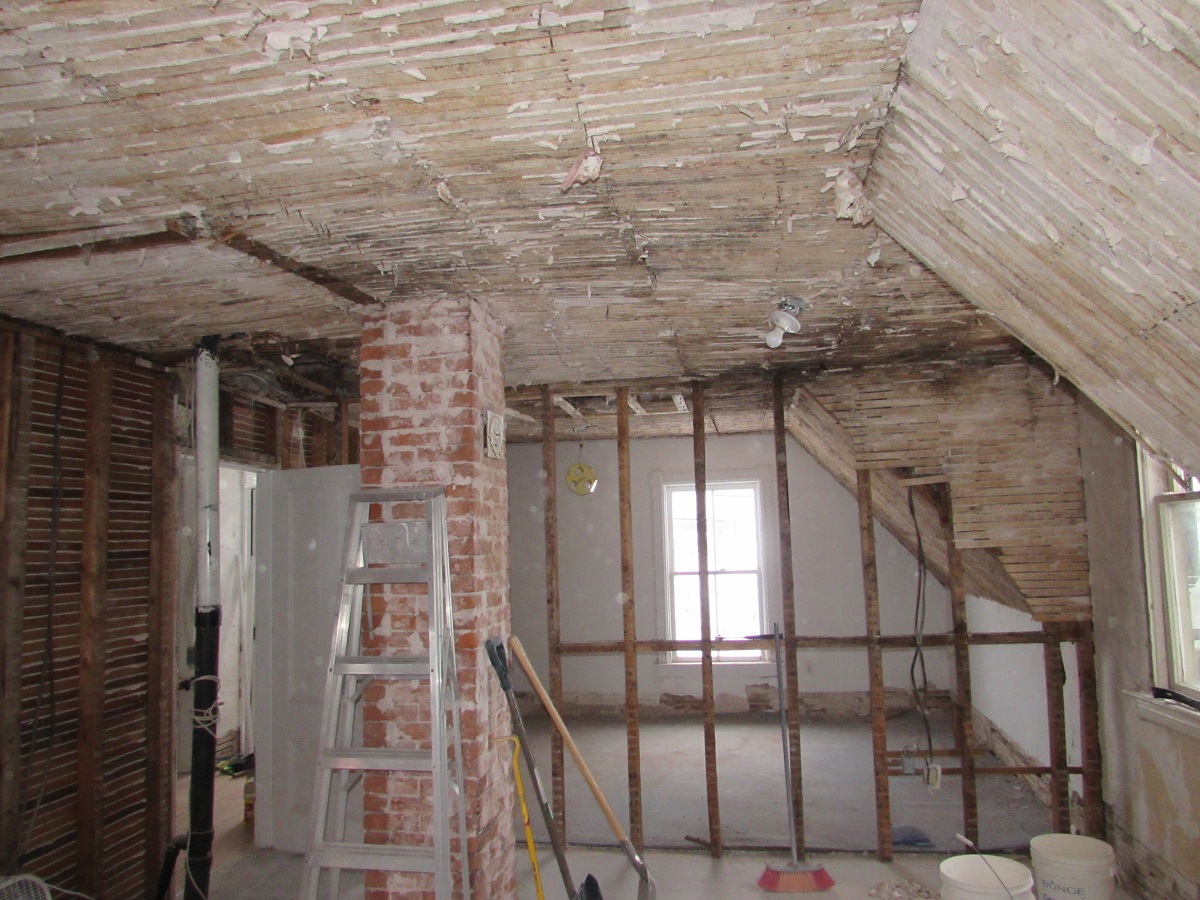
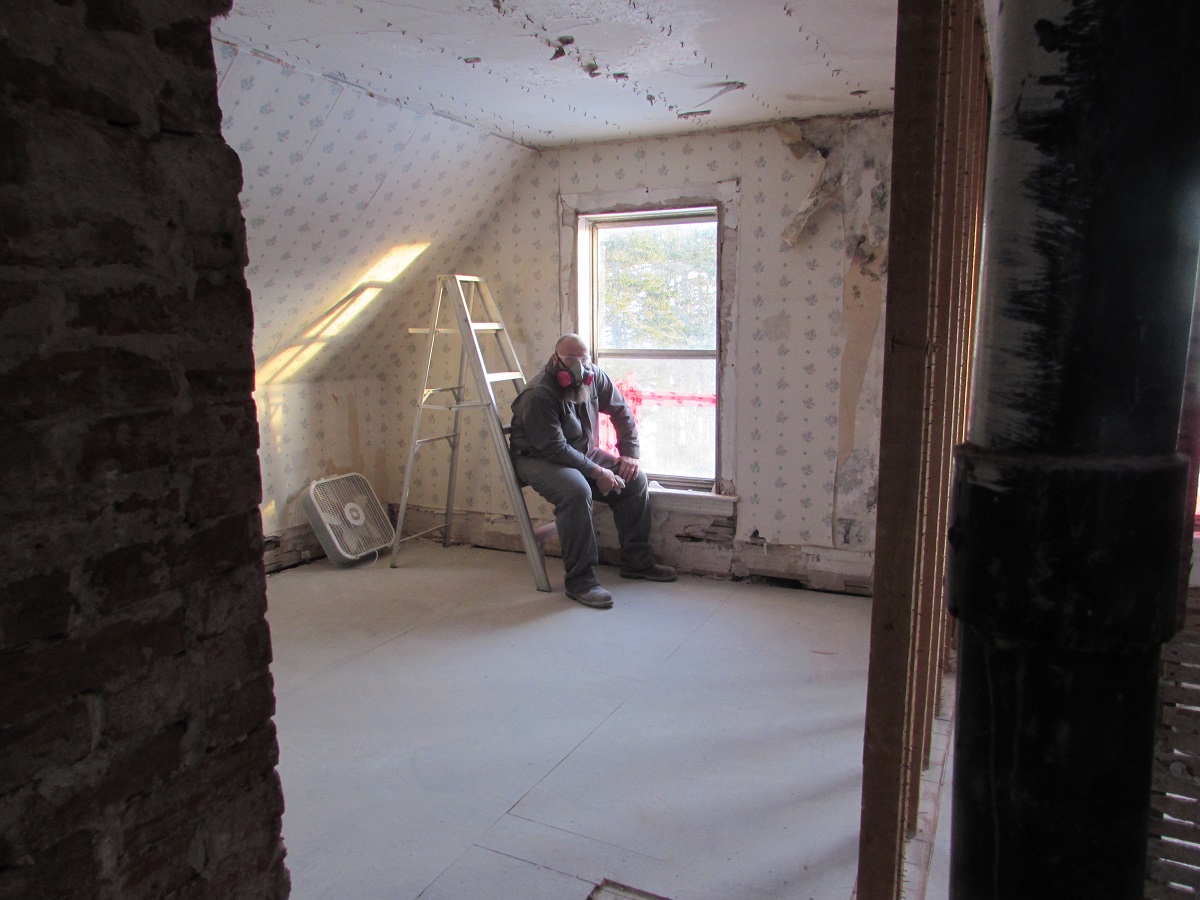
Then the Den/Office/Bedroom….
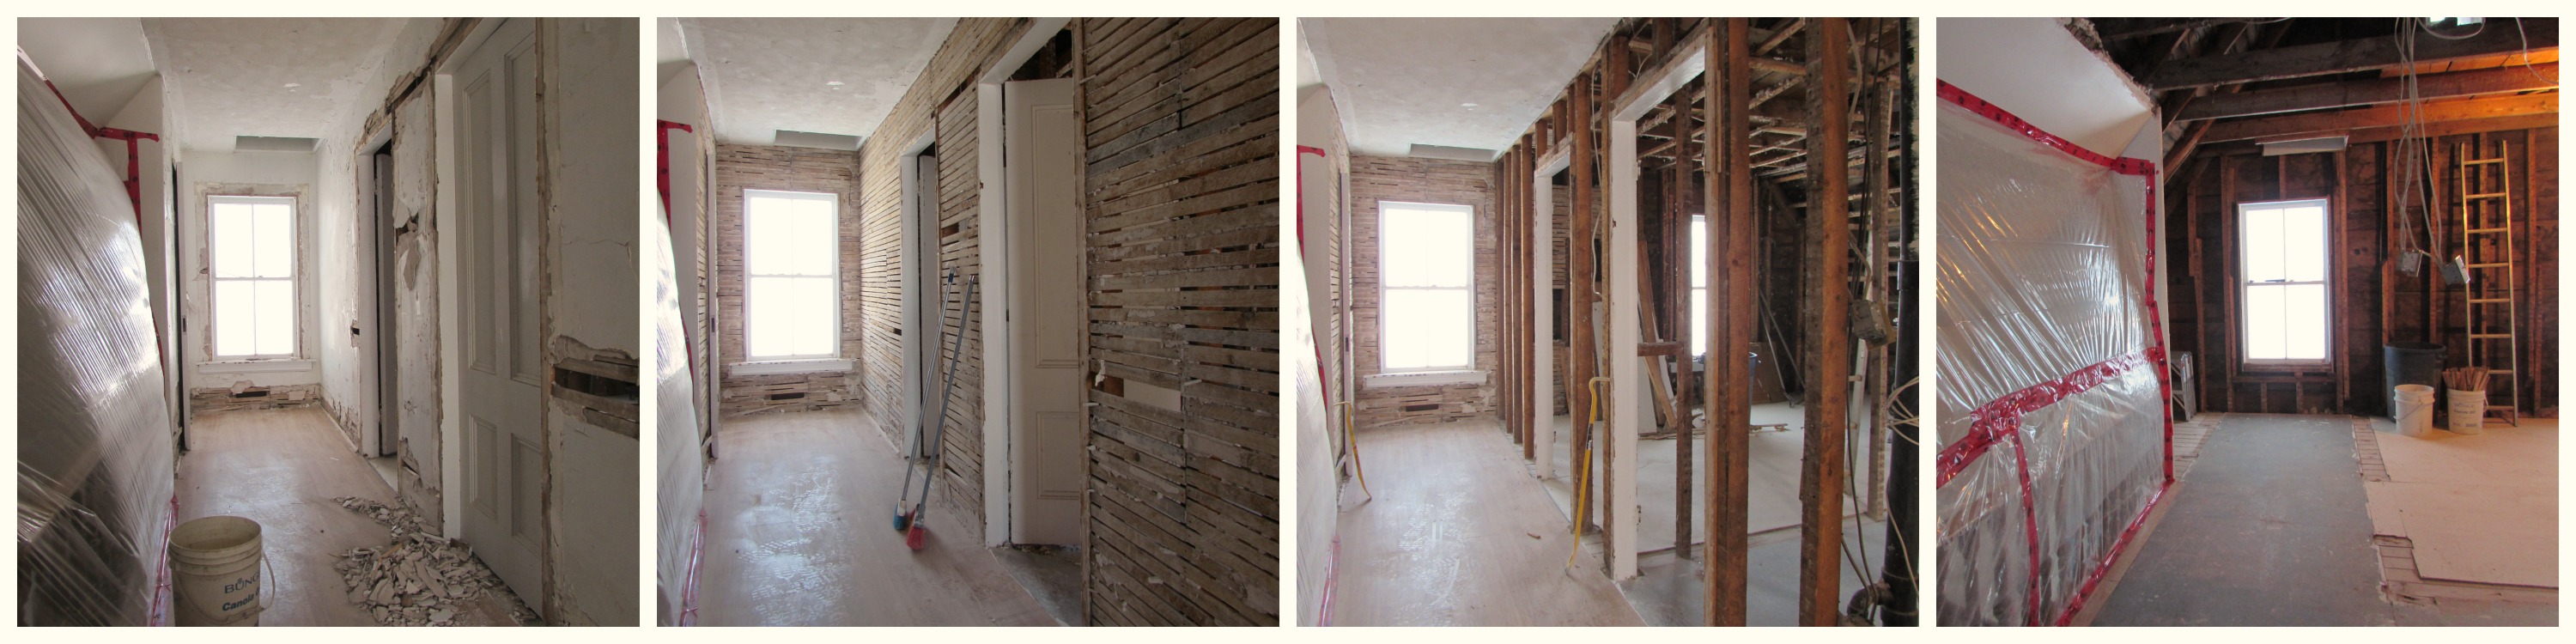
And finally the Hallway.
I figure we removed approximately 18000-20000 pounds of drywall, lath and plaster from the second floor in the last few weeks. That’s if you believe Google’s opinion that lath and plaster weighs about 8-10 pounds per square foot. My back is telling me that sounds about right.

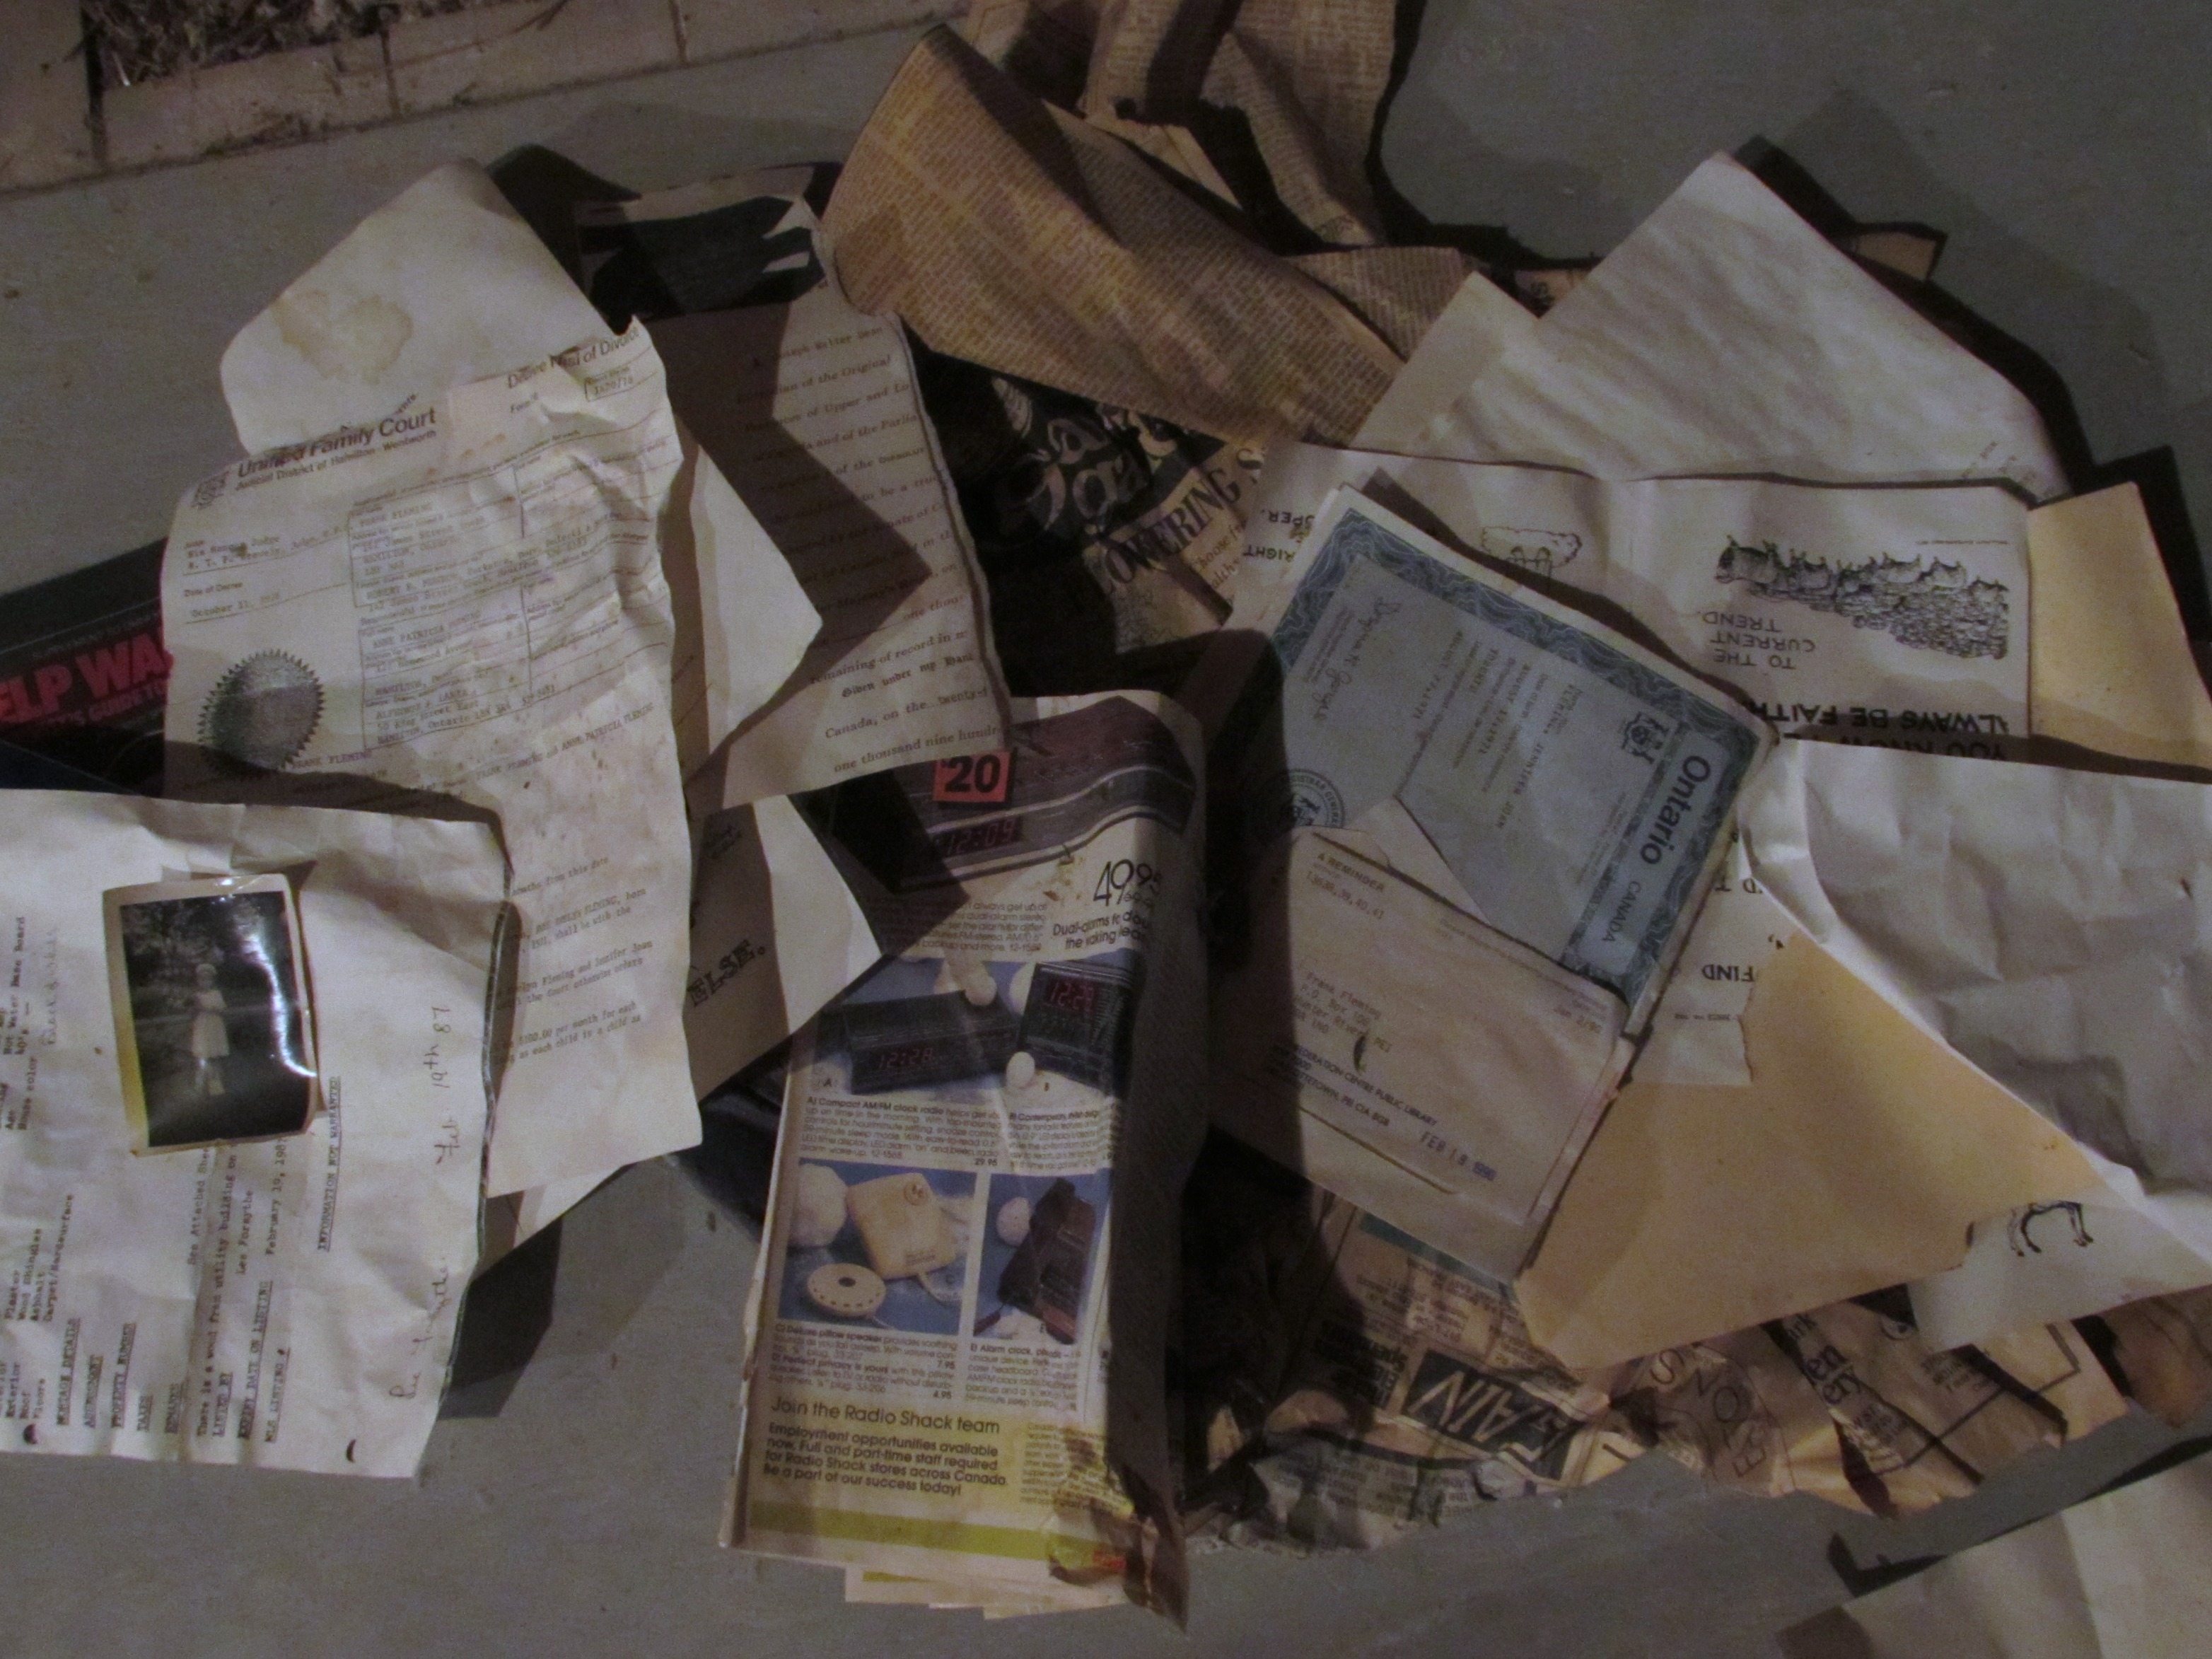
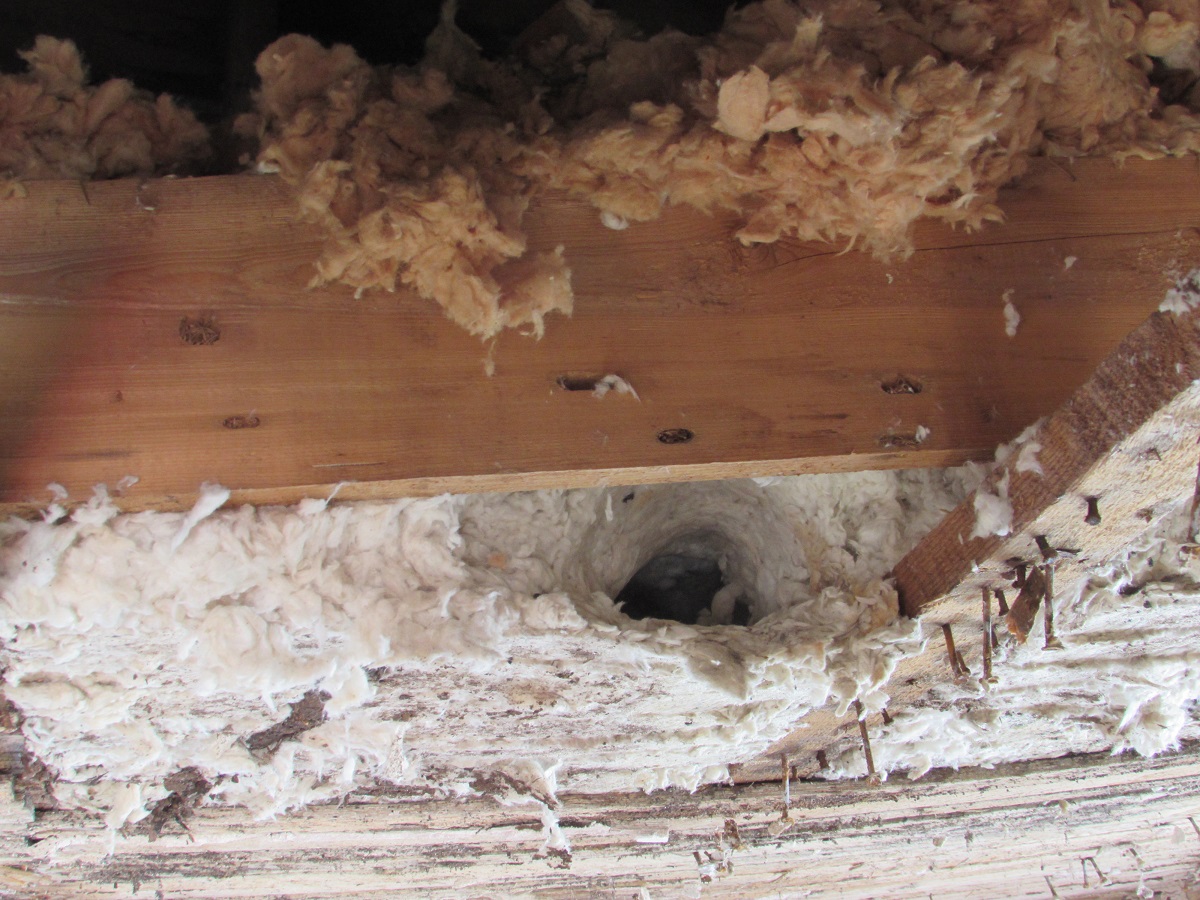
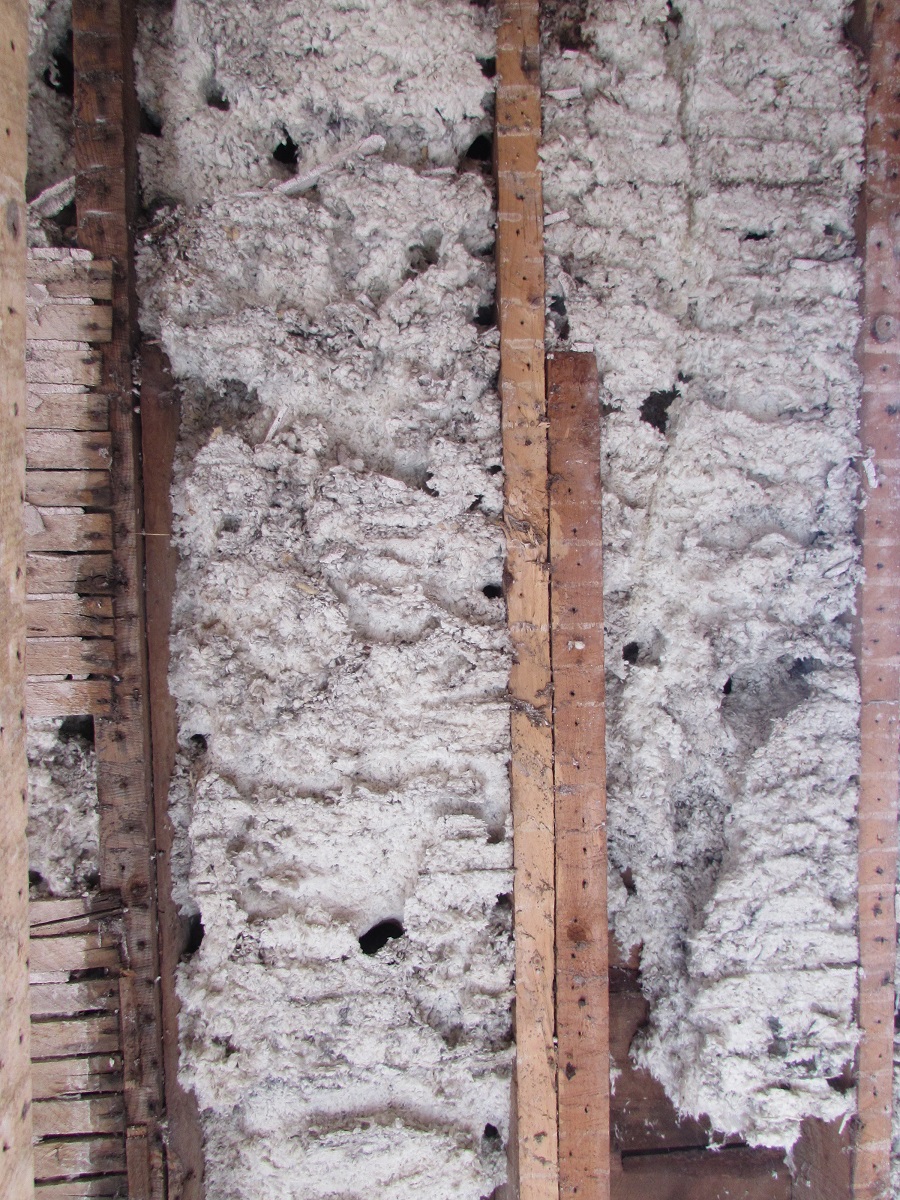
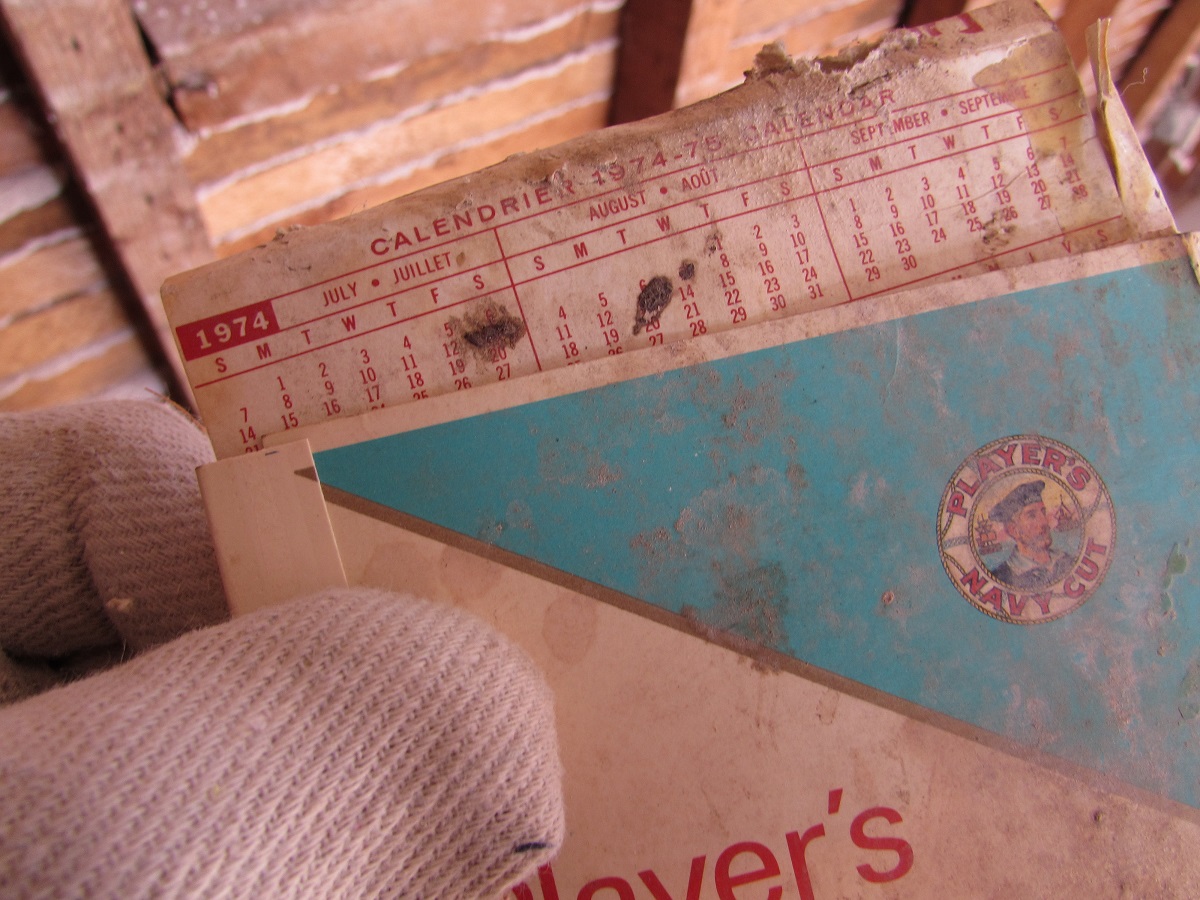
And that doesn’t count the lumber and framing materials removed – nor the trim, doors, hardware, nails and 64 contractor-sized garbage bags of loose-fill insulation either. All in all, we filled three 20 yard dumpsters to date – although to be fair, the first dumpster was mostly filled with junk left behind from the previous owner.
With the main cape now complete, we’ll move into the Master Bedroom to start removing the wall finishes.
A previous owner at some point in the past had attempted some renovations/repairs. From what I can tell, the Master Bedroom was previously gutted, insulated with fibreglass batts and drywalled. That’s going to make our job of demolition exceedingly easier in this room. We should have that done by next week, easy.
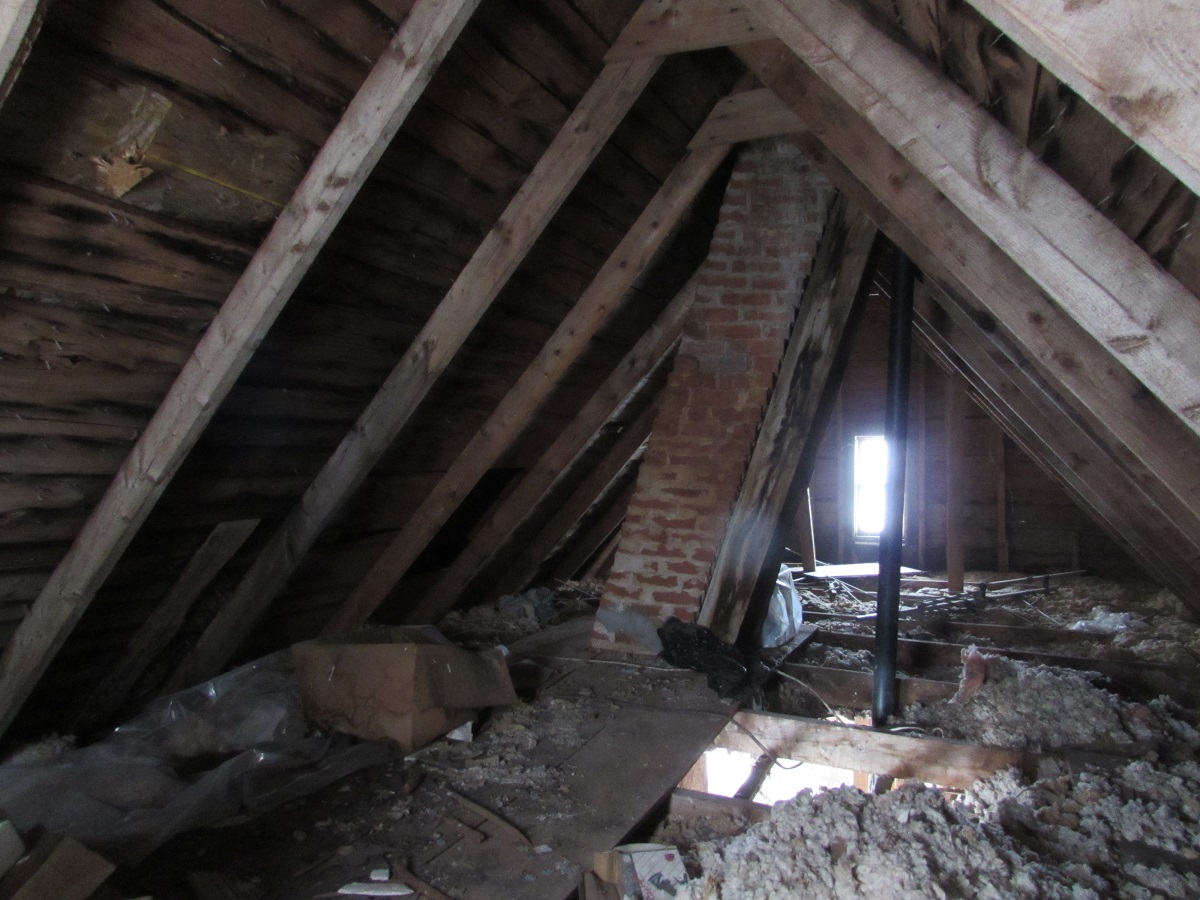
Once the bedroom is done, I’ll frame in a temporary platform and remove the last of the lath and plaster in the stairwell. That will complete the demolition of the second floor.
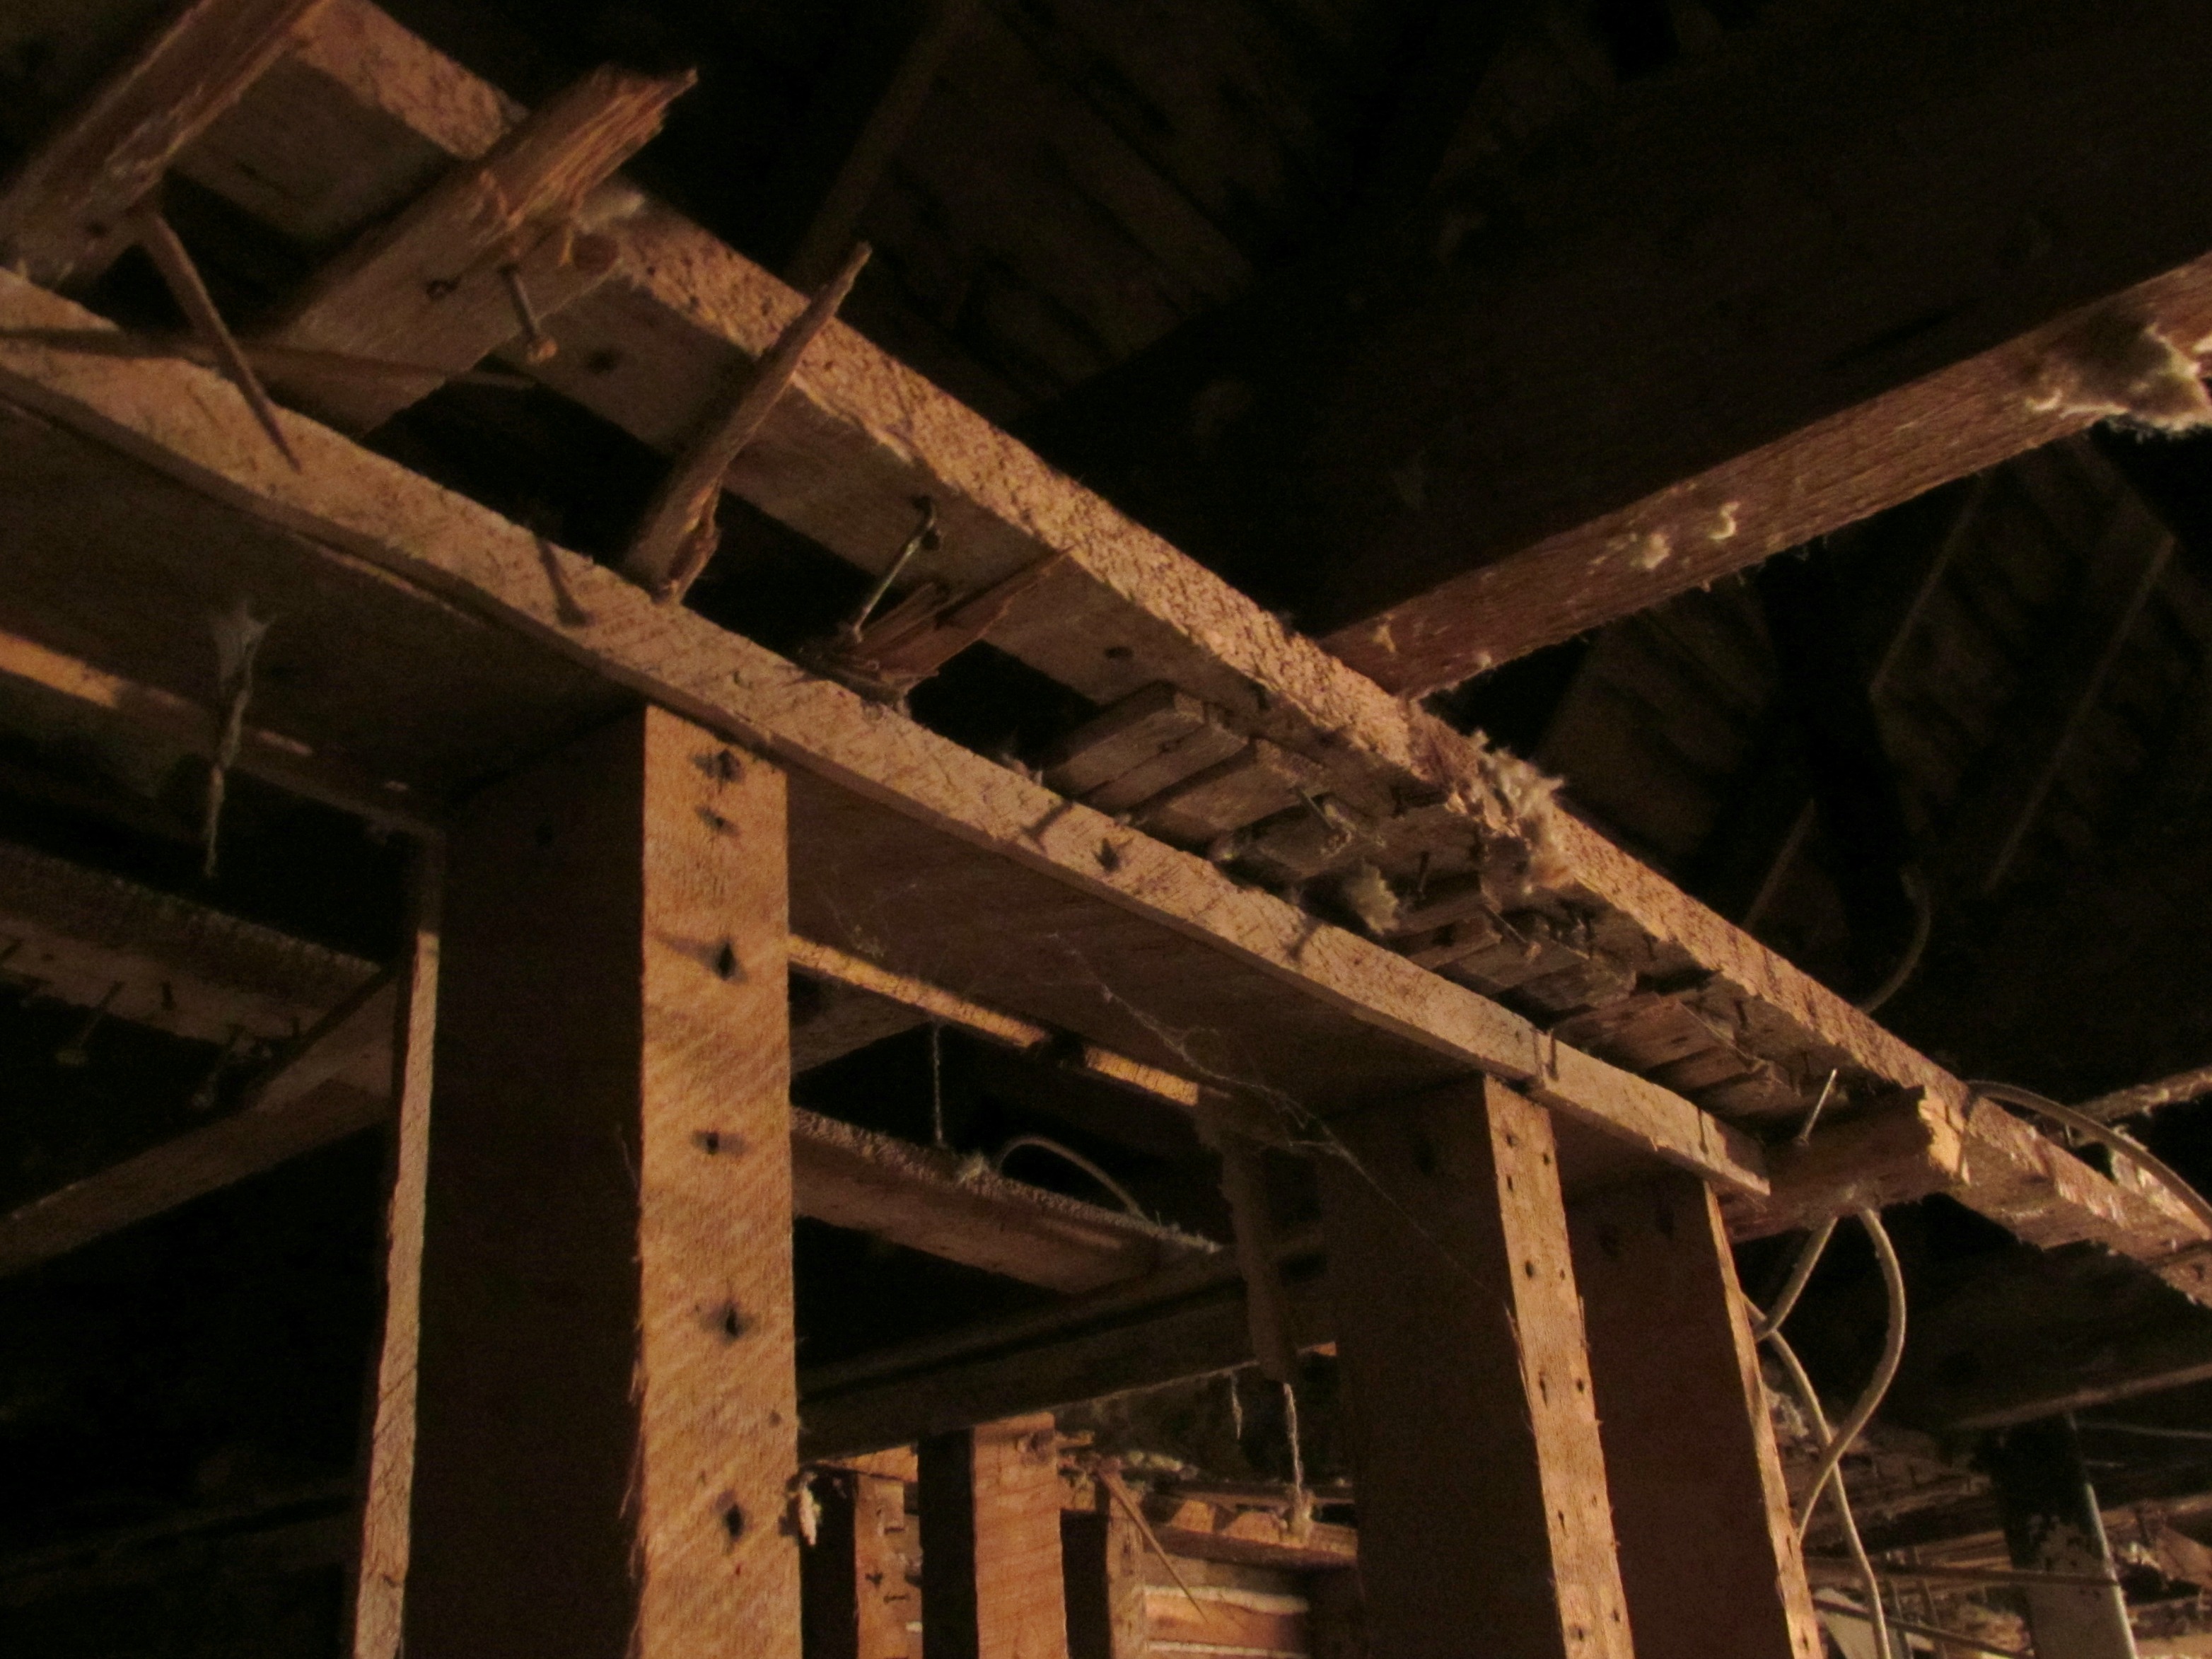
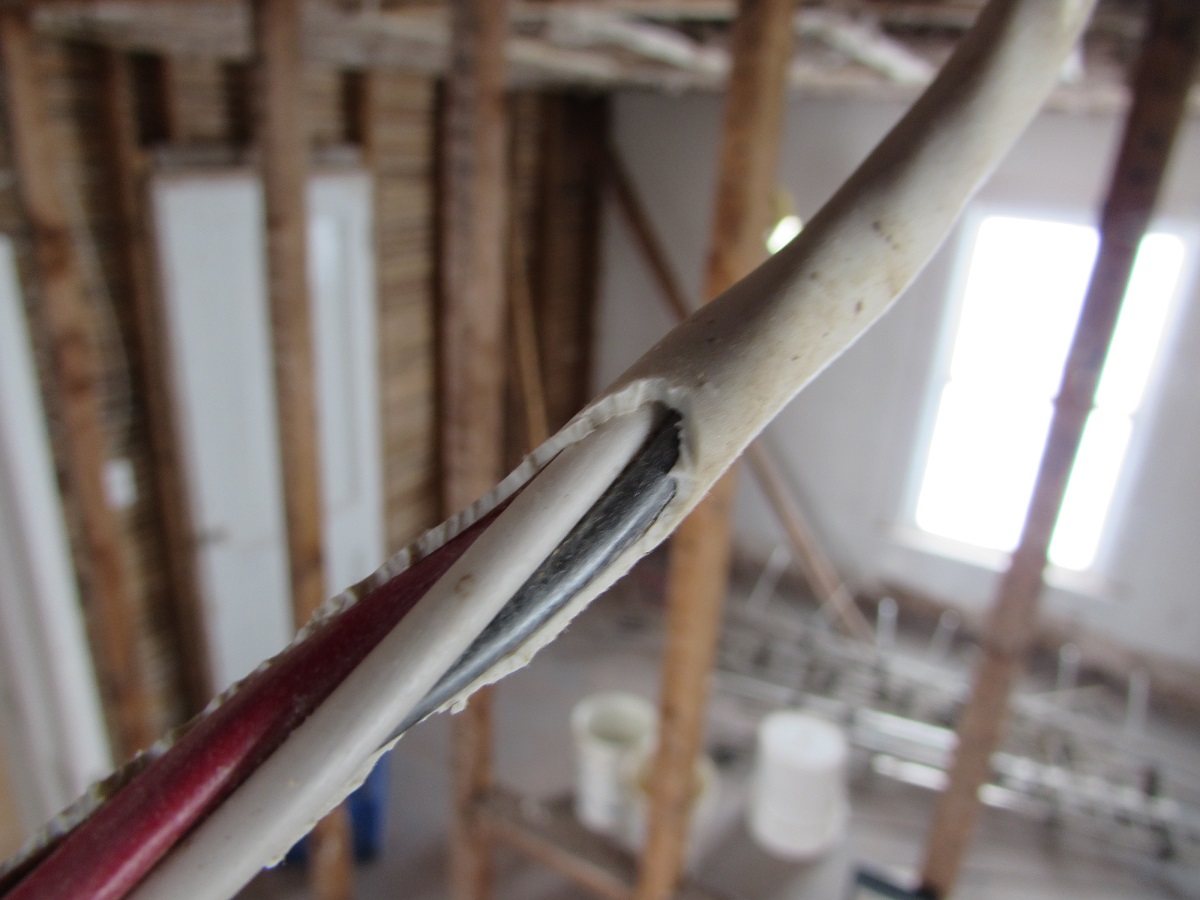
I also mentioned previously that the partitions on the second floor were built under the original lath and plaster.
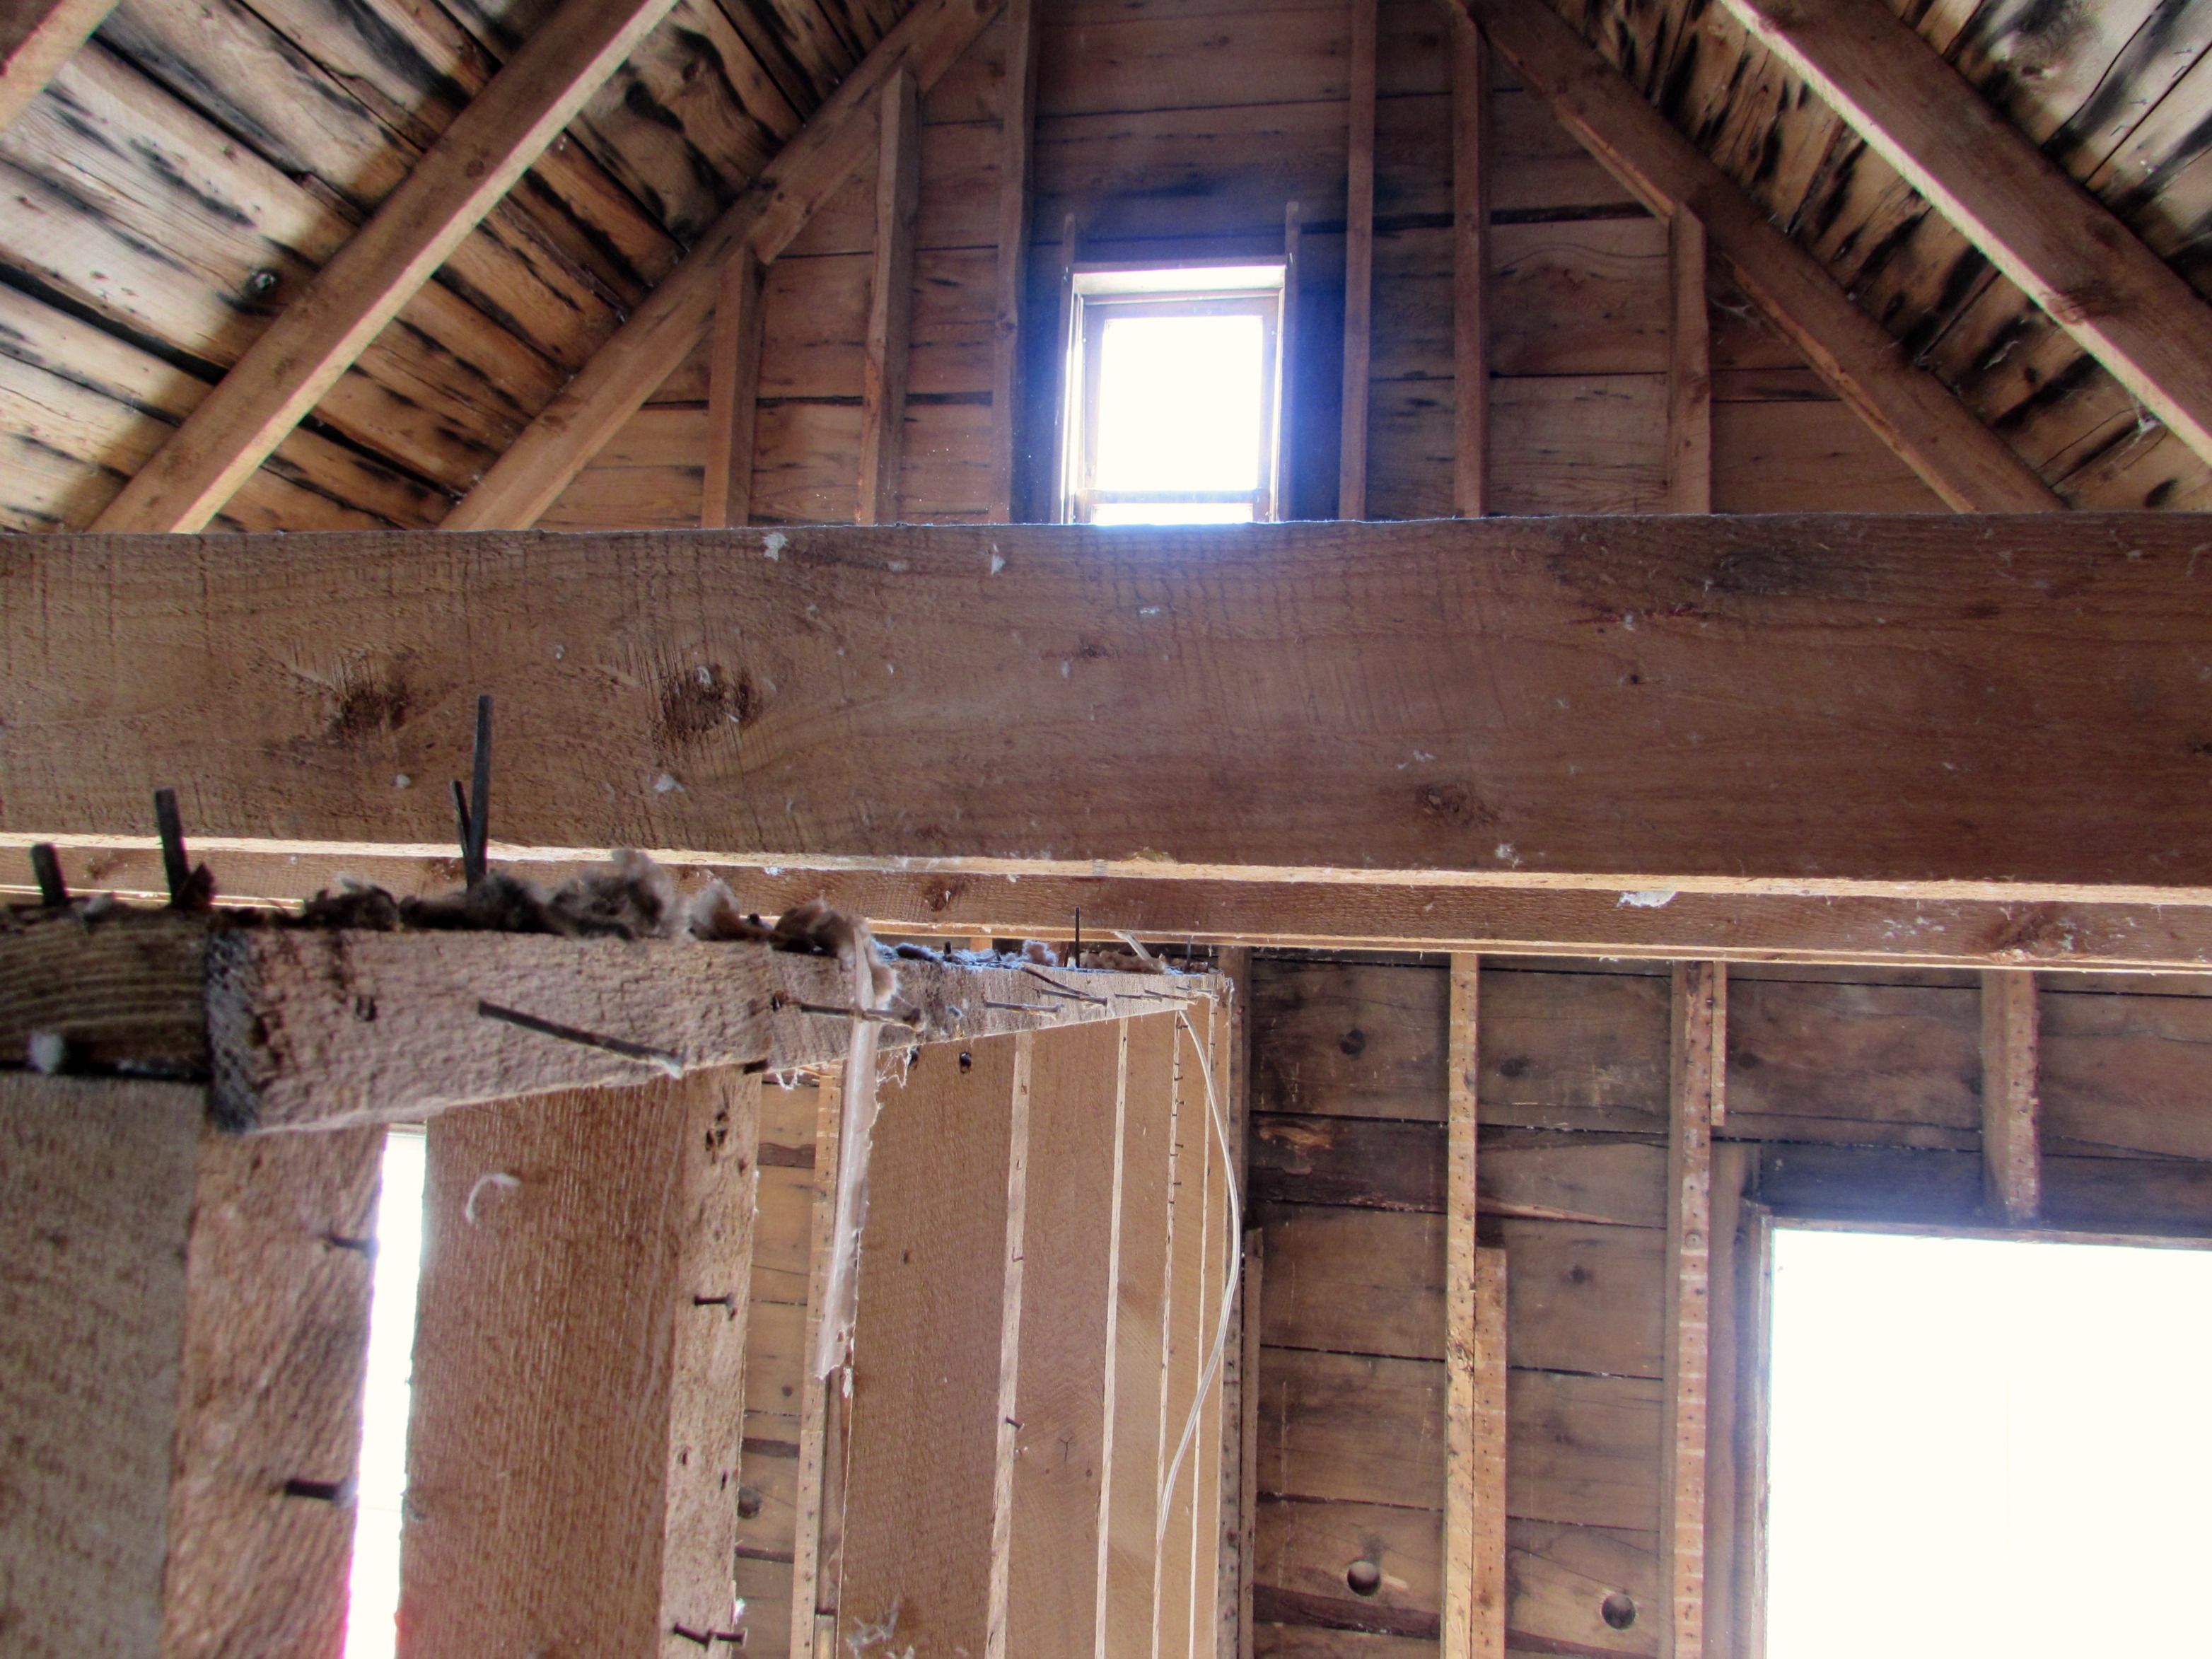
Once the finishes were removed, the stud wall had no top support since the plate sat almost 1-1/2″ below the ceiling joists.


Simple enough to reframe the partitions, so we removed the walls, too. That affords us an opportunity to tweak that layout slightly, too (add a closet here, move the wall there, etc).
Unfortunately with the floors out of level and some sagging here and there, we won’t be starting any reconstruction or repairs until the house is raised and on it’s new foundation in the spring. Not that we’ll be short of things to do. We’ll finish gutting upstairs then move outside: I have to remove the front porch and small rear addition before the house can be lifted. That will be our next big step.

For now, I’m happy with what we’ve accomplished. Vanessa’s been solid help with the demolition. Aside from a few aches and pains, we’re still smiling and having a good time. Although the winter is wearing on our nerves, we realize spring will be on us in no time, so we keep pressing on.

I think we earned a day-off, so the plan is to go ice fishing on Friday. That’s part of the reason in making the move we did – having time to spend together and enjoy the beauty of the outdoors. We’ve talked about going fishing for a while now, but with the windchill in the -20 to -30 degree range for the past few weeks, we kindly postponed those plans. It’s supposed to warm up (to near-zero) on Friday, so that looks like the day. I’ll let you know how that goes.

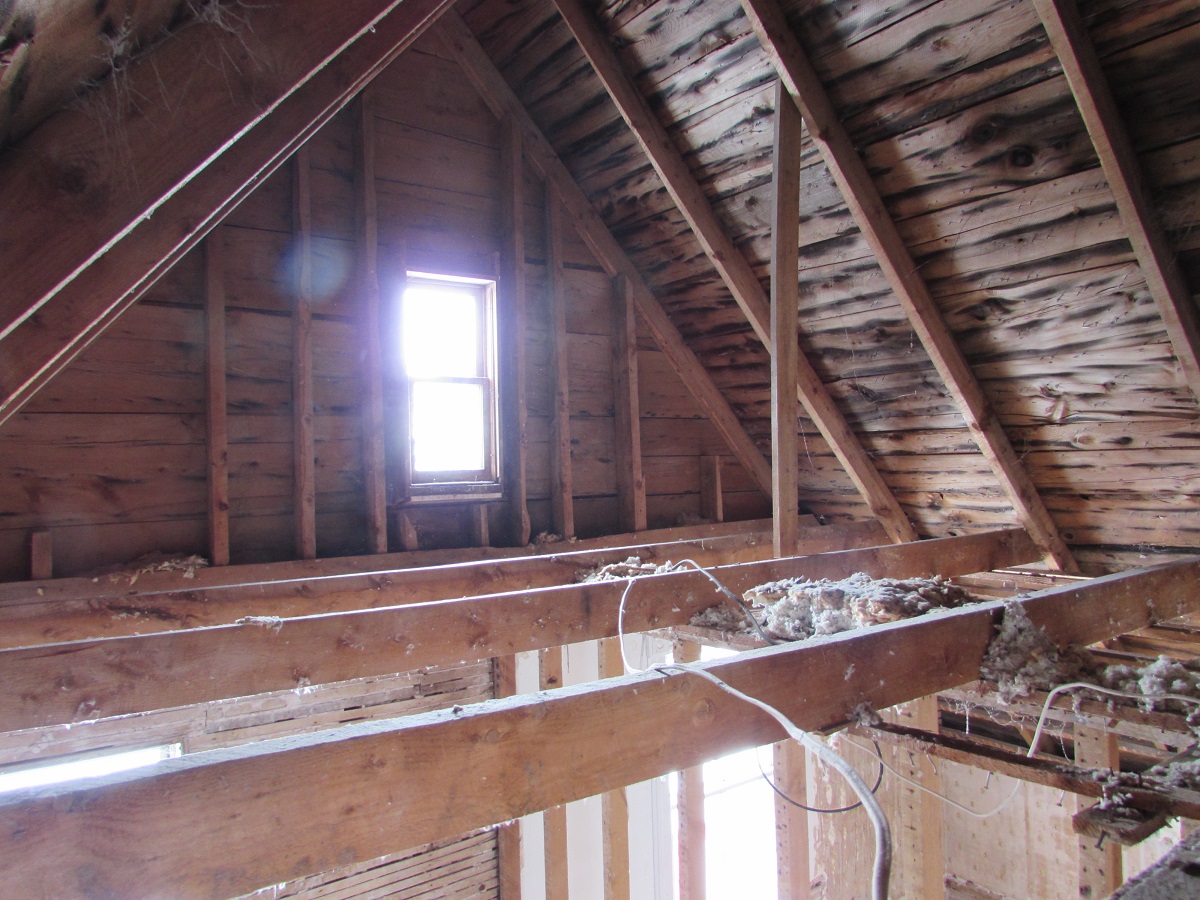
The view from our Bathroom window
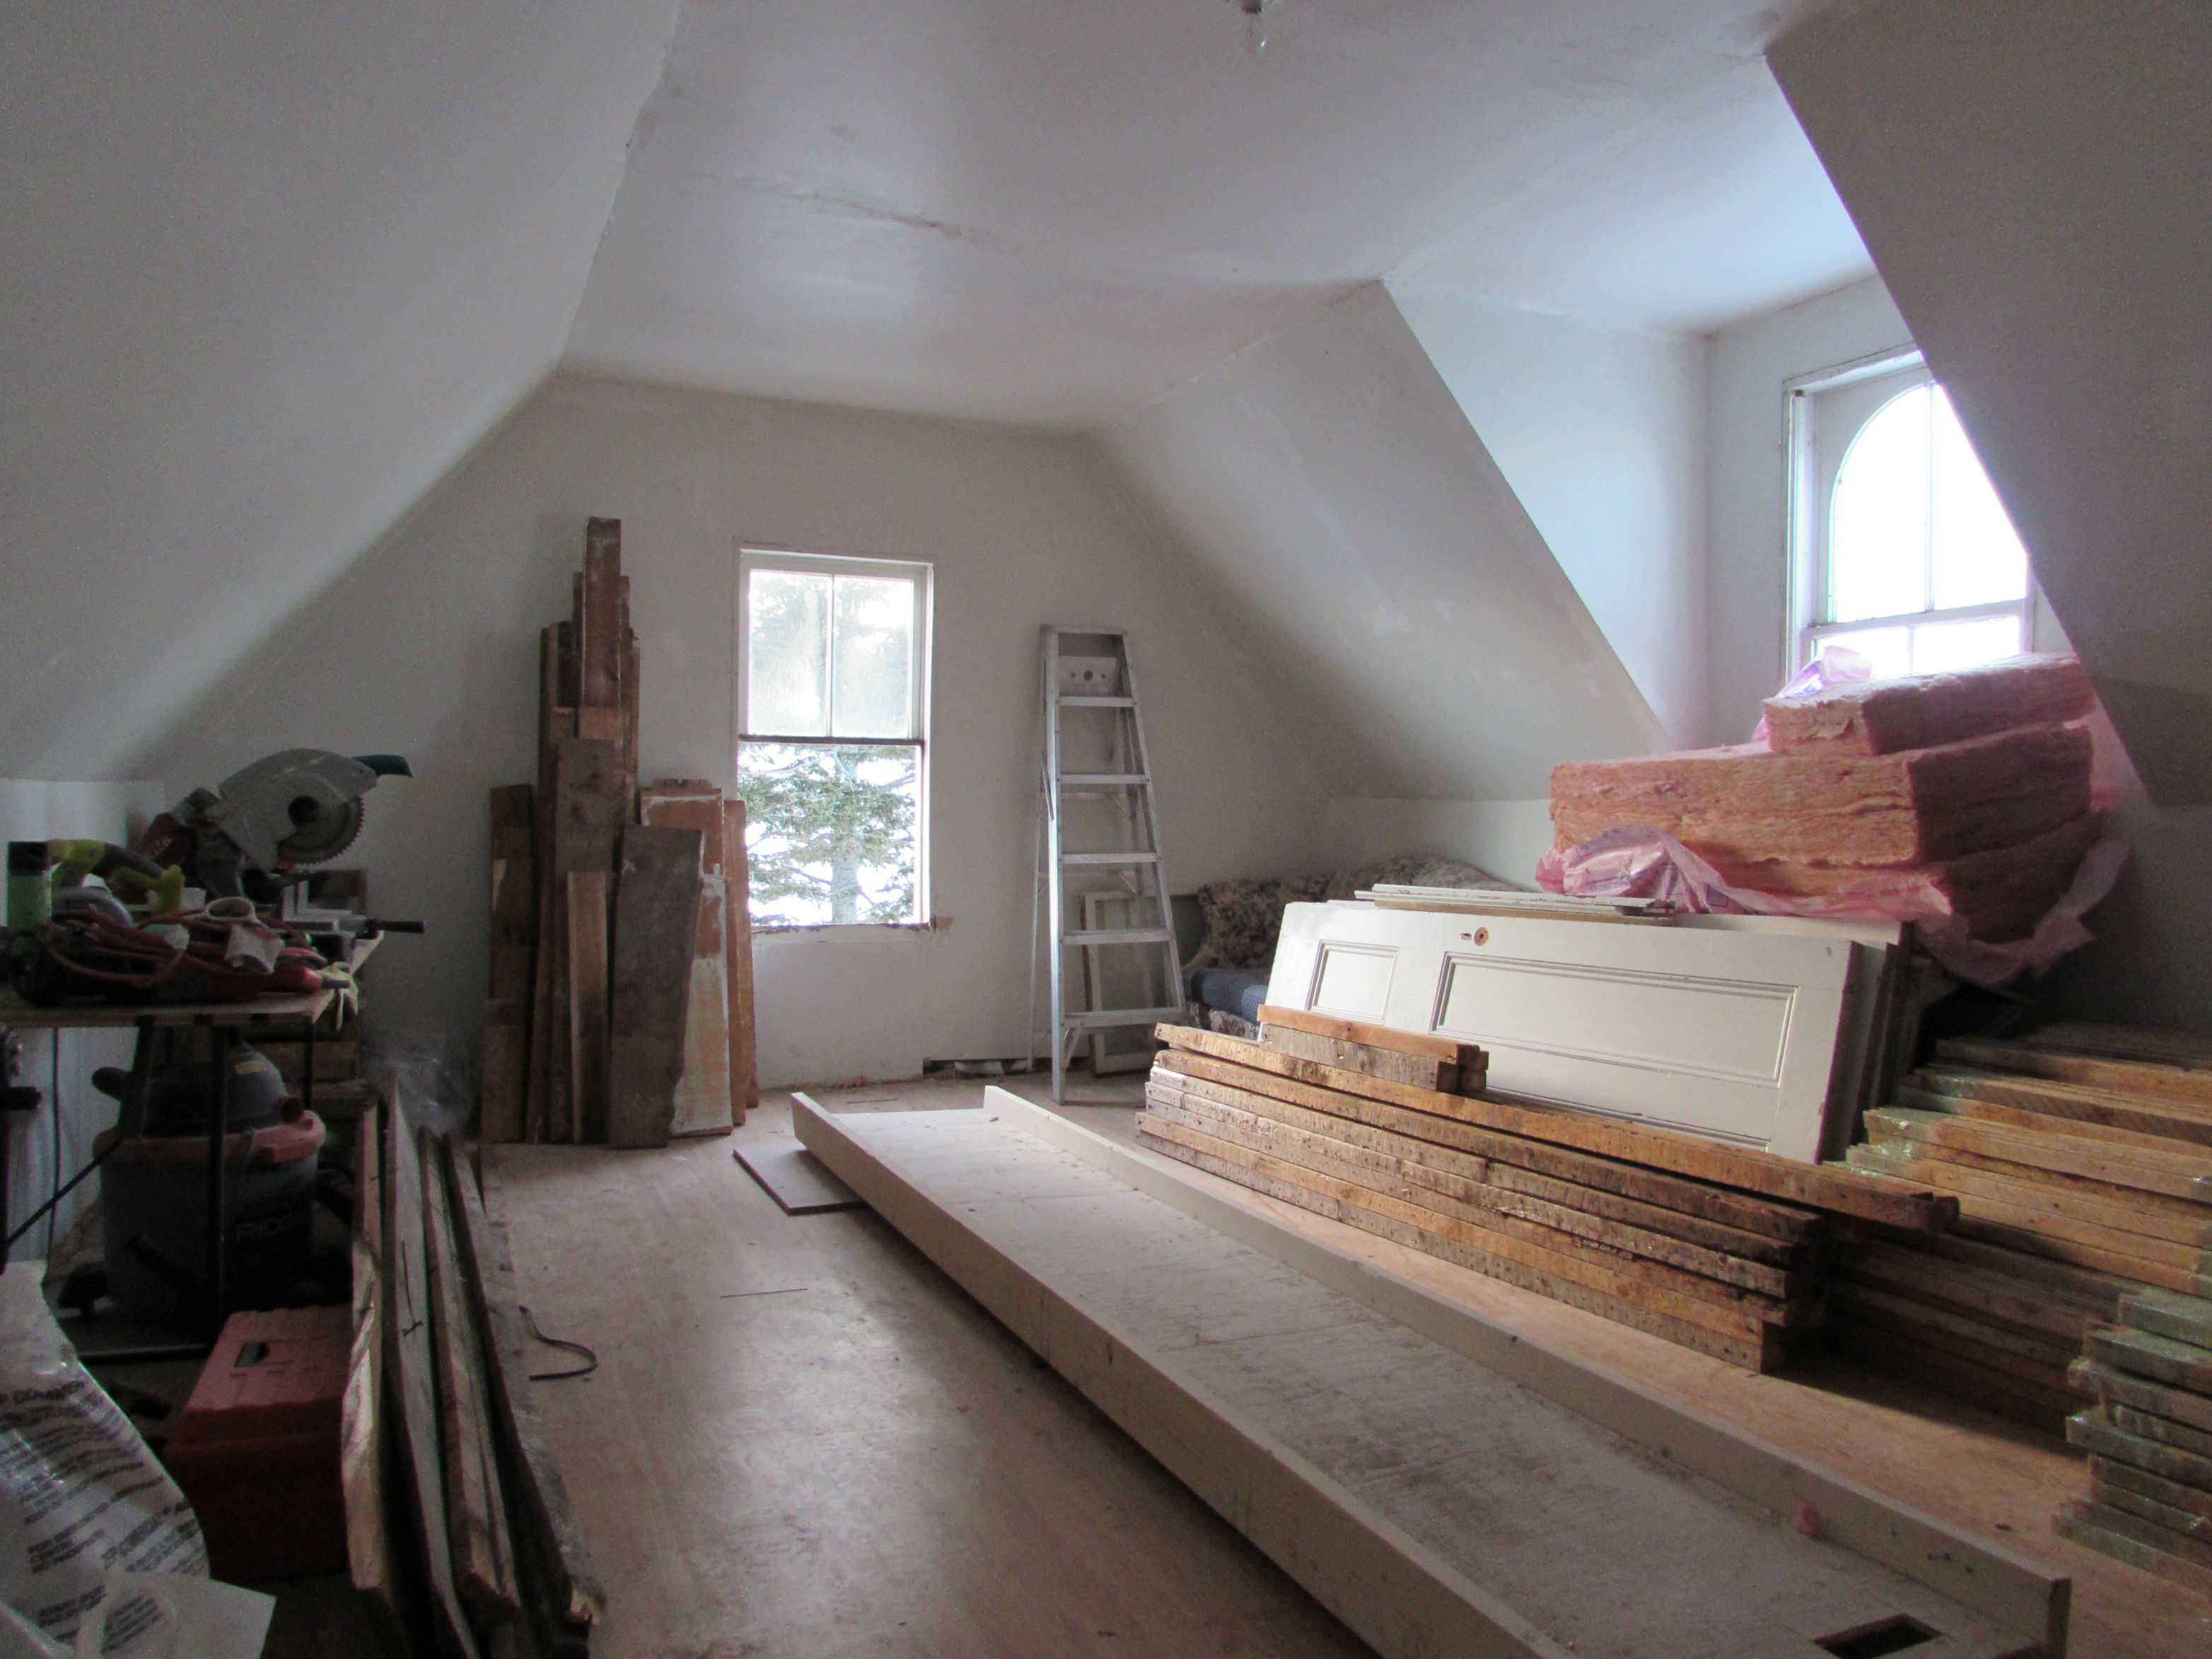
For those of you who have “Liked” our Facebook page, you’ve seen some of the posts Vanessa has shared from Reclaimed Wood Blog and other design sites. RWB has a great website with lots of design and project ideas using old wood reclaimed from different locales. I’ve got quite a collection now of old reclaimed wood from our demolition and lots of ideas.


For now though it will go into the barn for storage.
Once again, I just want to thank everyone for the great feedback and comments. I really do enjoy reading each of them. We’re also approaching 1500 page views on our little blog. That’s exciting! And from all over the world: Ireland, Hong Kong, Singapore, Thailand and throughout Canada and the US. Amazing!
Hope you all have a good remainder of the week and a fantastic weekend.