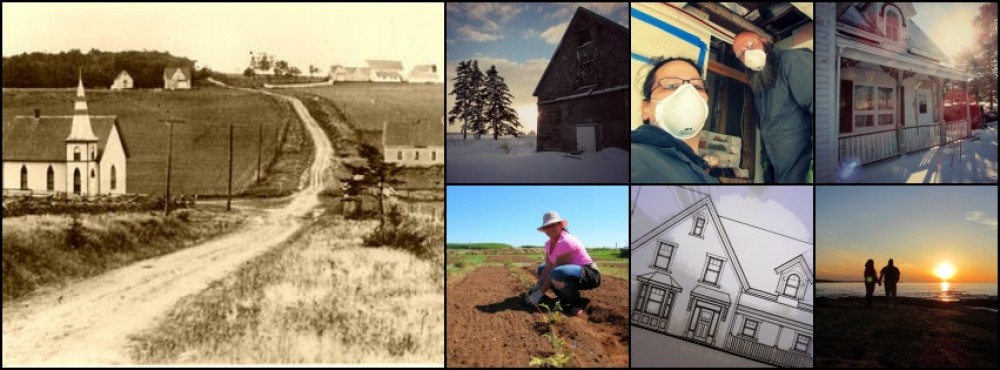
It’s been a very long time. I honestly couldn’t tell you the last time I actually drew anything on my drafting table – let alone actual plans. Needless to say, that’s changed this past week.

I’ve missed this
I’ve drawn the floorplans and elevations as the house currently exists. I’ll take you on a little tour in a moment, but first let me tell you a bit of history. I don’t actually remember a time when my drafting table wasn’t in our household – and I don’t mean in the time Vanessa and I have been together – I mean EVER. The drafting table was my fathers and I guess it’s something that’s just been passed along to me. My Dad was a homebuilder/general contractor when I was growing up and I remember “playing” with all his drafting tools as a kid.
Later, I spent many late nights working on drafting projects during my post-secondary Architectural Technologist program – although my actual career choices didn’t require much of my “hands-on” drafting skills. I was an estimator at a large timber-frame construction company, worked in the building departments at both the Town of Richmond Hill and Town of Ajax in Ontario and was an Associate Project Manager for a restoration contractor in Durham Region (alongside my brother) when we left Ontario for PEI.
So, last week, I set up my drafting table and started with the current layout of our house:

Main Floor
Main Floor: closest to you is the front of our house. The front door opens into the main hall with the stairs to the second floor on your right. To the left is a set of double French doors leading into the Living Room (which we’re currently using as our bedroom while we demo and renovate the upper level). The hall leads to the Dining Room (currently our Living Room) and the small room to the left is where we built the temporary washroom. I’m guessing that previous owners probably used this room as a den or office. We’ll likely turn it into Vanessa’s Craft Room where she can finally have a dedicated space for knitting, sewing and jewellery making. To the right of the Dining Room is the Kitchen. Probably the most important room to Vanessa and I, it currently has sparse cabinetry and minimal storage. We’ve also had to use this space to install the hot water tank and laundry facilities until the renovations allow these items to be relocated elsewhere. Off the back of the Kitchen is a small Foyer with a Powder Room that we’ve taken apart and is currently being used for storage. The long room off the back Kitchen hallway is….well….I’m not sure. Some previous owner of the house built this addition for some purpose – storage, most likely – and it’s not in the best shape. No foundation, no heat, un-insulated, sinking on one side and a leaking roof makes this addition not useable for anything other than we what have been using it for – a glorified mudroom/entrance/storage area. This addition, back hall and Powder Room will be removed as part of our main floor renovations and replaced with a more appropriate rear-entrance/mudroom/laundry room.
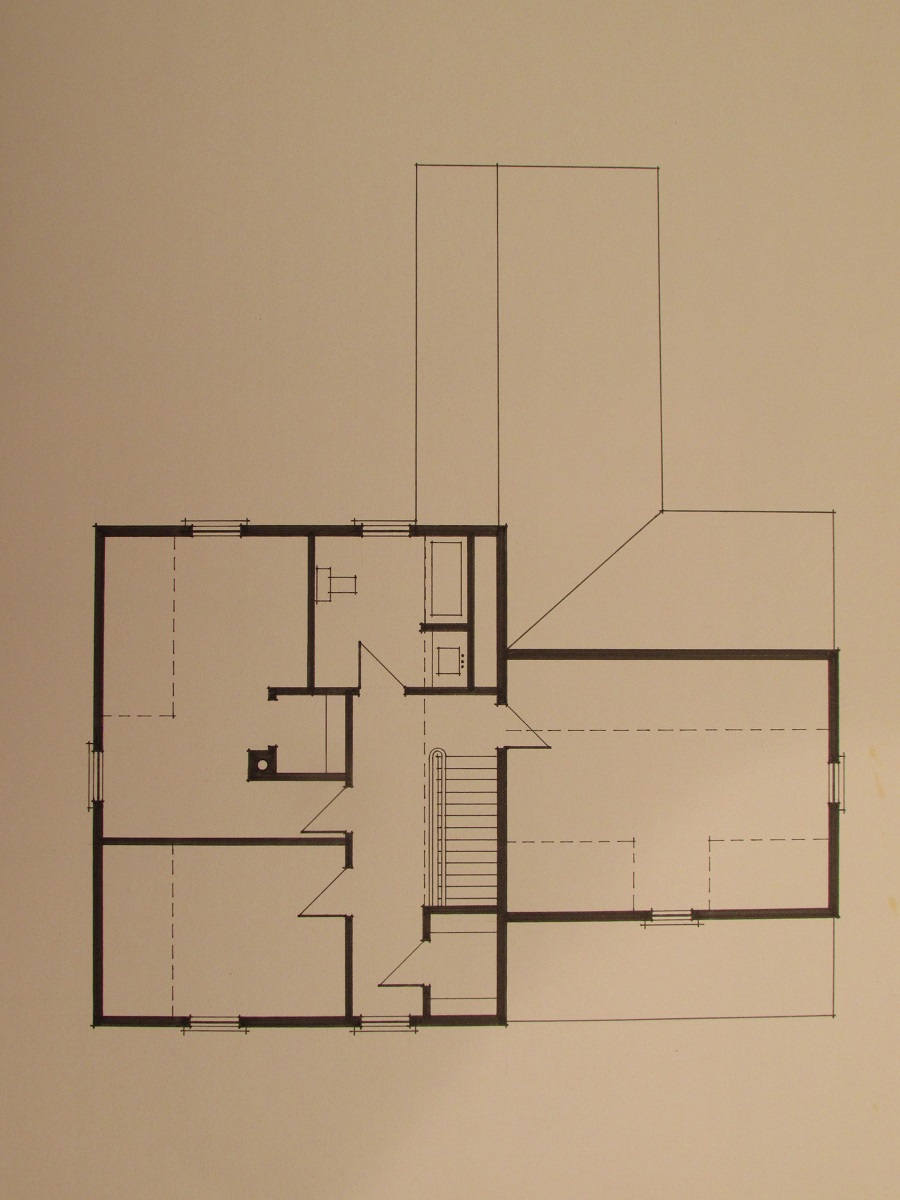
Second Floor
Second Floor: to the right at the top of the stairs is (what will eventually be) our Master Bedroom. One window in a dormer looks out the front of the house and a window in the side gable looks over the driveway. The washroom is at the top of the stairs, with a small vanity, tub and toilet. The second bedroom is on the back corner of the house with a big closet and the chimney coming up through the room. The front room is the third bedroom, although we’ll use it as an office/den. There is a small walk-in closet in the upper hall towards the front of the house.

Front Elevation
Front Elevation: very typical styling of a PEI “island-ell” farmhouse with the front dormer and round-top window and has some decorative gingerbread trim around the front porch. The shutters are not original, nor functional, nor real shutters – just some boards fastened and painted for a decorative treatment added some-time in the past.

Rear Elevation
Rear Elevation: nothing special here. The back addition makes for a poor view and will be much better once it is removed.
In addition to documenting the current use and layout of the house, I’ve been sketching the changes were going to make as things progress the next few months. I hope to have these plans posted in the near future.
I’d love to hear some of your feedback and suggestions or answer any questions you have (at least to the best of my ability).

Excellent line work, you really should put that talent to good use out there in PEI. If there is any 3d modelling you need done I would be more than happy to help out.
Cheers,
CB
Thanks Chris – much appreciated! Wait till you see the next post outlining our reno plans!
Now I know where I can send all my old staedler leads.
Cheers
Howdy ! It’s looking good ! And to think, free Mud-baths included, nice !
Hi. I’m curious to know the exterior dimensions of your house. I have a 1-1/2 storey that I would like to turn into an L similar to yours but I’d like to get an idea of what “good” proportions would be. Also, is the roof pitch the same on the right side of the house as it is on the left side? Do the peaks meet or is the peak on the right side lower? Thanks a bunch!
Hey Jeff. Apologies for the long delay – was just finishing up a post and saw your comment sitting here. Our main cape measure approx 23′ wide x 30′ deep. The kitchen ell is 20′ wide x 15′ deep. The roof pitches are the same on both sides so the ridges don’t line up – the kitchen wing peak sits a bit lower than the main cape. Thanks for your interest. Hope it helps!